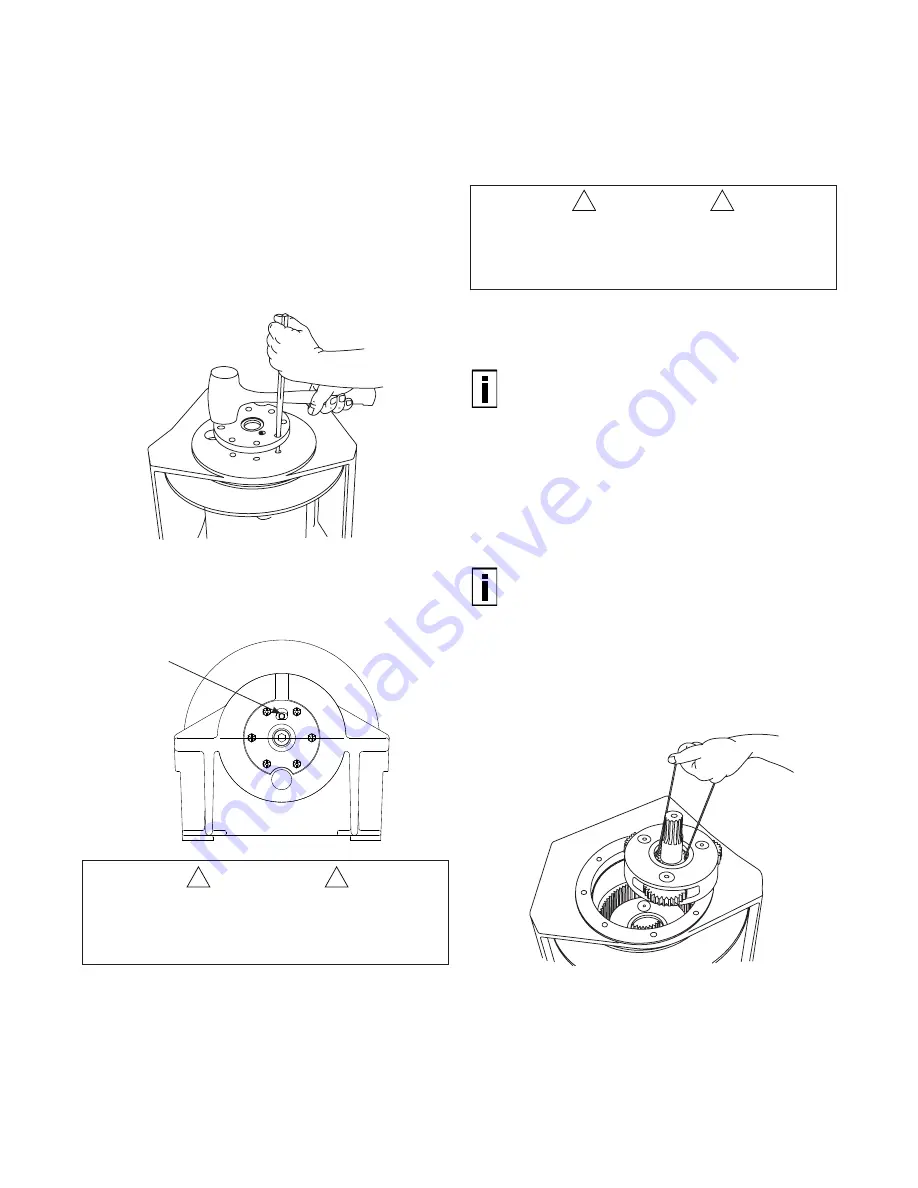
1. Place winch base on side with bearing support end
up.
2. Install a new bearing in the drum if replacement is
necessary. Apply a nonhardening sealant on the
outside diameter of a new seal. Install the spring
side of the seal toward the bearing, then press into
the drum, using a flat plate to avoid distortion. Be
sure drain plug is installed securely.
3. Center the drum in the opening of the base.
Lubricate the bearing support with petroleum jelly
or gear oil and install in base and drum.
4. Tighten the bearing support capscrews to the rec-
ommended torque.
5. Stand winch on bearing support end and install
snap ring on bearing support.
6. Install the output sun gear and thrust washer into
the output planet carrier.
TIP: 2 pieces of stiff wire with an L-shaped hook
on one end can be used to lower the planet carrier
assemblies into the drum.
7. Install the output planet carrier into the drum while
meshing the planet gears with the ring gear and the
planet housing with the bearing support.
8. Install the primary sun gear and thrust washer into
the primary planet carrier.
NOTE:
23:1 gear ratio winches have a sun gear
adapter in addition to sun gear shaft. The thrust
plate between the primary and output sun gears
is not captive within the carrier assembly. Apply
a small amount of oil soluble grease or petroleum
jelly to the thrust plate and center it on the output
sun gear before installing the primary planet car-
rier assembly.
9. Install the primary planet carrier, meshing the plan-
et gears with the ring gear and the planet housing
with the output sun gear.
WINCH ASSEMBLY
Be sure the vent plug is located above the horizontal
centerline for the intended application. Oil leakage
may occur if vent is positioned incorrectly.
25
VENT PLUG
ABOVE CENTERLINE
This snap ring will keep the output planet carrier
correctly positioned in the winch. Gear train damage
may occur if this snap ring is omitted.
CAUTION
!
!
CAUTION
!
!


