9
OPERATION
Prior to Operation
The shredder operates by using a rolling cutter head, the cutter head rotates and pulls
the material past a metal plate which grinds and cuts the material.
Prior to operation the metal plate will need to be adjusted to ensure efficient
performance. Adjust the metal plate as follows:
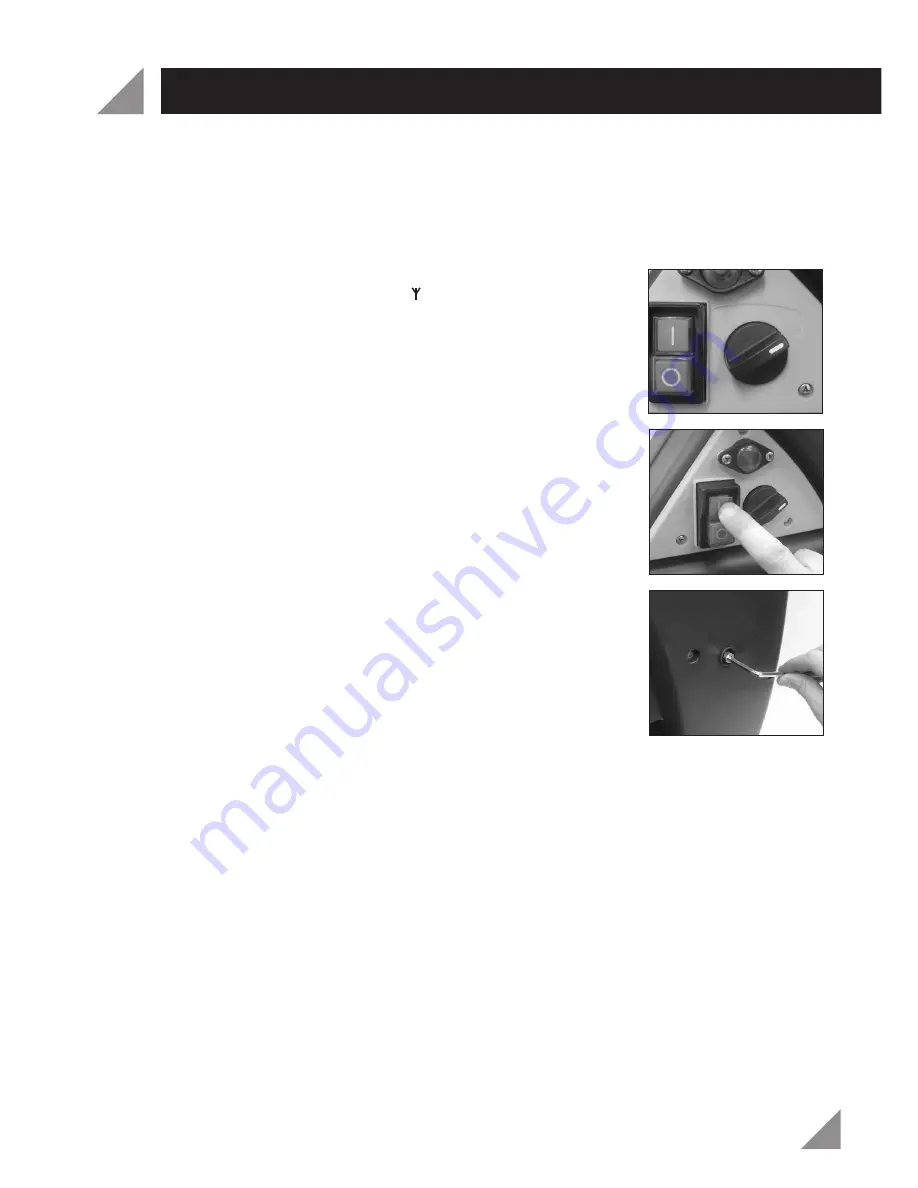
1. Turn the rotation direction switch (3) to the right hand
side so it is set to the feed
i
position (Fig. 8).
2. Turn on the shredder by pressing the green ON button "I"
on the on/off switch (1) (Fig. 9).
3. Using the 5mm hex key (19) adjust the cutting adjustment
bolt (4) located on the left hand side of the shredder
(when viewed from the front) (Fig. 10).
Note:
Rotating the bolt in a clockwise direction will move the
metal plate closer to the rolling cutter head, rotating in an
anti-clockwise direction will move the metal plate away from
the cutter head.
4. With the motor running slowly adjust the cutting adjustment bolt by turning in a
clockwise direction, continue to do this until a scraping noise is heard (metal plate
making contact with the cutter head). Fine metal shavings will fall from the
discharge chute (6).
5. As soon as the scraping noise is heard rotate the adjustment bolt (4) anti-clockwise
1/4 of a turn. Ensure that the metal plate is not making contact with the cutter
head.
6. Once adjustment is complete check that the shredder is cutting efficiently by
feeding some material into the feeding hopper (5). Do this by following the
instructions outlined in the “Shredding” section.
Note:
When shredding hard material it may need to be put through the shredder
twice, firstly to crush the material and secondly to cut it. In order to crush material the
cutting adjustment bolt (4) will need to be loosened by turning it anti-clockwise half a
turn, this will increase the gap between the metal plate and the rolling cutter head.
Re-adjust the metal plate once crushing is complete.
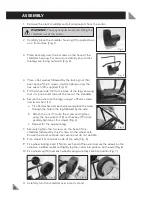
Fig. 8
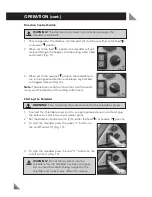
Fig. 9
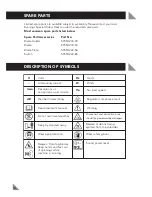
Fig. 10

