


User Manual of Ozaas Network Camera V8.1.4.3
54
Here to open the "regular linkage", "upload FTP", "upload SMTP" function, when the
device settings area is blocked and alarm, the corresponding way to inform the user.
○
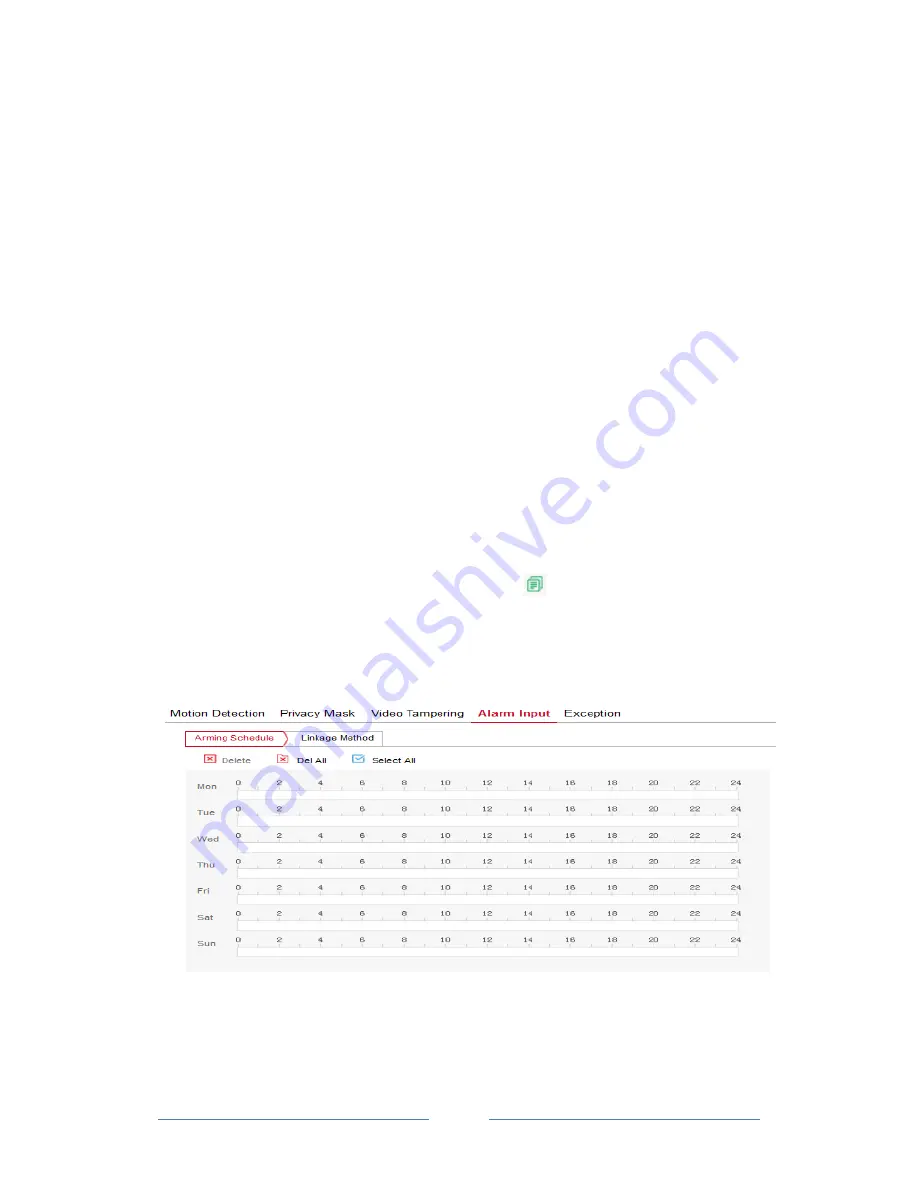
4 Alarm Input
In the main interface click on the "configuration
→
Events
→
Alarm Input" to enter the
Alarming Schedule settings interface.
Arming Schedule
:
As shown in Figure 7-41, you can view, edit, delete the video
tempering of the deployment time, default all day 0 arming, can be adjusted by the
following way to adjust the deployment of alarm input time:
-
Method 1: In the arming time period, hold down the left mouse button to drag the
mouse to the right to select the time period.
-
Method 2: Click the arming time period, manually fill in the start time and end time, set
up and click Save after setting. If you need to delete the time period, click the "Delete"
button and then reset the time period.
-
Method 3: Click the time of deployment, the time period will display two circles at both
ends, the mouse moves to the circle, will show the left and right direction of the
adjustment arrow, and move the adjustment arrow to adjust the arming time.
-
You can set up more than one time period for up to 8 time periods.
-
After the day of deployment time is set, if the other time also need to set the same
arming time, click the right side of the timeline "
" copy button, in the "copy to"
interface check the "Select All" or a day, then Click "OK".
-
After setting, click "Save" to complete the deployment time of the motion detection
configuration.
Figure 7-41
Linkage mode settings:
Alarm linkage, including upload SMTP and FTP upload the
normal linkage and IO output of the linkage alarm output, as shown in Figure 7-42:
【
Regular linkage
】
Including upload SMTP and upload FTP.