


LoaderXpress - LXL1U11
6-11
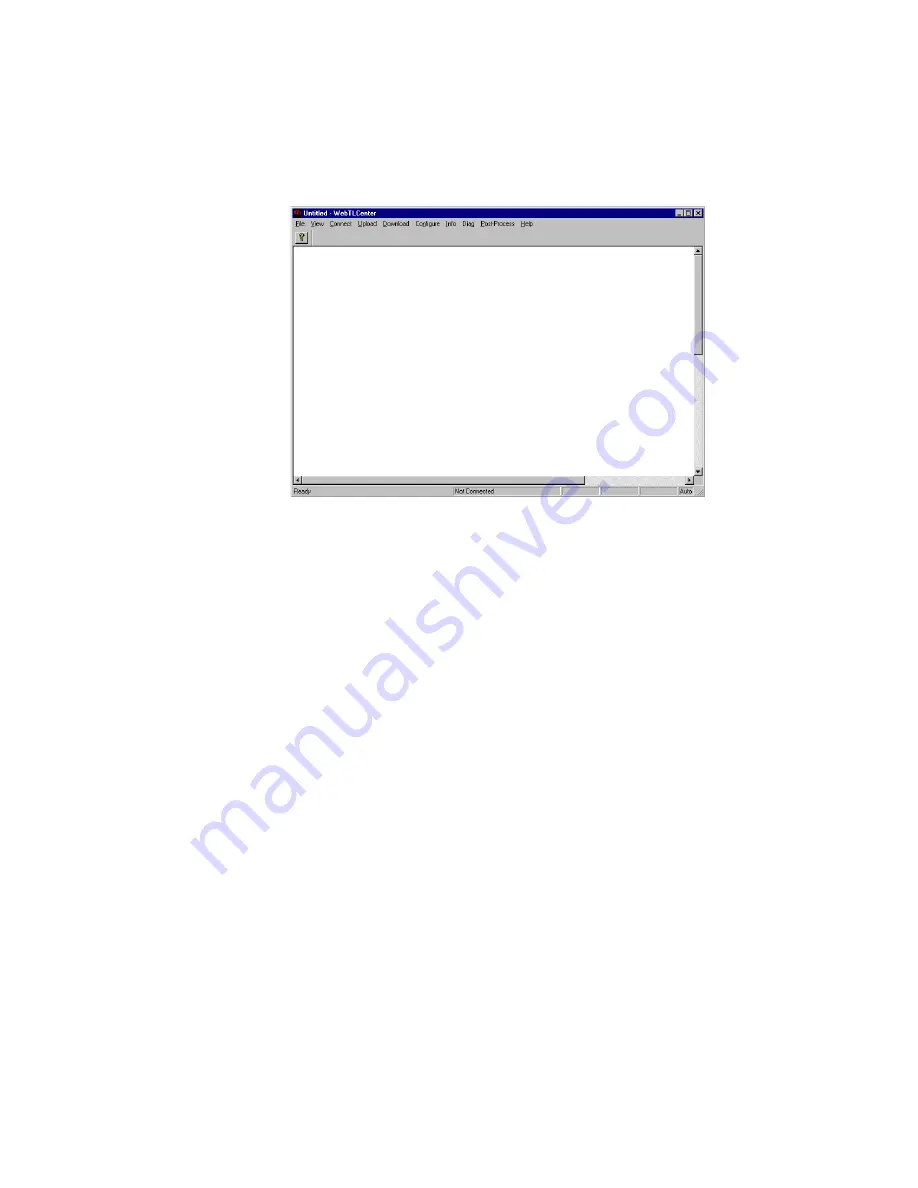
Figure 6–4. WebTLCenter Main Screen
6) Click on Connect.
The Serial Port Setting screen appears.
7) Verify settings and click on OK.
NOTE:
Note: To set default values, select Configure from the pull down menu. The option to
set default values is now available.
Setting IP Addresses
NOTE:
Configuration addresses are network specific. Contact your network system
administrator for the appropriate values. Depending on the chosen values, these settings
enable access to your library from your network and/or the World Wide Web.
1) Establish communications with the WebTLC, if not already established.
2) On the WebTLCenter Main screen, click on Configure. Then “Set Values”.
An upload process screen is visible for a moment, and then the Configure WebTLC
dialog box appears:
Summary of Contents for LoaderXpress LXL1U11
Page 1: ...LoaderXpress LXL1U11 Installation User Manual Part Number 104240 101 Revision A March 2001...
Page 4: ...ii LoaderXpress LXL1U11...
Page 16: ...xiv LoaderXpress LXL1U11...
Page 18: ...xvi LoaderXpress LXL1U11...
Page 26: ...1 8 LoaderXpress LXL1U11...
Page 42: ...2 16 LoaderXpress LXL1U11...
Page 72: ...3 30 LoaderXpress LXL1U11...
Page 82: ...5 6 LoaderXpress LXL1U11...
Page 94: ...6 12 LoaderXpress LXL1U11 Figure 6 5 Configure WebTLC Dialog Box IP Addresses Tab...
Page 116: ...6 34 LoaderXpress LXL1U11 Figure 6 28 Library Special Configuration...
Page 118: ...6 36 LoaderXpress LXL1U11 Reset WebTLC Reset Library Figure 6 30 WebTLC Functions Option...