


7. FILE TRANSFER TO PC IN WINDOWS 7, XP, AND 2000
55
7.3. Windows XP and 2000
1. Download ActiveSync v4.5 or higher from the Microsoft Download Center. When download
is complete, select Run. This will automatically start installation. Follow the wizard prompts
and restart the PC.
2. With the HX in ActiveSync Mode, connect its USB port to the PC. If this is the first time the
HX has been connected to this PC, Windows will display a series of “Found New Hardware”
messages indicating a mobile device (i.e., the HX’s computer) has been detected. The
Synchronization Setup Wizard will start. Follow the wizard prompts for a standard
partnership.
3. On the Synchronization Options screen, unmark ALL checkboxes, scrolling down as
needed to ensure all items have been deselected (Fig. 52). This will prevent the host PC and
HX from automatically exchanging files.
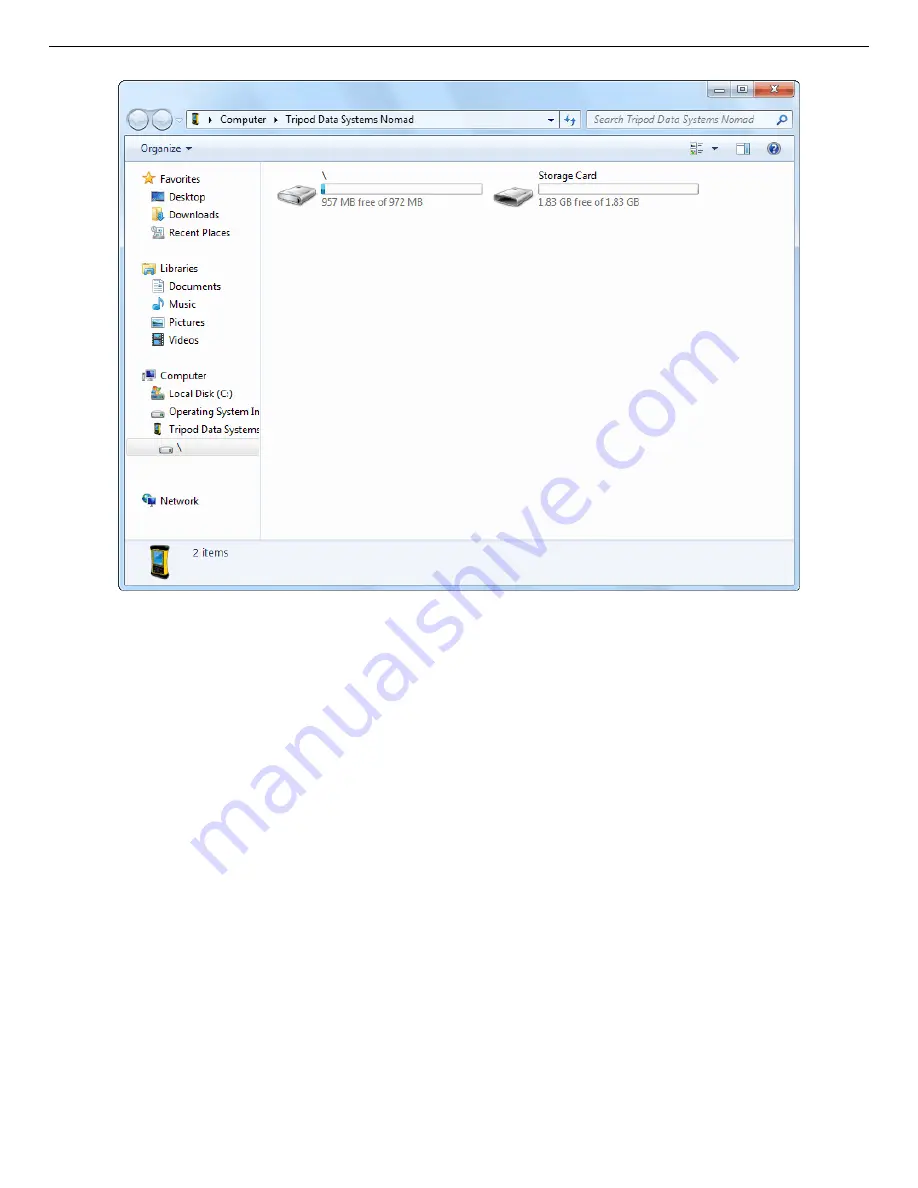
Fig. 51. The HX Computer’s Top-Level File Structure.
Summary of Contents for Micro-Detective-HX
Page 4: ...iv...
Page 10: ...x...
Page 26: ...ORTEC Micro Detective HX Human Portable Radiation Detection System Operation Manual 16...
Page 45: ...3 GETTING STARTED 35 Fig 30 HX Program Menu Structure Administrator Access Password Required...
Page 46: ...ORTEC Micro Detective HX Human Portable Radiation Detection System Operation Manual 36...
Page 62: ...ORTEC Micro Detective HX Human Portable Radiation Detection System Operation Manual 52...
Page 68: ...ORTEC Micro Detective HX Human Portable Radiation Detection System Operation Manual 58...
Page 74: ...ORTEC Micro Detective HX Human Portable Radiation Detection System Operation Manual 64...
Page 82: ...ORTEC Micro Detective HX Human Portable Radiation Detection System Operation Manual 72...
Page 92: ...ORTEC Micro Detective HX Human Portable Radiation Detection System Operation Manual 82...


