background image

ESP

AÑOL

ENGLISH

FRANÇAIS

DEUTSCH

POR

TUGUÊS

DS6638 Manual-Eng (086-002975-015)

POR

TUGUÊS

ENGLISH

FRANÇAIS

DEUTSCH

IT

ALIANO

IT

ALIANO

ESP

AÑOL

14

15

File No.

Your camera keeps an internal file counter
for every image and movie taken that can
be reset. The setting options are Continue
and New.

All files are stored within a designated
folder. The initial folder is always
numbered at 100.

Continue

Under this default option, the internal file counter is first set to “0001”. Every
subsequent picture is assigned an incremental File Number.

The internal file counter increments by 1 regardless of the media type,
unless it is reset.

New

Under this option, the internal file counter to “0001” for new media only. But in
case there are picture files already present inside the storage media, it will start
counting from the highest file number of the media.

It is advisable to set the 

File Number

 setting to 

New

 only in the

following cases:

Either the internal memory or SD card has been newly formatted (  p.14).

A completely new SD card has been installed.
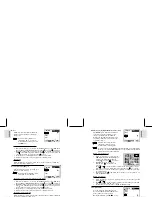
Format

This option will format all data in either the
internal memory  

  or the external card


 , including all protected image files.

Caution:

 Do not eject the SD card while the

card is being formatted, as this may damage
the card.

Formatting deletes all data from the memory
device chosen. The images and files will not
be recoverable.

Reset

You can reset all the settings to factory default.
Refer to the Setup Menu table to see the
defaults for each setting (

 p.11).

The reset function can reset all the
settings to factory default except for
the current time and date.

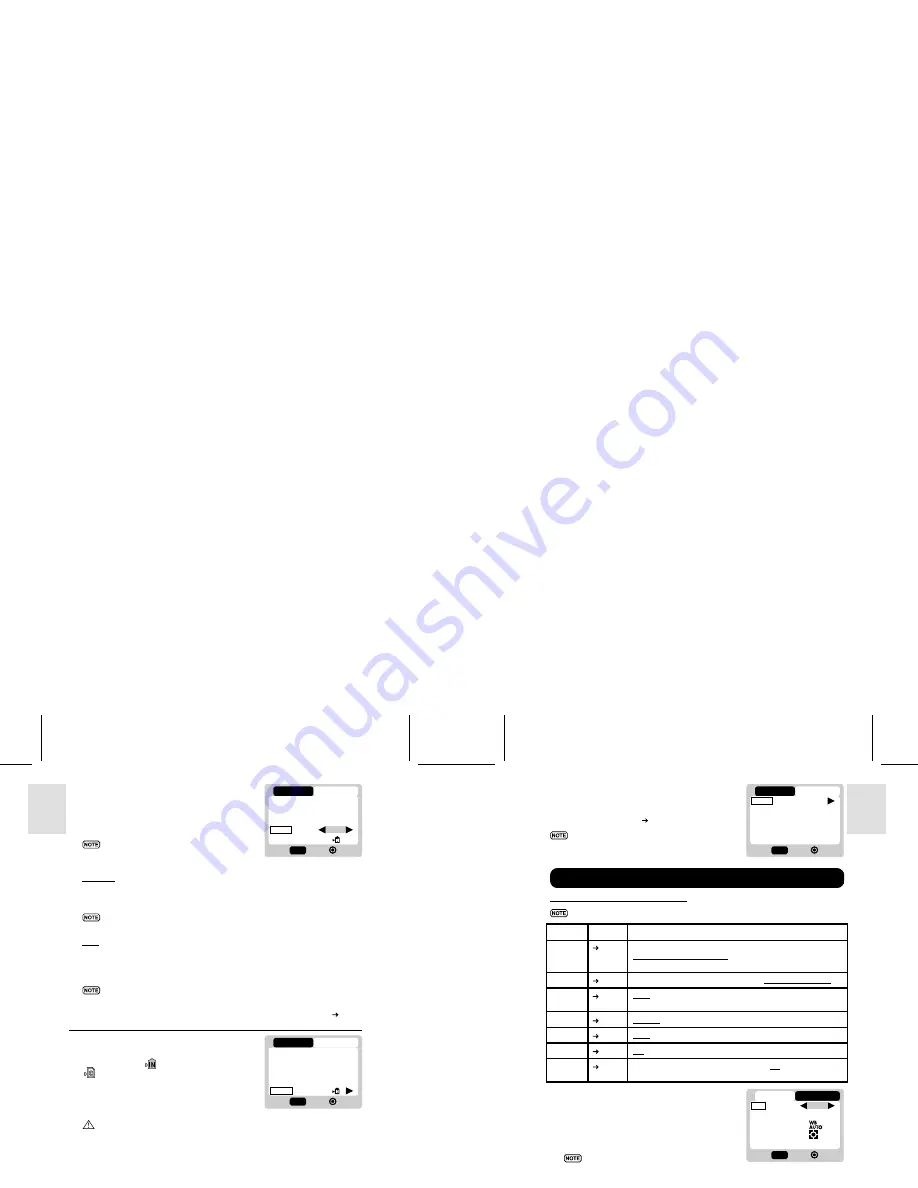
Camera Menu Settings and Options

The options underlined and in italics are initial defaults.

Settings

Page

Options

Size

 p.15

Super Fine 2048 (software-interpolated 3.0 Mega-Pixel) /

Fine 1600 (2.0 Mega-Pixel)

 / Normal 1280 (2.0 Mega-Pixel) /

Basic 640 (VGA)

Quality

 p.16

ECO (Economy) / STD (Standard) / 

HQ (High Quality)

White Bal

 p.17

Auto

 / Sunlight / Shade/ Yellow F.L. (Fluorescent Lamp) /

White F.L. (Fluorescent Lamp) / Tungsten

Metering

 p.17

Central

 / Spot / Matrix

ISO

 p.18

Auto

 / 50 / 100 / 200

Con.Shoot

 p.18

Off

 / On

EV

 p.19

+2.0 / + 1.7 / +1.3 / +1.0 / +0.7 / +0.3 / 

0.0

 / -0.3/ -0.7 / -1.0 /

-1.3 / -1.7 / -2.0

Size (Image Size)

Image size represents the resolution of the
picture. The resolution is, in turn, directly
related to the number of pixels of the camera.
As such, 2.0 Mega-pixel can be arranged as
1600 x 1200 pixels or lower.

The higher the resolution size of an
image, the larger the memory space
it occupies. Please refer to “Memory
Capacity, Size and Quality” section
for more details (  p.29).

Camera Menu

2/3

Camera

Setup

Exit

OK

MENU

Beep Tone
Auto Off
TV Out
File No.
Format

On
3Min
PAL
Cont

2/3

Camera

Setup

Exit

OK

MENU

Beep Tone
Auto Off
TV Out
File No.
Format

On
3Min
PAL
Cont

3/3

Camera

Setup

Exit

OK

MENU

Reset

1/2

Camera

Exit

OK

MENU

1280
H.Q.

AUTO

Size
Quality
White Bal
Metering
ISO

Setup

Summary of Contents for DS6638

Page 1: ...Package Contents 5 Installing the Batteries 5 Attaching the Strap 5 Secure Digital SD Card Multi Media Card MMC 5 Basic Photography 6 Quick Start 6 Preparing the Camera 6 Holding the Camera 6 Taking...

Page 2: ...gn Nobiggerthanacreditcardandonly16mmthick thisdigitalcameraislightandportable LCD Screen Display State of the art LCD display lets you review pictures taken and informs you of the status of the vario...

Page 3: ...entilated place in order to prevent moulding NOTES ON THE DIGITAL CAMERA Cleaning your Camera Lens Viewfinder Use a blower or a lens brush to remove dirt or dust Wipe carefully with a soft cloth to re...

Page 4: ...xternal memory cards that can be plugged into your Digital Camera to extend the memory capacity Please refer to p 29 for the list of memory cards compatible with this digital camera The type of memory...

Page 5: ...ide the Mode Switch to Camera Mode 2 Check the battery indicator making sure there is enough power Icon Description Adequate power remains Battery is running low Battery is running very low Battery is...

Page 6: ...flash may discharge automatically depending on the light conditions Flash On The flash discharges regardless of lighting condition Flash Off The flash will not discharge Your digital camera comes with...

Page 7: ...a Menu Screen Setup Menu Under the Setup Menu which is available in all modes the basic settings of the camera can be adjusted Setup Menu Settings and Options The options underlined and in italics are...

Page 8: ...OK MENU London GMT 00 00 London GMT 00 00 Show Time You can choose to display either the Home Time or World Time on your camera icon is shown on the OSD if World Time is selected However no Icon is d...

Page 9: ...e chosen The images and files will not be recoverable Reset You can reset all the settings to factory default Refer to the Setup Menu table to see the defaults for each setting p 11 The reset function...

Page 10: ...e Quality Options Name Option Description High Quality Good image quality high amount of image data Standard Standard quality medium amount of image data Economy Lowest quality taking up the least mem...

Page 11: ...setting pictures can be taken continuously when you press the Shutter Release button The icon will appear on screen A maximum of 2 continuous pictures can be taken with brief 0 5 second pauses betwee...

Page 12: ...e taken is displayed on the OSD in Playback Mode Use and press or to view through the images and movies taken If the Secure Digital card Multi Media Card is installed the Playback Mode will only show...

Page 13: ...annot be deleted and must be unprotected first p 24 MULTI FRAME REVIEW The Multi Frame Review shows as thumbnails up to nine recorded images and movies on the OSD For movies the first frame is display...

Page 14: ...selected select the Set Protect All to On to confirm the 1 1 Playback Setup Exit OK MENU Delete Protect DPOF Slide 1 1 Playback Setup Exit OK MENU Delete Protect DPOF Slide DPOF Specifying Digital Pr...

Page 15: ...nterface 350MBytes Hard disk space Windows 98 98SE ME 2000 XP CD ROM drive 1 Insert the CD labelled DS6638 into your CD ROM drive The installation will start automatically If the autorun feature is di...

Page 16: ...the USB connection on the Macintosh 3 Turn on your digital camera to any Mode The Green LED blinks 4 A camera icon will appear on your Macintosh s screen Click on it to access the images and movies t...

Page 17: ...oCameraorMovieMode Enable flash by changing it to another setting p 8 Change the Mode Switch to Camera Mode Wait until the Status Lamp stops blinking p 8 Turn on the flash by changing the Flash Mode p...

Page 18: ...sion 3 0 Product Dimension 86 2 x 56 2 x 15 mm TRADEMARK INFORMATION Microsoft Windows and Windows Media Player are trademarks of the Microsoft Corporation of the United States and other countries Win...

Page 19: ...ance with the instructions may cause harmful interference to radio communications However there is no guarantee that interference will not occur in a particular installation If this equipment does cau...

Reviews: