


Optelec
ClearView C
Page 14
English
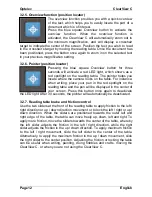
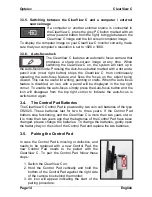
3.3.5. Switching between the ClearView C and a computer / external
source image
If a computer or another external source is connected to
the ClearView C, press the grey PC button marked with an
arrow (second button from the right) to toggle between the
ClearView C image and the full screen computer image.
To display the computer image on your ClearView C monitor correctly, make
sure that your computer
’s resolution is set to 1920 x 1080.
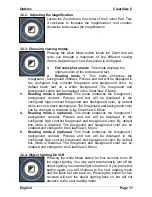
3.3.6. Auto-focus lock
The ClearView C features an automatic focus camera that
produces a sharp on-screen image at any time. When
switching the ClearView C on, the system will start up in
the auto-focus mode. Pressing the Auto-focus button marked with a dot and a
pencil icon (most right button) stops the ClearView C from continuously
operating the auto-focus feature and fixes the focus on the object being
viewed. This can be useful for writing, painting or crafts. When the auto-focus
feature is disabled, an icon with a pencil will be displayed in the top right
corner. To enable the auto-focus, simply press the Auto-focus button and the
icon will disappear from the top right corner to indicate the auto-focus is
switched on again.
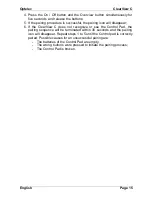
3.4.
The Control Pad Batteries
The ClearView C Control Pad is powered by two coin cell batteries of the type
CR2025. These batteries last for two to three years. If the Control Pad
buttons stop functioning, and the ClearView C is more than two years old, or
it is more than two years ago that the batteries of the Control Pad have been
changed, please change the batteries. To change the batteries, gently open
the battery tray on the side of the Control Pad and replace the two batteries.
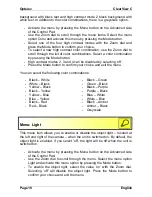
3.5.
Pairing the Control Pad
In case the Control Pad is missing or defective, and
needs to be replaced with a new Control Pad, the
new Control Pad needs to be paired with the
ClearView C. To pair the Control Pad follow these
steps:
1. Switch the ClearView C on;
2. Hold the Control Pad vertically and hold the
bottom of the Control Pad against the right side
of the camera box behind the monitor;
3. An icon will appear indicating the start of the
pairing procedure;
Summary of Contents for Clear View C
Page 1: ......
Page 2: ......
Page 27: ...Optelec ClearView C English Page 27...
Page 29: ......
Page 30: ......


