30
■ If you have the GRBL v1.1f installed on your motion controller, then you can optionally
enable Laser Mode.
●
$32=1
Laser Mode ENABLED.
●
$32=0
Laser Mode DISABLED.
○ Remember to disable Laser Mode when you decide to use router to cut.
○ NOTE: If any of the setting are not correct, you can update them by sending the command as
you would want it to appear.
■ Example: $##=VALUE
● ## is the setting number you want to change.
● VALUE is the value it is / you want to
update it to.
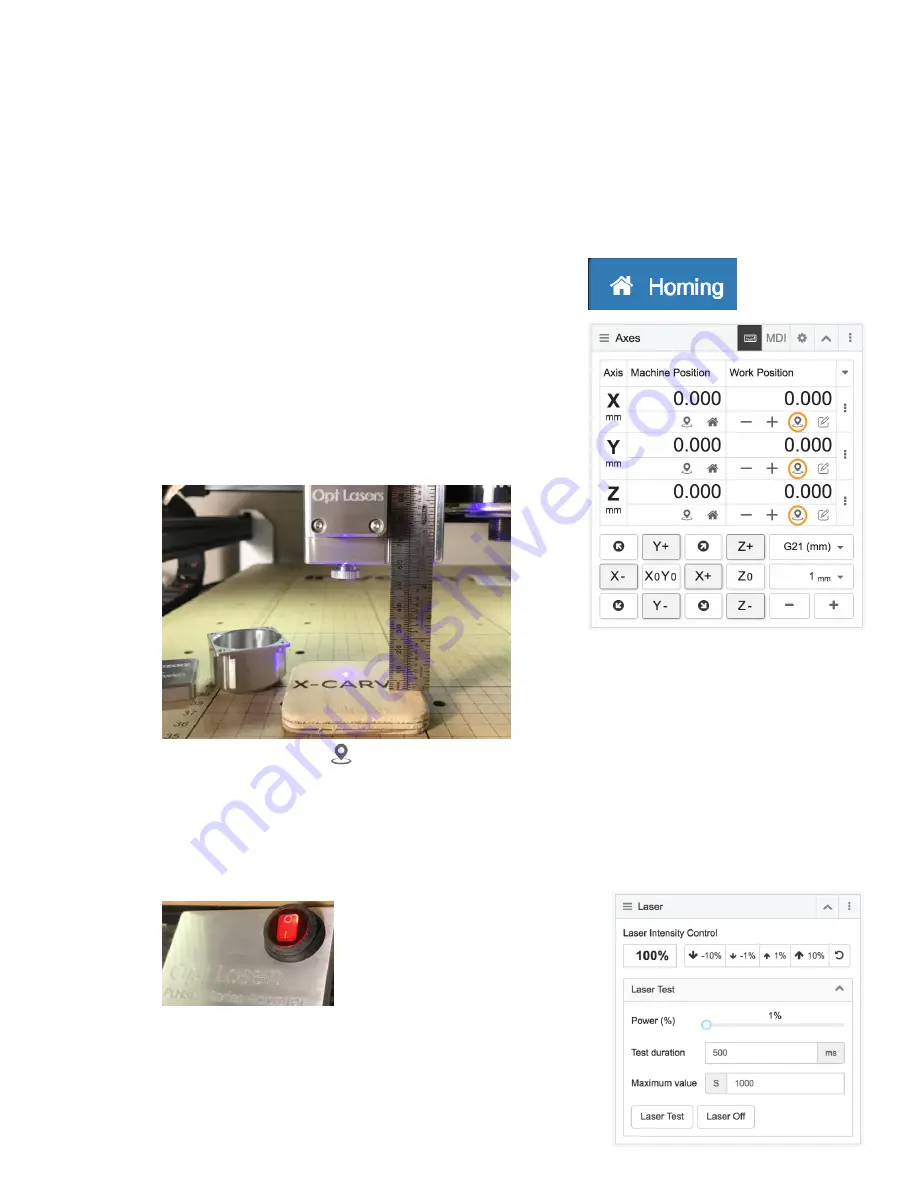
4. Run Homing Cycle.
○ Click the "Homing" button in the upper right,
and allow the machine to home.
5. Jog your laser into position using the "Axes" widget.
○ Keyboard input can be enabled by clicking the keyboard
icon at the top of the widget.
6. Set Laser Height to 60mm above work area.
○ Use a ruler and measure 60mm above from just below
the head of the laser module to the work area. If you
have adjusted you focus, move to your preferred focus
depth.
7. Zero each axis by clicking the
icon for each work position axis.
○ This will set this position as the place where G-Code will be started from.
○ Note that you can set multiple work positions.
8. Insure that all persons viewing have the proper eye protection / safety goggles.
9. Power the laser module.
○ Turn on your Adapter, the switch should glow red, and the
fans on the laser module should spin-up.
10. Test that the laser is working by using the "Laser" widget.
○ In the "Laser Test" section of the widget.
■ Set power to ~1%


