


4:
18
2
31
4
Basic playback
Playing a source
Here are the basic instructions for playing a source (such as
a DVD disc) with your home theater system.
1
Switch on your system components and receiver.
Start by switching on the playback component (for
example a DVD player), your TV and subwoofer (if you
have one), then the receiver (press
Í
RECEIVER
).
•
Make sure the setup microphone is disconnected.
2
Switch the TV input to the input that connects this
receiver.
For example, if you connected this receiver to the
VIDEO
jacks on your TV, make sure that the
VIDEO
input is now selected.
3
Press input function buttons to select the input
function you want to play.
If you selected the proper input source and there is still
no sound, select the audio input signal for playback (see
Selecting the audio input signal
below
).
4
Press the
DIRECT
button.
Change the listening mode as necessary.
It is possible to check on the front panel display whether
or not surround sound playback is being performed
properly.
If the display does not correspond to the input signal and
listening mode, check the connections and settings.
Note
•
You may need to check the digital audio output settings on
your DVD player or digital satellite receiver. It should be
set to output Dolby Digital, DTS and 88.2 kHz/96 kHz
PCM (2 channel) audio, and if there is an MPEG audio
option, set this to convert the MPEG audio to PCM.
•
Depending on your DVD player or source discs, you may
only get digital 2 channel stereo and analog sound. In this
case, the receiver must be set to a multichannel listening
mode if you want multichannel surround sound.
5
Use
VOL +/–
to adjust the volume level.
Turn down the volume of your TV so that all sound is
coming from the speakers connected to this receiver.
Selecting the audio input signal
The audio input signal can be selected for each input source.
Once it is set, the audio input that was selected will be
applied whenever you select the input source using the input
function buttons.
…
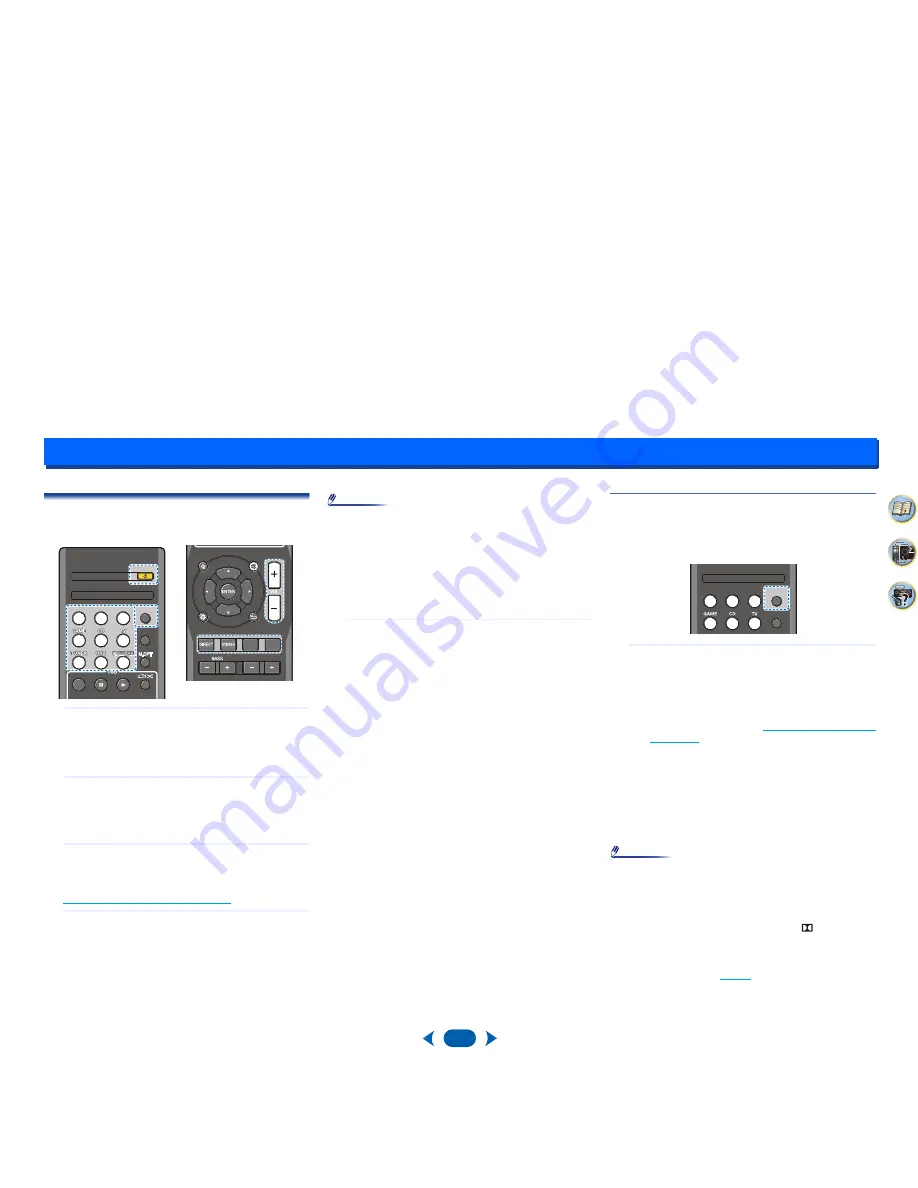
Press
AUDIO SEL
to select the audio input signal
corresponding to the source component.
Each press cycles through the following:
•
H
– Selects an HDMI signal.
H
can be selected for
BD/DVD
,
CBL/SAT
,
STRM BOX
or
GAME
input. For
other inputs,
H
cannot be selected.
-
When the
HDMI
option in
Setting the Audio options
on page 25
is set to
THRU
, the sound will be heard
through your TV, not from this receiver.
•
A
– Selects the analog inputs.
•
C1
/
O1
– Selects the digital input. The coaxial 1 input
is selected for
C1
, and the optical 1 audio input is
selected for
O1
.
When
H
(HDMI) or
C1
/
O1
(digital) is selected and the
selected audio input is not provided,
A
(analog) is
automatically selected.
Note
•
STRM BOX
and
GAME
inputs are fixed to
H
(HDMI). It
cannot be changed.
•
For the
TV
input, only
A
(analog) or
C1
/
O1
(digital) can be
selected. However, if the
ARC
at
HDMI Setup
is set to
ON
,
the input is fixed to
H
(HDMI) and cannot be changed.
•
When set to
H
(HDMI) or
C1
/
O1
(digital),
lights when a
Dolby Digital signal is input, and
DTS
lights when a DTS
signal is input.
•
When the
H
(HDMI) is selected, the
A
and
DIGITAL
indicators are off (see
page 5
).
RECEIVER
RECEIVER
AUDIO SEL
AUDIO SEL
AUDIO SEL
AUDIO SEL
LATE NIGHT
LATE NIGHT
TOP MENU
TOP MENU
CBL/SAT
CBL/SAT
CBL/SAT
CBL/SAT STRM BOX
STRM BOX
STRM BOX
STRM BOX
BD/DVD
BD/DVD
BD/DVD
BD/DVD
AUDIO
AUDIO
SURR
SURR
TREBLE
TREBLE
DSP
DSP
DISPLAY
EDIT
SLEEP
PRESET -
SURR
SURR
TREBLE
TREBLE
DSP
DSP
DISPLAY
EDIT
SLEEP
PRESET -
QUICK MENU
QUICK MENU
AUDIO SEL
AUDIO SEL
AUDIO SEL
AUDIO SEL
LATE NIGHT
LATE NIGHT
CBL/SAT
CBL/SAT STRM BOX
STRM BOX
BD/DVD
BD/DVD


