27
En
Note
*1
If Direct listening mode is selected, “
Dynamic EQ
” and
“
Dynamic Volume
” cannot be selected.
*2
Only when you have selected “
Custom
” in the “
Picture
Mode
” (
➔
46
), pressing
ENTER
allows you to adjust the fol-
lowing items; “
Brightness
”, “
Contrast
”, “
Hue
”, and “
Satu-
ration
”. Press
RETURN
to return to the original Video menu.
*3
Depending on the input source and listening mode, not all
channels shown here output the sound.
*4
When you have entered a custom name in “Name Edit”
(
➔
45
), the input source is displayed with that name. But
even if not, the component name may be displayed if the AV
receiver receives it via HDMI connection (
➔
19
).
*5
For the
PORT
input selector, the name of Universal Port
Option Dock will be displayed.
When you connect an
u
-capable Onkyo component, you
must configure the input display so that
u
can work
properly.
This setting can be done only from the front panel.
Note
•
DOCK
can be selected for the
TV/CD
,
GAME
or
VCR/DVR
input selector, but not at the same time.
• Enter the appropriate remote control code before using the
remote controller for the first time (
➔
60
).
Note
• Always turn down the volume before connecting your head-
phones.
• While the headphones plug is inserted in the
PHONES
jack, the
speakers are turned off. (The Powered Zone 2 speakers are not
turned off.)
• When you connect a pair of headphones, the listening mode is
set to Stereo, unless it’s already set to Stereo, Mono or Direct.
• Only the Stereo, Direct and Mono listening modes can be used
with headphones.
2
Use
q
/
w
/
e
/
r
to make the desired selection.
■
Audio
*1
`
You can change the following settings: “
Bass
”,
“
Treble
”, “
Subwoofer Level
”, “
Center Level
”,
“
Dynamic EQ
”, “
Dynamic Volume
”, “
Late
Night
”, “
Music Optimizer
”, “
Cinema filter
”
and “
Audio Selector
”.
See also:
• “Audyssey” (
➔
44
)
• “Using the Audio Settings” (
➔
50
)
■
Video
*2
`
You can change the following settings: “
Wide
Mode
” and “
Picture Mode
”.
See also:
• “Picture Adjust” (
➔
46
)
■
Info
*3*4
`
You can view the information of the following
items: “
Audio
”, “
Video
” and “
Tuner
”.
■
Input Sel
*4*5
`
You can select the input source while viewing
the information as follows: the name of input
selectors, input assignments, and radio informa-
tion, and ARC function setting.
Press
ENTER
to display the current input
source, followed by
q
/
w
to select the desired
input source. Pressing
ENTER
again switches to
the selected input source.
■
Listening Mode
`
You can select the listening modes that are
grouped in the following categories: “
MOVIE/
TV
”, “
MUSIC
” and “
GAME
”.
Use
q
/
w
to select the category and
e
/
r
to
select the listening mode. Press
ENTER
to
switch to the selected listening mode.
Changing the Input Display
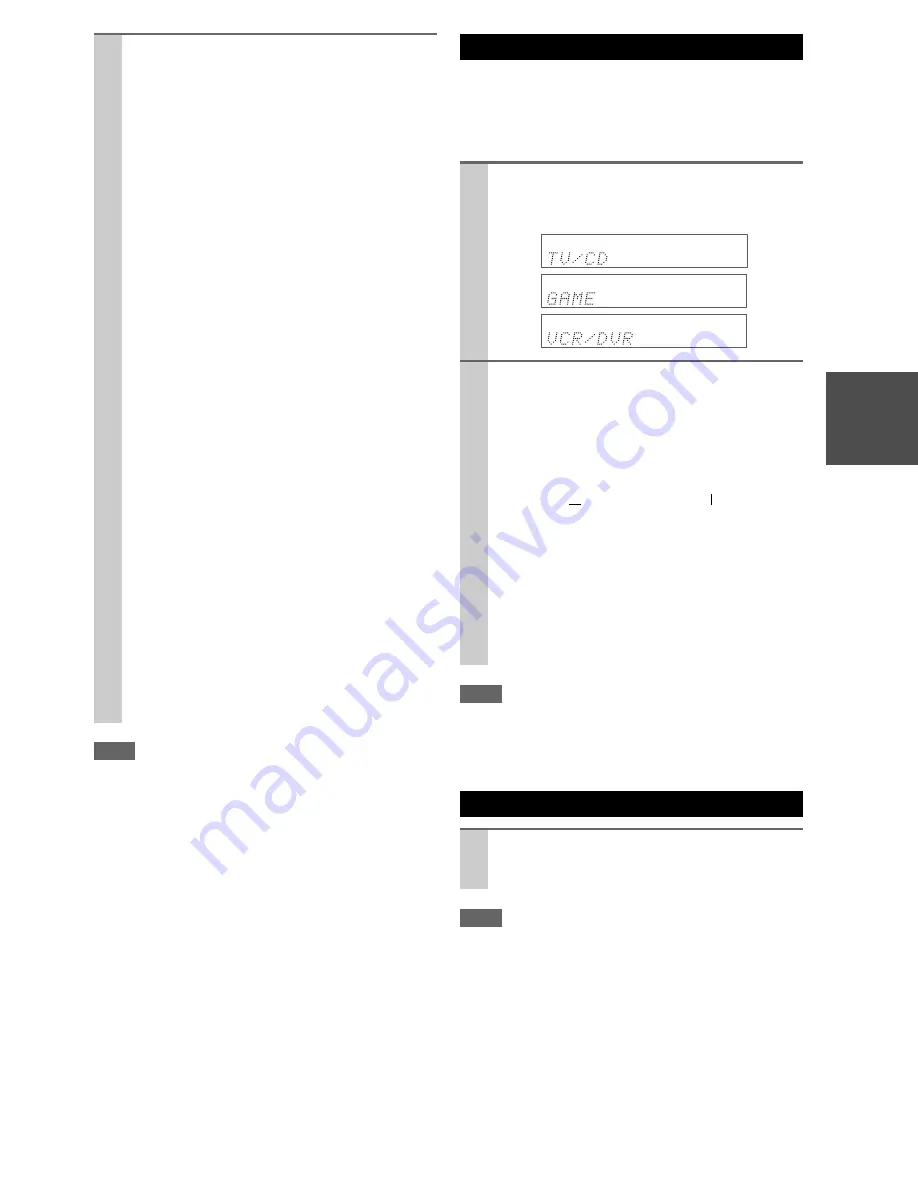
1
Press
TV/CD
,
GAME
or
VCR/DVR
so that “TV/
CD”, “GAME” or “VCR/DVR” appears on the
display.
2
Press and hold down
TV/CD
,
GAME
or
VCR/DVR
(about 3 seconds) to change the input display.
Repeat this step to select “
MD
”, “
CDR
”, “
DOCK
”
or “
TAPE
”.
For the
TV/CD
input selector, the input display
changes in this order:
For the
GAME
input selector, the setting changes in
this order:
For the
VCR/DVR
input selector, the setting
changes in this order:
Using Headphones
Connect a pair of stereo headphones with a stan-
dard plug (1/4 inch or 6.3 mm) to the
PHONES
jack.
TV/CD
→
MD
→
CDR
DOCK
→
→
TAPE
→
GAME
↔
DOCK
VCR/DVR
↔
DOCK


