25
Playing a USB Flash
Drive
If an iPod/iPhone is connected to the iPod dock,
disconnect the iPod/iPhone from the iPod dock.
A USB flash drive cannot be used if an iPod/iPhone is
connected.
1
Press the [iPod] button to select “iPod/
USB”.
Alternatively, you can use the CD receiver’s
[INPUT] button.
2
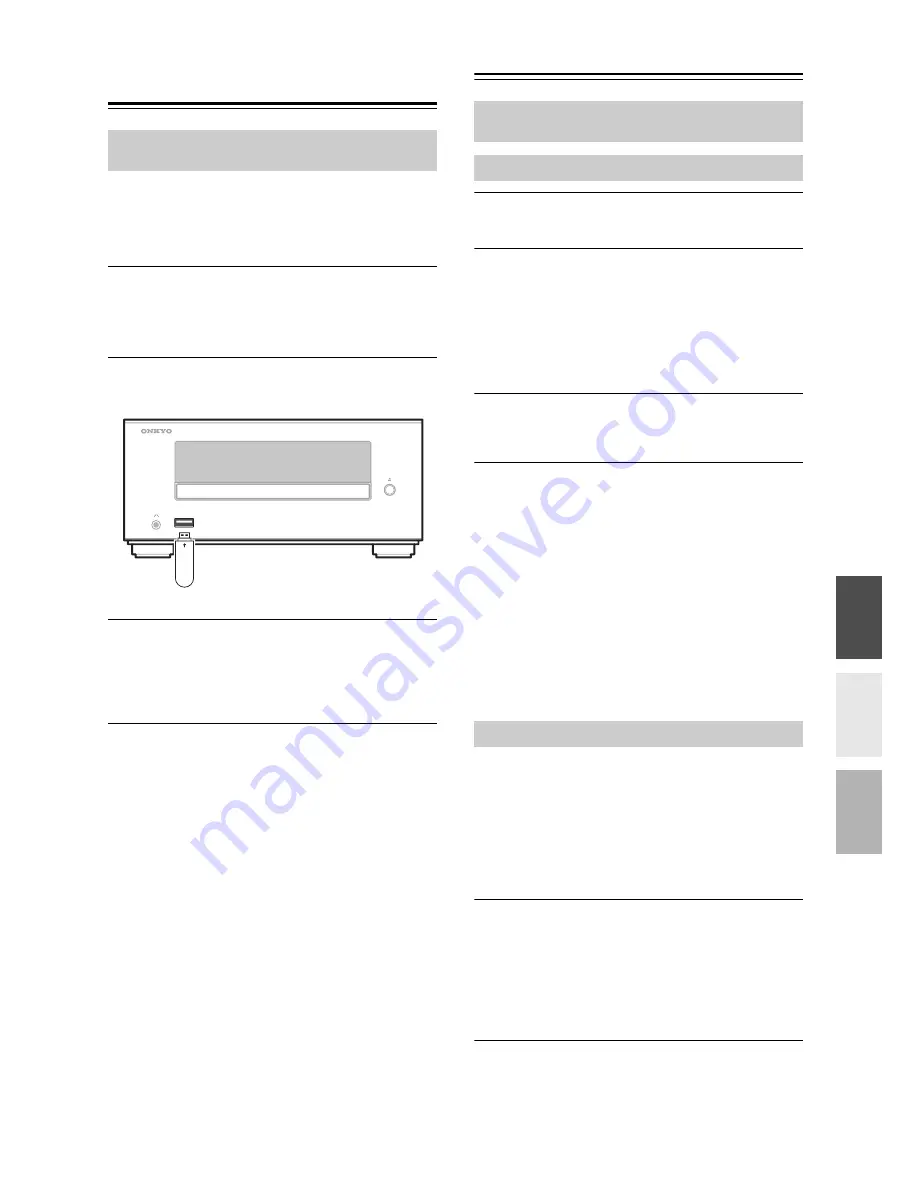
Insert a USB flash drive in the USB port.
3
To start playback, press the [
1
/
3
] button.
Selecting folders and files, and using the random
play and repeat play functions, are the same as
when playing back MP3 files from a CD (see
page 18).
Note:
• Do not connect your USB flash drive via a USB hub.
• When connecting or disconnecting a USB flash drive,
use your hand to support the CD receiver so that it
does not move.
• For details on the usable formats for a USB flash
drive, refer to page 12 “Playback from USB Flash
Drives”.
• Even if a USB flash drive is connected to the USB
port, the iPod/iPhone input will be selected if an iPod/
iPhone is connected to the iPod dock.
• Do not connect the CD receiver’s USB port to a USB
port on your computer. Music on your computer
cannot be played through the CD receiver in this way.
Setting the CD Receiver
1
Press the [TIMER] button repeatedly until
“Clock” appears, and then press [ENTER].
2
Use the arrow [
q
]/[
w
] buttons to enter the
current hour, and then press [ENTER].
When the CD receiver is shipped from the factory,
the time display format is set to 24-hour time. Set
the current hour as it would appear in 24-hour time.
If you want to set the current hour as 12-hour time,
press the [DISPLAY] button.
3
Use the arrow [
q
]/[
w
] buttons to enter the
current minute, and then press [ENTER].
The clock is set and the second dot starts flashing.
Displaying the Time
To display the time, press the remote controller’s
[CLOCK CALL] button. Press the button again or
perform another operation to cancel the time display.
If the CD receiver is on Standby, the time will be
displayed for about 8 seconds.
While the CD receiver is on, the time are displayed
continuously.
Change the time format
To change the time format between 12-hour and 24-hour,
press the [DISPLAY] button.
With Auto Standby, you can set the CD receiver so that
it will be automatically turned off and enter the standby
mode if there is no operation for 20 minutes with no
audio input.
The default setting is “On”.
Make settings for this function while playback is
stopped.
1
Press and hold down the remote
controller’s [SLEEP] button (about 3
seconds) to change the setting.
“AutoStby Off” (Off) or “AutoStby On” (On)
appears on the CD receiver’s display.
To switch between “On” and “Off”, repeat this
procedure.
This section describes the procedure for using the
remote controller, unless otherwise specified.
USB flash drive
This section describes the procedure for using the
remote controller, unless otherwise specified.
Setting the Clock
Setting Auto Standby (ASb)


