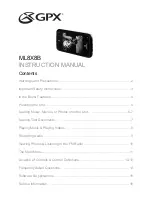
background image

23

About CDs

Handling CDs

• Carefully lift the disc from 

its case, making sure to 
hold it by its edges or cen-
ter hole.

• You can use a soft, dry 

cloth to wipe dust and finger-
prints off the surface of CDs.
Do not use volatile agents, 
such as thinner or benzene.
Don’t use vinyl record clean-
ers or antistatic agents.

Notes:

• Don’t keep a CD in direct sunlight or in locations 

subject to high humidity or low temperature.

• Don’t leave a CD in the unit for a long period of time.

Supported Discs

The DX-7555 supports the following discs.

• Some audio CDs use copy protection that doesn’t con-

form to the official CD standard. Since these are non-
standard discs, they may not play properly in the 
DX-7555.

• The DX-7555 supports CD-R and CD-RW discs. 

However, some CD-R and CD-RW discs may not 
work properly for any of the following reasons: disc 
burner characteristics, disc characteristics, the disc is 
damaged or dirty. See the manual supplied with your 
disc burner for more information. Condensation or 
dirt on the optical pickup lens can also affect play-
back.

• The DX-7555 supports 8 cm and 12 cm discs.

• If you load any other non-supported discs for reading 

or playback purpose, they may cause noise or not 
operate normally.

• The DX-7555 does not support disc types not listed.
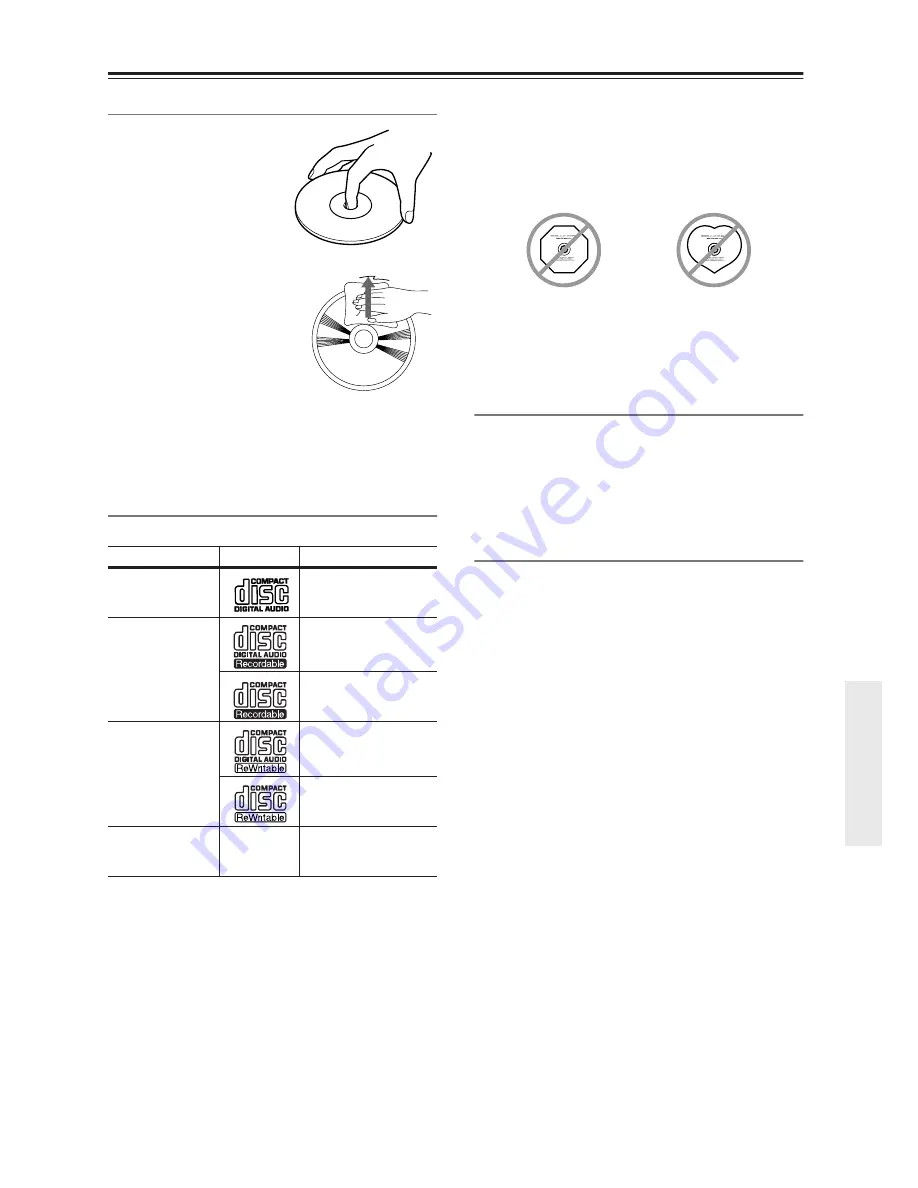
• Don’t use discs with an unusual shape, such as those 

shown below, because you may damage the DX-7555.

• Don’t use discs that have residue from adhesive tape, 

rental discs with peeling labels, or discs with custom-
made labels or stickers. Doing so may damage the 
DX-7555 and you may not be able to remove the disc 
properly.

Discs Made on Personal Computers

Discs made on personal computers, including those of a 
compatible format, may not work properly in the 
DX-7555 because of incorrect settings in the disc burn-
ing software. Check the manuals supplied with your disc 
burning software for additional compatibility informa-
tion.

MP3 Compatibility

• MP3 discs must be ISO 9660 Level 1 or Level 2, 

Romeo or Joliet compliant. Supported formats: 
Mode 1, Mode 2 XA Form 1.

• Folders can be up to eight levels deep.
• MP3 files must be MPEG-1/MPEG-2 Audio Layer 3 

format with a sampling rate of between 8 kHz and 48 
kHz and a bit-rate of between 8 kbps and 320 kbps 
(128 kbps recommended). Incompatible files cannot 
be played.

• Constant bit rate MP3 files are recommended, how-

ever, variable bit rate (VBR) MP3 files between 
8 kbps and 320 kbps are supported. (Playing times 
may display incorrectly.)

• MP3 files must have a “.mp3” or “.MP3” file name 

extension. MP3 files without the proper extension will 
not be recognized. To prevent noise and malfunction, 
do not use these extensions for other types of files.

• The DX-7555 supports up to 499 total tracks includ-

ing the folders of a disc and the MP3 files, however, 
the maximum number of folders may not exceed 99. 
Files and folders in excess of this cannot be played. 
Note that if the file and folder structure is very compli-
cated, the DX-7555 may not be able to read or play all 
of the MP3 files on the disc.

• Disc, file and folder names may contain up to 32 char-

acters.

• The maximum time that can be displayed for a single 

track is 99 minutes and 59 seconds.

• The remaining time cannot be displayed when playing 

MP3 files.

Disc

Logo

Format or file type

Audio CD

PCM

CD-R

Audio CD, MP3

MP3

CD-RW

Audio CD, MP3

MP3

CD Extra

Audio CD (Session 1), 
MP3 (Session 2)

Summary of Contents for 7555 - DX CD / MP3 Player

Page 1: ...anual thoroughly before making connections and plugging in the unit Following the instructions in this manual will enable you to obtain optimum performance and listening enjoyment from your new Compac...

Page 2: ...aratus does not operate normally by following the operating instructions Adjust only those controls that are covered by the operating instructions as an improper adjustment of other controls may resul...

Page 3: ...Unit Install this unit in a well ventilated location Ensure that there s adequate ventilation all around this unit especially if it s installed in an audio rack If the ventilation is inadequate the un...

Page 4: ...lug Fit a suitable fuse in the plug For European Models This unit contains a semiconductor laser system and is classified as a CLASS 1 LASER PRODUCT So to use this model properly read this Instruction...

Page 5: ...packaging the letter added to the end of the product name indicates the color of the DX 7555 Specifications and operation are the same regardless of color Table of Contents Important Safety Instructi...

Page 6: ...J Stop button 13 Press to stop playback K Pause button 13 Press to pause playback L Remote Control Senser 9 M Play Pause indicators Illuminate in play or pause mode N MP3 indicator Illuminates when MP...

Page 7: ...ive control To use the DX 7555 must be connected with an cable and an audio cable B AUDIO OUTPUT ANALOG 10 This analog audio output can be connected to an amplifier s analog input by using the supplie...

Page 8: ...REPEAT button 18 Press to set repeat playback I OPEN CLOSE button 12 Press to open and close the disc tray J SEARCH button Press to search and select a track number For MP3 disc the button can be used...

Page 9: ...ller of the same type is used in the same room or the DX 7555 is installed close to equipment that uses infrared rays the remote control ler may not work reliably Don t put anything such as a book on...

Page 10: ...AUDIO OUTPUT If your CD R MiniDisc or DAT recorder has a digital input use a commercially available coaxial or optical fiber digital audio cable to connect the DX 7555 s COAXIAL or OPTICAL DIGITAL AUD...

Page 11: ...DX 7555 s connectors to an connector on another AV component in your system by using the sup plied cable See the manuals supplied with your other compati ble AV components for more information Notes U...

Page 12: ...te controller while the DX 7555 is powered on You will see the STANDBY indicator light up To turn on the DX 7555 from its standby mode press the ON but ton on the remote controller 4 Press again the s...

Page 13: ...the button to select the previous track If you press the button during playback or while playback is paused the beginning of the current track is selected If you select a track while playback is stopp...

Page 14: ...troller Remote controller 1 While playback is stopped press the dial The first folder will be displayed When JOG MODE is set to NAVI in the SETUP menu keeping the dial pressed will put the DX 7555 int...

Page 15: ...g the button on the DX 7555 or the button on the remote controller 3 If you press the dial or the ENTER button on the remote controller while a track is selected playback will start for the track You...

Page 16: ...at the current track has been playing default display Track name Name of the current track Group folder name Name of the current group folder Title name Title of the current track if ID3 tag present A...

Page 17: ...on about how to select folders and tracks see page 15 If you want to store folders only in memory select folders alone and then press the MEMORY button RANDOM ENTER CLEAR ENTER MEMORY REPEAT Number bu...

Page 18: ...during random play back tracks will be played in random order repeatedly 1 Press the Stop button to stop playback Now you can view the reserved mem ory by pressing the buttons Press the STOP button t...

Page 19: ...OFF SHARP SLOW NORMAL REVERSE 40 40 EXTRA ID3 VER 1 ID3 VER 2 CD EXTRA JOLIET READ NOT READ NOT INITIALIZE CANCEL EXECUTE AUDIO MP3 USE SVD ISO9660 JOG MODE GROUP NAVI DISPLAY DISC NAME GROUP NAME TRA...

Page 20: ...all the groups fold ers and the tracks should be indi cated on the display The memory mode should be dese lected 2 Press and hold the STOP button until SETUP MENU appears on the display about a few s...

Page 21: ...haracter is displayed if it is contained in the head of the track name and the group folder name BAD NAME REPLACE NOT This preference determines whether or not track and folder names that contain undi...

Page 22: ...clockwise or coun terclockwise to display INITIAL IZE and then press the dial When using the remote controller press the buttons and then the ENTER button 4 Rotate the dial in a direction of clockwis...

Page 23: ...disc properly Discs Made on Personal Computers Discs made on personal computers including those of a compatible format may not work properly in the DX 7555 because of incorrect settings in the disc b...

Page 24: ...nce on page 21 For ID3 version 2 tags information contained in the beginning of the file are recognized We recommend that you include only title artist name and album name information in ID3 tags Comp...

Page 25: ...disc and clean it page 23 The disc is very scratched Replace the disc Can t enter track numbers for memory playback No such track on the CD Enter another number page 17 It takes a long time to locate...

Page 26: ...re than 25 tracks in memory The DX 7555 contains a microcomputer for signal processing and control functions In very rare situations severe interference noise from an external source or static electri...

Page 27: ...mpedance Analog 2 0 V rms 470 Power supply AC 230 240 V 50 Hz AC 220 230 V 50 60 Hz AC 120 V 60 Hz Power consumption 16 0 W Standby power consumption 0 2 W Dimensions W H D 435 111 405 mm Weight 8 0 k...

Page 28: ...6 82194 Groebenzell GERMANY Tel 49 8142 4401 0 Fax 49 8142 4401 555 http www eu onkyo com ONKYO EUROPE UK Office Suite 1 Gregories Court Gregories Road Beaconsfield Buckinghamshire HP9 1HQ UNITED KIN...

Reviews: