


17
Playing CDs
—Continued
■
To Play back Tracks and Folders (for MP3
disc only) in Your Favorite Order
You can store up to 25 tracks in memory.
Notes:
• If you try to add more than 25 tracks, the message
“FULL” will appear on the display. You can not store
more than 25 tracks in memory.
• For audio CD, if the total playing time of your pro-
gram exceeds 99 minutes and 59 seconds, “--:--” will
be displayed. (This will not affect program playback.)
• For MP3 disc, the total playing time will not be dis-
played.
• The program will be deleted when the disc tray is
opened.
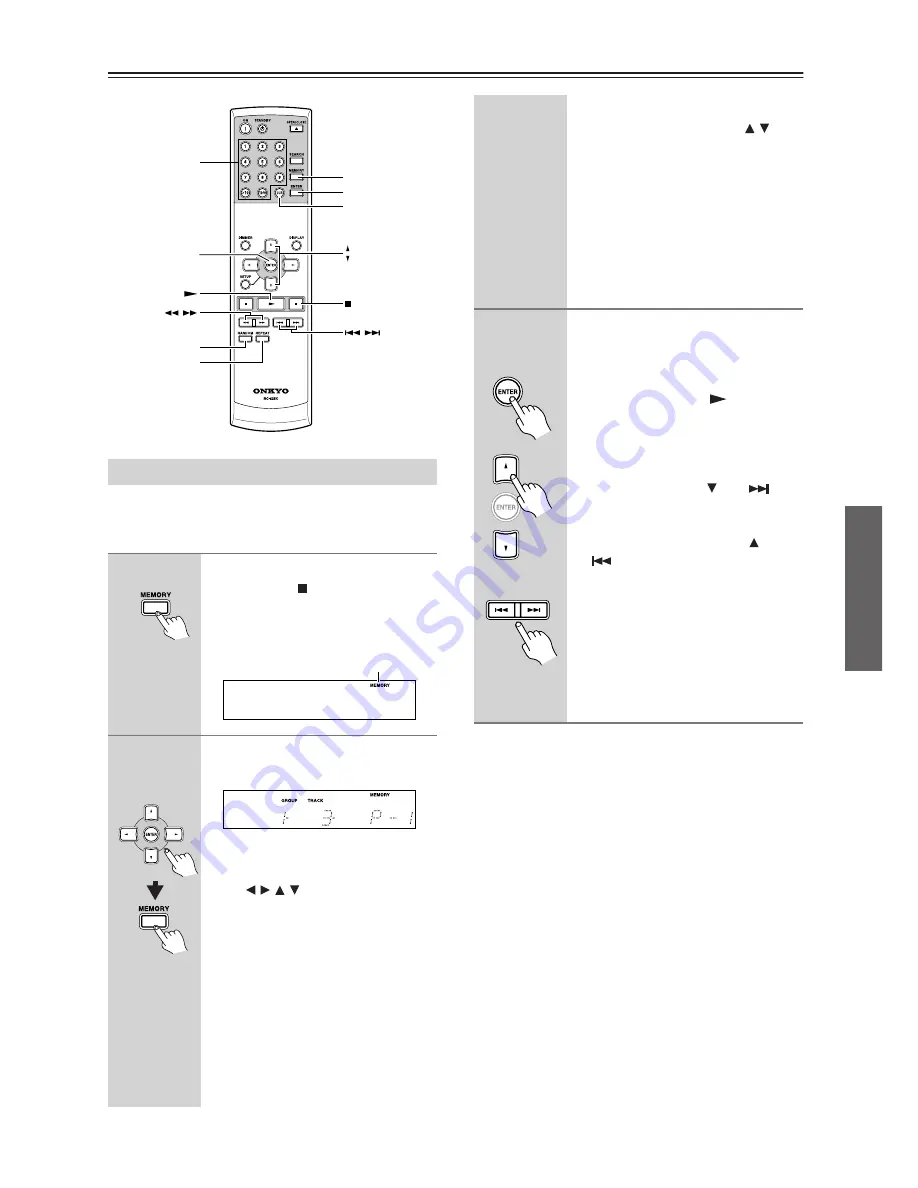
Memory Playback
1
To switch over to memory mode
Press the Stop [ ] button to stop play-
back.
Press the MEMORY button, and the
MEMORY indicator lights up.
2
To select folders and tracks to be
stored in memory
<To select MP3 folders and tracks>
• Select folders and tracks by using
the [ / / / ] buttons on the remote
controller, and then press the MEM-
ORY button. (For information about
how to select folders and tracks, see
pages 14-15.)
• Press the number buttons on the
remote controller to select folders
and tracks. (For information about
how to select folders and tracks, see
page 15.) If you want to store folders
only in memory, select folders alone
and then press the MEMORY button.
RANDOM
ENTER
CLEAR
ENTER
MEMORY
REPEAT
/
/
Number
buttons
MEMORY indicator
Remote
controller
<To select audio CD tracks>
• Select tracks by using the [ / ] but-
tons on the remote controller, and
then press the MEMORY button.
• Press the number buttons on the
remote controller to select tracks.
If you want to erase memory, press the
CLR (CLEAR) button. Every time you
press the button, the stored memory
will be cleared one by one in reverse
chronological order.
3
You can start playback for the
track by pressing the ENTER but-
ton on the remote controller.
You can also perform the same opera-
tion by using the Play [
] button.
Memory playback stops automatically
when all the tracks in the program have
been played.
• To move to the next track during
playback, press the [ ] or [
] but-
ton.
• To return to the forefront of the track
during playback, press the [ ] or
[
] button; then immediately
press the same button once again if
you want to move to the previous
track.
• While the folder stored in memory is
played back, you can select a track
you want to listen to by using the
number buttons on the remote con-
troller.
Remote
controller
or