710.1760.00.04-05
22/05/2014
28
4.
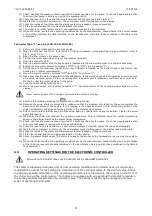
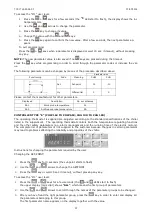
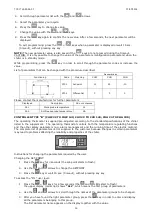
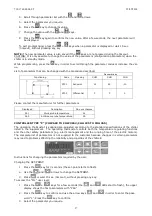
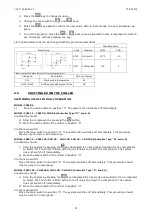
Press the
key to change its value.
5.
Change the value with the
and
keys.
6.
Press the
key again to confirm the new value. After a few seconds, the next parameter ap-
pears.
7.
To exit the program: Press the
+
keys when a parameter name is displayed or wait 15
sec. (timeout), without pressing any key.
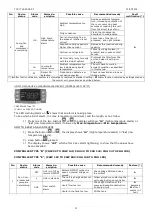
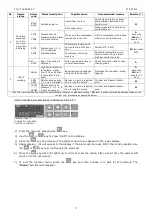
List of parameters that can be changed with the procedure described:
Standard value
Functioning
Code
Meaning
CHW
CHG
ST01
Set-point
15°C
-10
ST07
Differential
3°K
3
Please contact the manufacturer for further parameters
Displayed
Description
On our schemes
EIn
Work probe temperature
SL
Out1 / Out2
Antifreeze probe temperature
SA
6.5
SHUTTING DOWN THE CHILLER
SWITCHING ON/OFF IN DAILY OPERATION
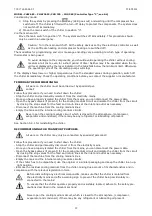
MODEL: CHW 09
1)
Move the main switch to position “0”. The system then switches off immediately.
MODEL: CHW 11 – CHW 36; CHG 08 (Controller Type “D”, see 6.4)
Via stand-by mode:
1)
Stop the compressor by pressing the
button.
2)
Move the main switch of the chiller to position “0”.
Via the main switch:
Move the main switch to position “0”. The system then switches off immediately. This procedure
should only be used in an emergency.
MODEL: CHW 29 – CHW 149; CHO 29 – CHO 149; CHG 24 – CHG 100 (Controller Type “B”, see 6.4)
Via stand-by mode:
1)
Stop the system by keeping the
key depressed for 3 seconds and waiting for the compressor
to switch off. The chiller is fitted with a turn-off delay to protect the components. The system
does not switch off immediately.
2)
Move the main switch of the chiller to position “0”.
Via the main switch:
Move the main switch to position “0”. The system switches off immediately. This procedure should
only be used in an emergency.
MODEL: CHW 162 – CHW 602; CHG 140 – CHG 180 (Controller Type “E”, see 6.4)
Via stand-by mode:
1)
Stop the system by keeping the
key depressed for 3 seconds and waiting for the compressor
to switch off. The chiller is fitted with a turn-off delay to protect the components. The system
does not switch off immediately.
2)
Move the main switch of the chiller to position “0”.
Via the main switch:
Move the main switch to position “0”. The system switches off immediately. This procedure should
only be used in an emergency.
Summary of Contents for CHG 08
Page 40: ...710 1760 00 04 05 22 05 2014 40 CHW 20 25 CHO 10 cST CHG 20 25 5 EN 60204 EN 378 2...
Page 41: ...710 1760 00 04 05 22 05 2014 41 HFC CE 842 2006 3 3 1 3 2 C CND EVA HP LP...
Page 42: ...710 1760 00 04 05 22 05 2014 42 MHP MLP PV R V a 2 5 b VE 2 5 MOP IAF 3 3 MF P...
Page 43: ...710 1760 00 04 05 22 05 2014 43 BP BPM CAA EV 1 1 VNR FL LVE RA TD VNR EV 1 2 3...
Page 44: ...710 1760 00 04 05 22 05 2014 44 1 2 3 4 5 6 7 3 4 ALR...
Page 65: ...710 1760 00 04 05 22 05 2014 65 CHW 682 CHW 3652 CHG 225 CHG 365 6 4 1 2 0 0 5 2 1...
Page 67: ...710 1760 00 04 05 22 05 2014 67 5 6 8 9 10 3 20 15...


