


5
5-3
Sending Functions
Sending Size
Select the sending size (the size of image to be sent).
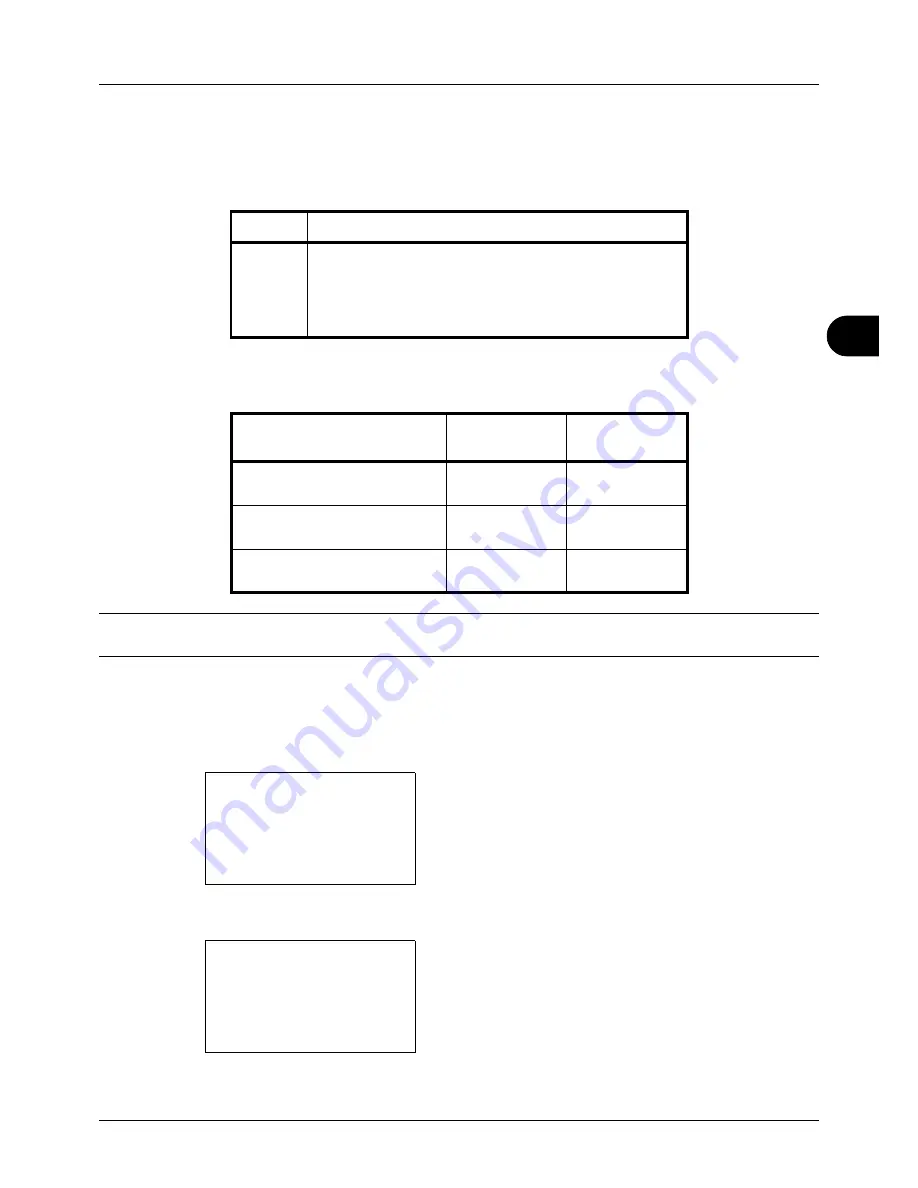
The table below lists the sizes.
Relationship between Original Size, Sending Size, and Zoom
Original Size
(
page 5-2
),
Sending Size
, and
Zoom
(
page 5-5
) are related to each other. Refer to the following table.
NOTE:
When you select Sending Size that is different from Original Size, and select the Zoom [100%], you can
send the image as the actual size (No Zoom).
Use the procedure below to select the size for transmission when sending scanned images.
1
Press the
Send
key.
2
Place the original.
3
Press the
Function Menu
key. Function Menu appears.
4
Press the
or
key to select [Sending Size].
5
Press the
OK
key. Sending Size appears.
6
Press the
or
key to select the desired sending size.
Item
Size
Sending
Sizes
Same as OrigSize, Legal, Letter, Statement, Executive,
Offcio II, A4, A5, A6, B5, B6, Folio, 216 × 340mm, 16K,
ISO B5, Envelope #10, Envelope #9, Envelope #6,
Envelope Monarch, Envelope DL, Envelope C5, Hagaki,
Oufuku Hagaki, Youkei 4 and Youkei 2
Original Size and the size you
wish to send as are
the same
different
Original Size
Specify as
necessary
Specify as
necessary
Sending Size
Select [Same as
OrigSize]
Select the
required size
Zoom
Select [100%]
(or [Auto])
Select [Auto]
Function Menu:
a
b
*********************
2
Original Size
T
3
Original Image
T
[ Exit
]
1
Color Selection
T
Sending Size:
a
b
*********************
2
Letter
3
Legal
1
*Same as OrigSize
Summary of Contents for d-COPIA 3013MFplus
Page 98: ...Preparation before Use 2 62...
Page 128: ...3 30 Basic Operation...
Page 148: ...4 20 Copying Functions...
Page 174: ...5 26 Sending Functions...
Page 186: ...6 12 Document Box...
Page 208: ...7 22 Status Job Cancel...
Page 386: ...8 178 Default Setting System Menu...
Page 474: ...Appendix 26...
Page 481: ......


