Setup and Registration
6-12
Media Type for Print Output
Specify the paper type to be used for print output of the received fax.
Supported paper types: All Media Type, Plain, Rough, Vellum, Labels, Recycled, Bond, Cardstock, Color, Envelope,
Thick, High Quality, Custom 1 to 8
NOTE:
Refer to the machine’s
Operation Guide
for details on Custom Paper 1 to 8.
1
Press the
System Menu/Counter
key.
2
Press the
or
key to select [FAX].
3
Press the
OK
key.
4
Press the
or
key to select [Reception].
5
Press the
OK
key.
6
Press the
or
key to select [FAX Media Type].
7
Press the
OK
key.
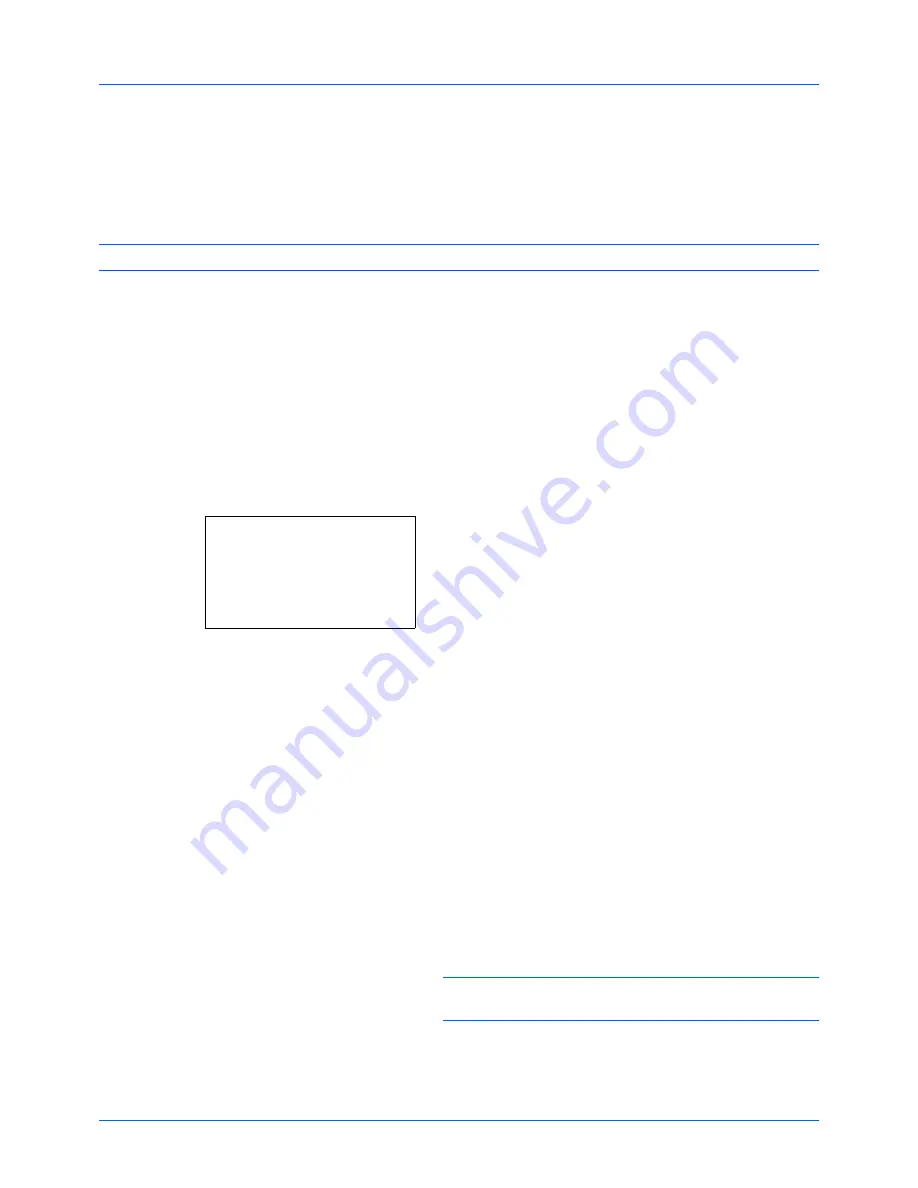
8
Press the
or
key to select the desired paper type. If
you do not specify any paper type, select [All Media
Type].
9
Press the
OK
key.
Setting the cassette for the print output of received faxes
By specifying the media type, faxes can be received on the corresponding cassette. Faxes will be automatically
reduced to the set paper size.
1
Press the
System Menu/Counter
key.
2
Press the
or
key to select [Common Settings].
3
Press the
OK
key.
4
Press the
or
key to select [Orig./Paper Set.].
5
Press the
OK
key.
6
Press the
or
key to select [Cassette 1 Set.],
[Cassette 2 Set.] or [Cassette 3 Set.].
NOTE:
[Cassette 2] and [Cassette 3] are shown when the
optional paper feeder is installed.
7
Press the
OK
key.
FAX Media Type:
a
b
*********************
2
Plain
3
Rough
1
*All Media Type
Summary of Contents for d-COPIA 3004MF
Page 14: ...xii...
Page 20: ...Part Names and Functions 1 6...
Page 54: ...FAX Operation Basic 3 26...
Page 112: ...Checking Transmission Results and Registration Status 5 12...
Page 152: ...About Network FAX 7 4...
Page 176: ...Index 4...
Page 179: ......
Page 180: ...First edition 2011 12 2MJLVEN000...


