d-Color MF752/652
17-13
17
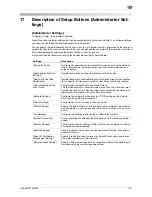
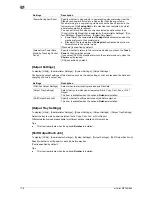
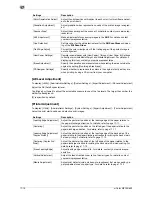
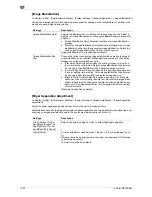
[Erase Leading Edge]
To display: [Utility] - [Administrator Settings] - [System Settings] - [Expert Adjustment] - [Printer Adjustment]
- [Erase Leading Edge]
Adjust leading edge erase width. For details on displaying this item, contact your service representative.
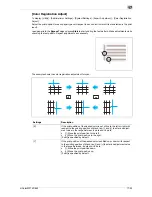
[Vertical Adjustment]
To display: [Utility] - [Administrator Settings] - [System Settings] - [Expert Adjustment] - [Printer Adjustment]
- [Vertical Adjustment]
Adjust the feed direction zoom ratio of paper types. For details on displaying this item, contact your service
representative.
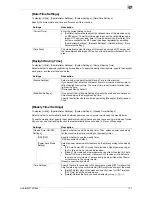
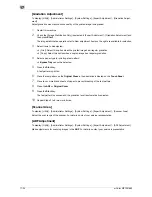
[Media Adjustment]
To display: [Utility] - [Administrator Settings] - [System Settings] - [Expert Adjustment] - [Printer Adjustment]
- [Media Adjustment]
Adjust print defects (voids, white spots, roughness) that are caused by paper properties for each paper type.
Copy or print after configuration, then repeat adjustments as required.
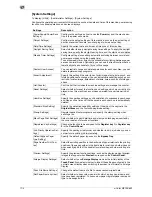
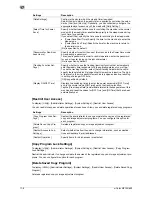
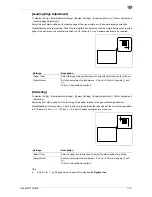
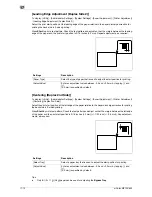
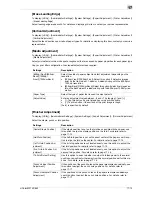
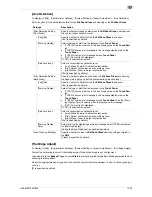
[Finisher Adjustment]
To display: [Utility] - [Administrator Settings] - [System Settings] - [Expert Adjustment] - [Finisher Adjustment]
Adjust the staple, punch or fold position.
Settings
Description
[600dpi Front]/[600dpi
Back]/[1200dpi
Front]/[1200dpi Back]
Select the side of paper subject to defect adjustment depending on the
resolution.
•
[600dpi Front]/[1200dpi Front]: Select this option if defective images
exist on the front side of 1-sided or 2-sided printing with the 600 dpi or
1200 dpi resolution.
•
[600dpi Back]/[1200dpi Back]: Select this option if defective images ex-
ist on the back side of 2-sided printing with the 600 dpi or 1200 dpi res-
olution.
[Paper Type]
Select the type of paper that is used to adjust defects.
[Adjust Value]
Enter an adjustment value between -8 and +7 by tapping [-] and [+].
•
[-]: Tap this button if a print image has voids or white spots.
•
[+]: Tap this button if the surface of the print image is rough.
[Auto] is specified by default.
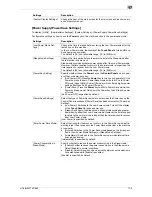
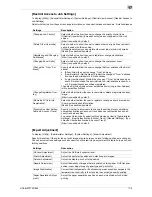
Settings
Description
[Center Staple Position]
If the staple position is not on the fold line on saddle-stitched paper, use
this option to align the staple position on the fold. For details, refer to
page 17-14.
[Half-Fold Position]
If the half-fold position is not on the exact center of the paper, use this op-
tion to align the fold on the center. For details, refer to page 17-15.
[1st Tri-fold Position Ad-
justment]
If the tri-fold positions are not located evenly, use this option to adjust the
first fold position. For details, refer to page 17-15.
[2nd Tri-fold Position Ad-
justment]
If the tri-fold positions are not located evenly, use this option to adjust the
second fold position. For details, refer to page 17-16.
[Tri-Fold Output Setting]
Use this option to select whether to output tri-folded paper to the normal
position or a position further away from the normal position set for this ma-
chine. For details, refer to page 17-16.
[Punch Vertical Position
Adjustment]
If the positions of the punch holes on the paper are displaced vertically, use
this option to adjust the punch hole positions. For details, refer to
page 17-17.
[Punch Horizontal Position
Adjustment]
If the positions of the punch holes on the paper are displaced sideways,
use this option to adjust the punch hole positions. For details, refer to
page 17-17.
Summary of Contents for d-COLOR MF652
Page 10: ...Contents 8 d Color MF752 652...
Page 11: ...1 Copy Operations...
Page 12: ......
Page 28: ...Recalling a program for copying 1 1 18 d Color MF752 652 1 4...
Page 29: ...2 Recalling frequently used functions with simple action...
Page 30: ......
Page 33: ...3 Specifying the Color and Image Quality for Copying...
Page 34: ......
Page 38: ...3 3 6 d Color MF752 652...
Page 39: ...4 Saving the Number of Print Sheets...
Page 40: ......
Page 46: ...4 4 8 d Color MF752 652...
Page 47: ...5 Specifying the Size or Type of the Paper to Be Copied...
Page 48: ......
Page 50: ...5 5 4 d Color MF752 652...
Page 51: ...6 Binding Copied Paper...
Page 52: ......
Page 57: ...7 Specifying the Original Size and Scan Method...
Page 58: ......
Page 65: ...d Color MF752 652 7 9 7 9 Specify finish settings as required then tap Start Copying begins...
Page 66: ...7 7 10 d Color MF752 652...
Page 67: ...8 Copying Various Types of Originals...
Page 68: ......
Page 74: ...8 8 8 d Color MF752 652...
Page 75: ...9 Adjusting the Layout for Copying...
Page 76: ......
Page 79: ...10 Inserting a Cover Sheet or Blank Sheet into Copied Documents...
Page 80: ......
Page 84: ...10 10 6 d Color MF752 652...
Page 85: ...11 Adding Text or an Image to the Original...
Page 86: ......
Page 90: ...11 11 6 d Color MF752 652...
Page 91: ...12 Erasing an Unnecessary Portion for Copying...
Page 92: ......
Page 94: ...12 12 4 d Color MF752 652...
Page 95: ...13 Deterring Unauthorized Copying...
Page 96: ......
Page 99: ...14 Saving Original Images to a User Box...
Page 100: ......
Page 103: ...15 Description of Setup Buttons...
Page 104: ......
Page 158: ...15 15 56 d Color MF752 652...
Page 159: ...16 Description of Setup Buttons User Settings...
Page 160: ......
Page 174: ...16 16 16 d Color MF752 652...
Page 175: ...17 Description of Setup Buttons Administrator Settings...
Page 176: ......
Page 245: ...18 Index...
Page 246: ......
Page 248: ...18 4 d Color MF752 652 Index by item 18 18 1 Z Z folded original 7 5 Zoom 9 3...
Page 252: ...18 8 d Color MF752 652 Index by button 18 18 2...

