OLIMEX© 2015
A10-OLinuXino-LIME user's manual
The connector case is also grounded.
We have configured an Android image with settings suitable for A10-OLinuXino-LIME. Then using
PhoenixSuit tools we uploaded the image to the board via the USB OTG. The image is available for
users to try and tweak the settings. The images can be downloaded from the wiki article at:
https://www.olimex.com/wiki/A10-OLinuXino-LIME
.
The board variant without NAND needs an SD card with bootable OS – Android or Linux. There
are ready images available for download at the above-linked A10 wiki article.
To repair the image on NAND re-upload it following these easy steps:
1. Install and run PhoenixSuit (can be found in the wiki article of the board).
2. Go to firmware tab of the program and point to a valid Android image (the latest official one may
also be downloaded from the wiki article).
3. Disconnect the power supply and USB cable from the A10 board.
4. Press and hold RECOVERY button, apply power supply 5V, release RECOVERY button.
5. Connect USB cable to the mini USB connector
6. You will be asked for drivers for the bootloader. Navigate to the folder where you extracted the
PhoenixSuit and install the drivers from the respective executables (or manually point the installer
to the drivers folder in the PhoenixSuit installation path).
7. PhoenixSuit will detect the board and would ask for the method of writing the image. Choose
method of writing the image and confirm your wish to write the image.
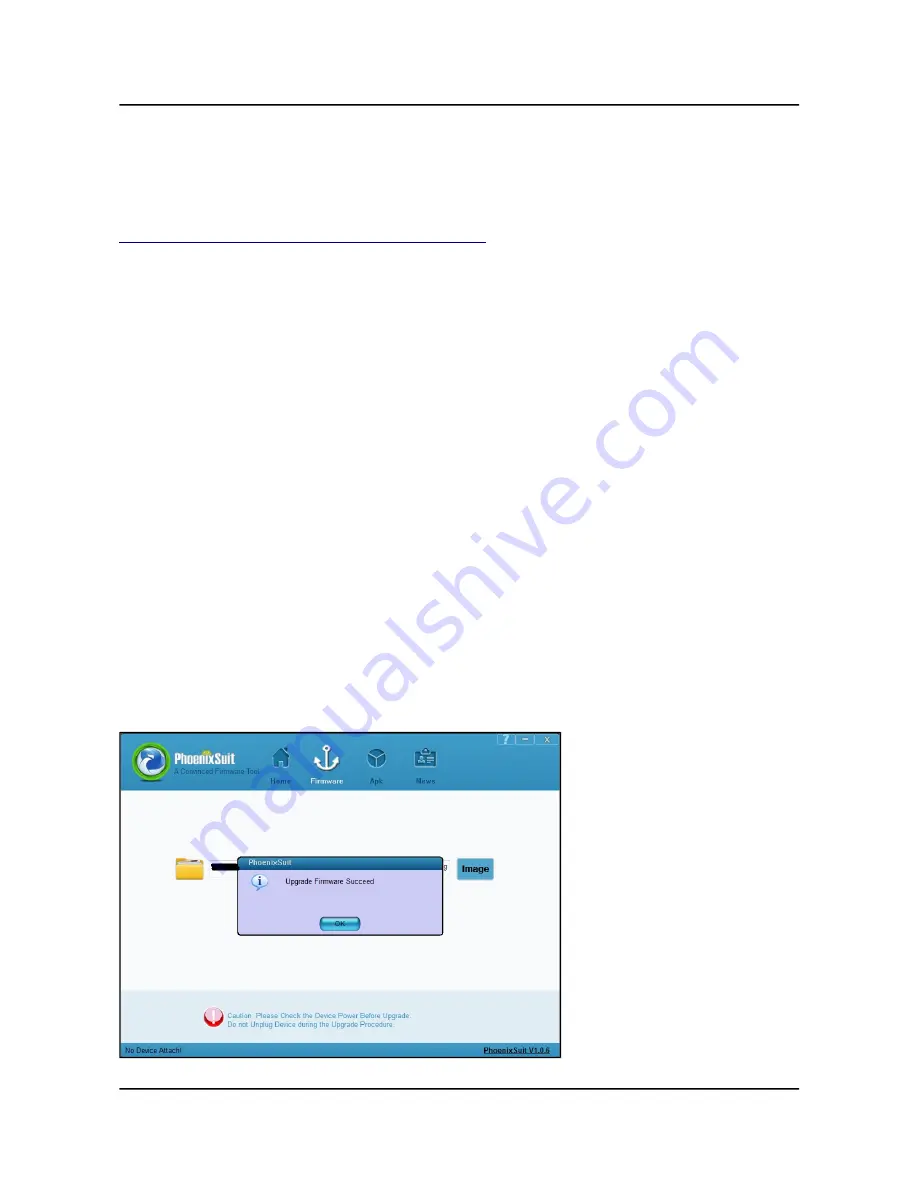
8. Wait till upgrade succeeds as shown below:
Page 25 of 45


