15
Configuring Your MFP
This section is specifically for persons who are
responsible for the administration of this MFP. There
are three methods to configure your machine.
• From the OKI MFP Network Setup Tool
• From the MFP’s web page
• From the control panel
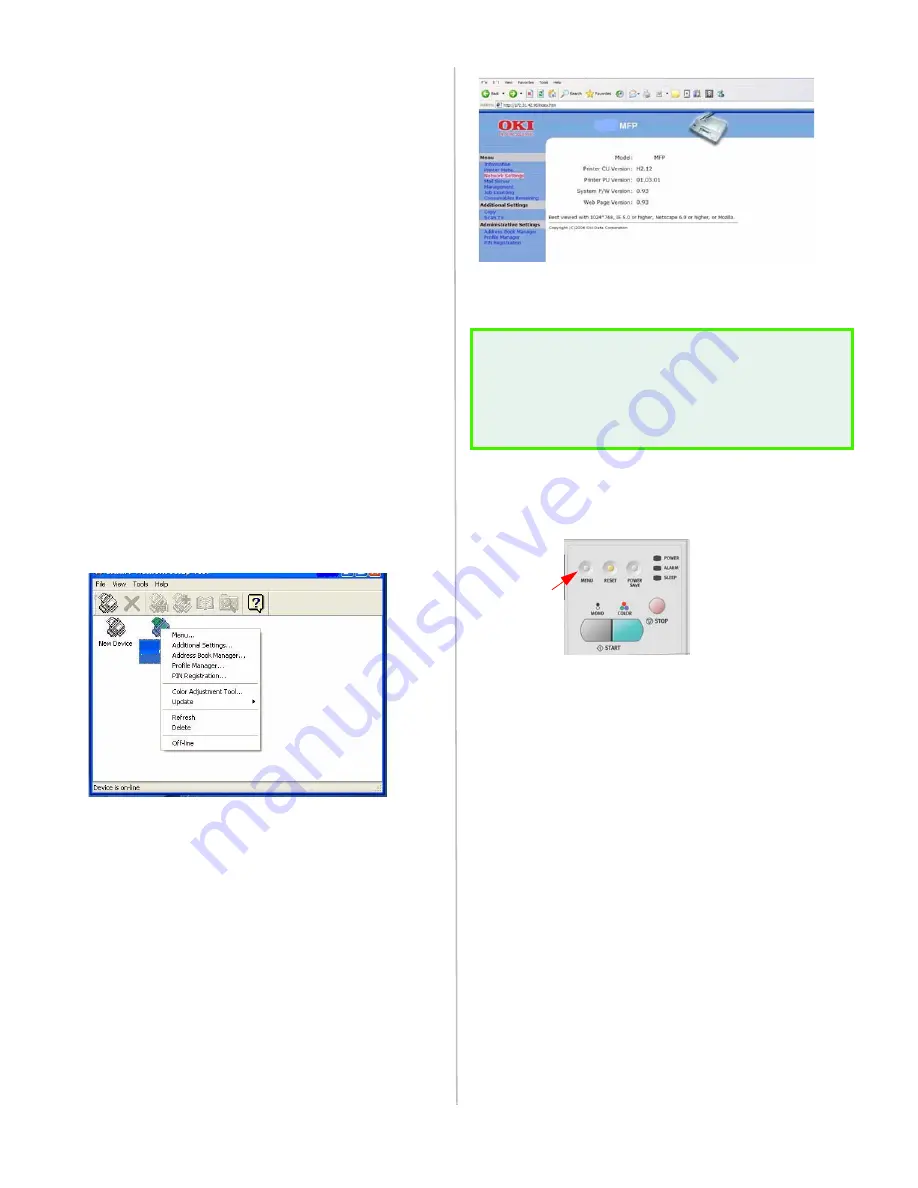
Configuring from the OKI Management Utility
(OKI MFP Network Setup Tool)
This tool provides a convenient way to remotely
configure all OKI MFP on the network.
1. Click
Start
>
Setting
>
OKI MFP Network
Setup Tool
>
OKI MFP Network Setup Tool.
2. Double click on the
New Device
icon.
3. Enter the IP Address.
4. Right-click the
ES1624n MFP
icon when it
appears to open the program.
5. Use the OKI Management Utility (OKI MFP
Network Setup Tool) to define parameters for TCP/
IP, SMTP and POP3 protocols. Then use it to
manage your network connected MFP, including
the address book, profiles, color adjustment and
LDAP Management tools. Click on the utility’s HELP
tool for more information.
Configuring from the Web Page
1. Type the IP address of the MFP in the URL field of
your browser and then press
Enter
. The MFP web
page appears.
.
2. Click
Network Settings
and enter the relevant
values.
Configuring from the Control Panel
1. Press
Menu
on the Control panel. This prompts
the following menu items on the LCD display.
• Printing Unit Menu
• Network Settings
• Mail Server
• Report Print
• Management (
This selection will be blocked by
an administrator password
.
The machine is
shipped without a specific password. It is
recommended that the administrator create a
new password to ensure security.)
2. Use the
DOWN
key to scroll to each item. The
setup parameters are located in the Network
Settings and Mail Server items. Use the
SELECT
key to select your desired item.
For additional menu information and a description
of each menu item, see the on-line User’s Guide.
NOTE!
Administrative Settings are blocked by a
password. We recommend that the system
administrator create a password since the
machine is shipped without one.


