


- 51 -
Printing on various papers
4
1
2
3
5
Apéndice
Índice
Comprobar y ca
mbiar
la configur
ación
de
la
impresor
a utilizando
el
panel
de
control
Config de
red
Concordar
los colores
Utilización
de softw
are
de utilidades
Funciones
de
impresión útiles
Using Windows XPS printer drivers
1
Click [Start], and then select [Devices
and printers].
2
Select [OKI (product name)(XPS)], and
select "Print Server Properties" in the
tool bar.
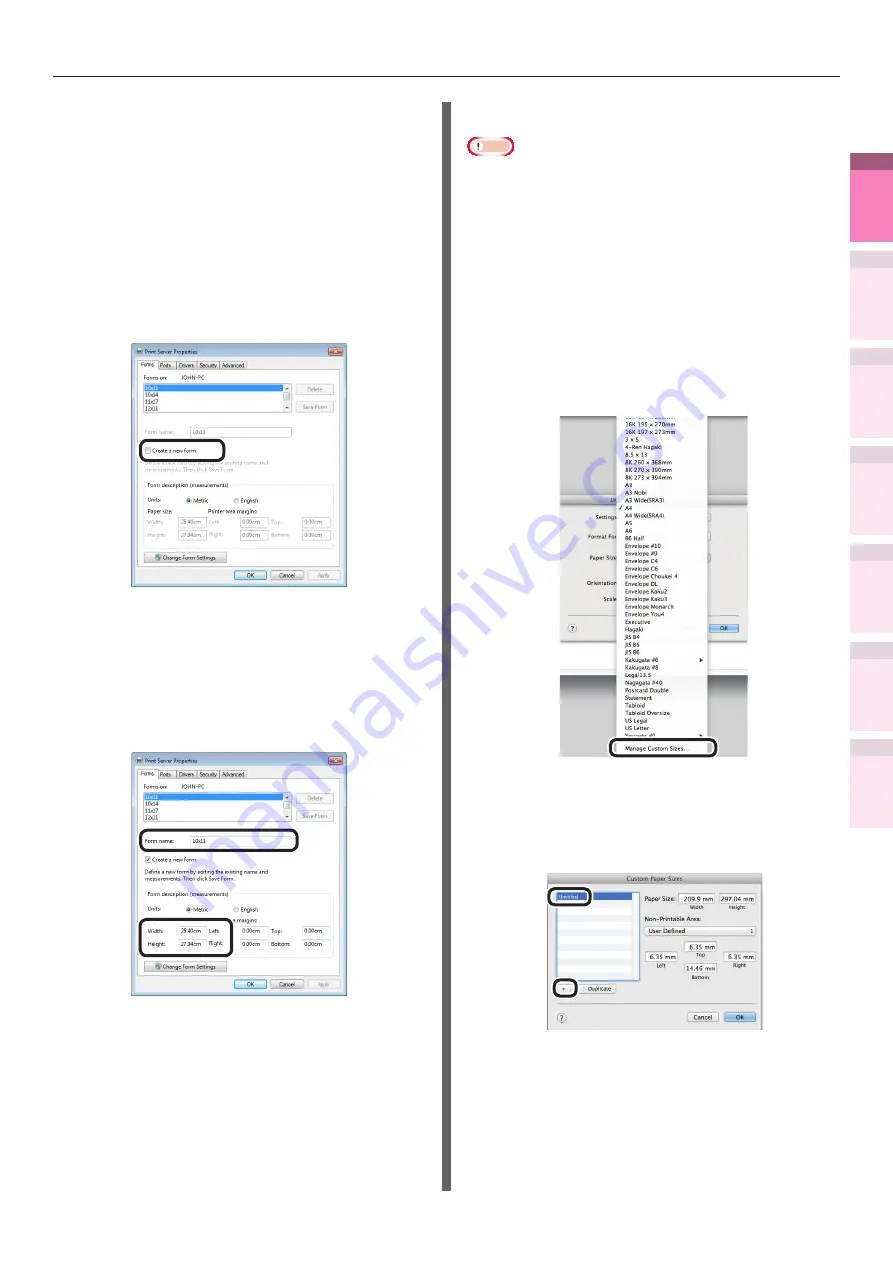
3
Enable the [Create a new form] check
box in the [Forms] tab.
4
Enter the name and size.
(1)
Enter the new size name in [Form
name].
(2)
Enter the [Width] and [Height]
values.
5
Click [Save Form].
6
Click [Close].
7
Open the file to be printed.
8
Specify the registered paper size to
print.
Using Mac OS X printer drivers
Note
z
Custom sizes exceeding the printable range can be
entered using Mac OS X, but printing will be incorrect. Set
within the correct range.
z
If a custom paper size with the same paper size as
registered in the OS is specified, the paper may be
handled as regular paper.
1
Open the file to be printed.
2
Select [Page Setup] in the [File] menu.
3
Select [Manage Custom Sizes] in [Paper
Size].
4
Click [+] in the "Custom Paper Sizes"
screen. Double-click [Untitled], and enter
a name in [Custom Paper Sizes]. Enter the
[Width] and [Height] page sizes.
5
Click [OK].
The created paper will be displayed at the
bottom of the [Paper Size] list in the [Page
Properties] panel.
6
Printing will be implemented.


