OFITE, 11302 Steeplecrest Dr., Houston, TX 77065 USA / Tel: 832-320-7300 / Fax: 713-880-9886 / www.ofite.com
33
Disassembling the test cell is a very important part of the procedure. Care
must be taken while disassembling the test cell to reduce the risk of damage
to all components. Properly cleaning the test cell will also increase the
longevity and maintain integrity of internal components.
1. Unscrew and remove the water supply tube from the cell cap and the
instrument cabinet.
Use caution. If the lines are plugged, the test cell may contain a
small amount of trapped pressure.
2. Unscrew and remove the thermocouple and transducer.
3. Lift the cell out of the heating jacket.
When removing the test cell, pay special attention to the transducer. Make
sure it doesn’t pull off of the end of the transducer cable with the cell.
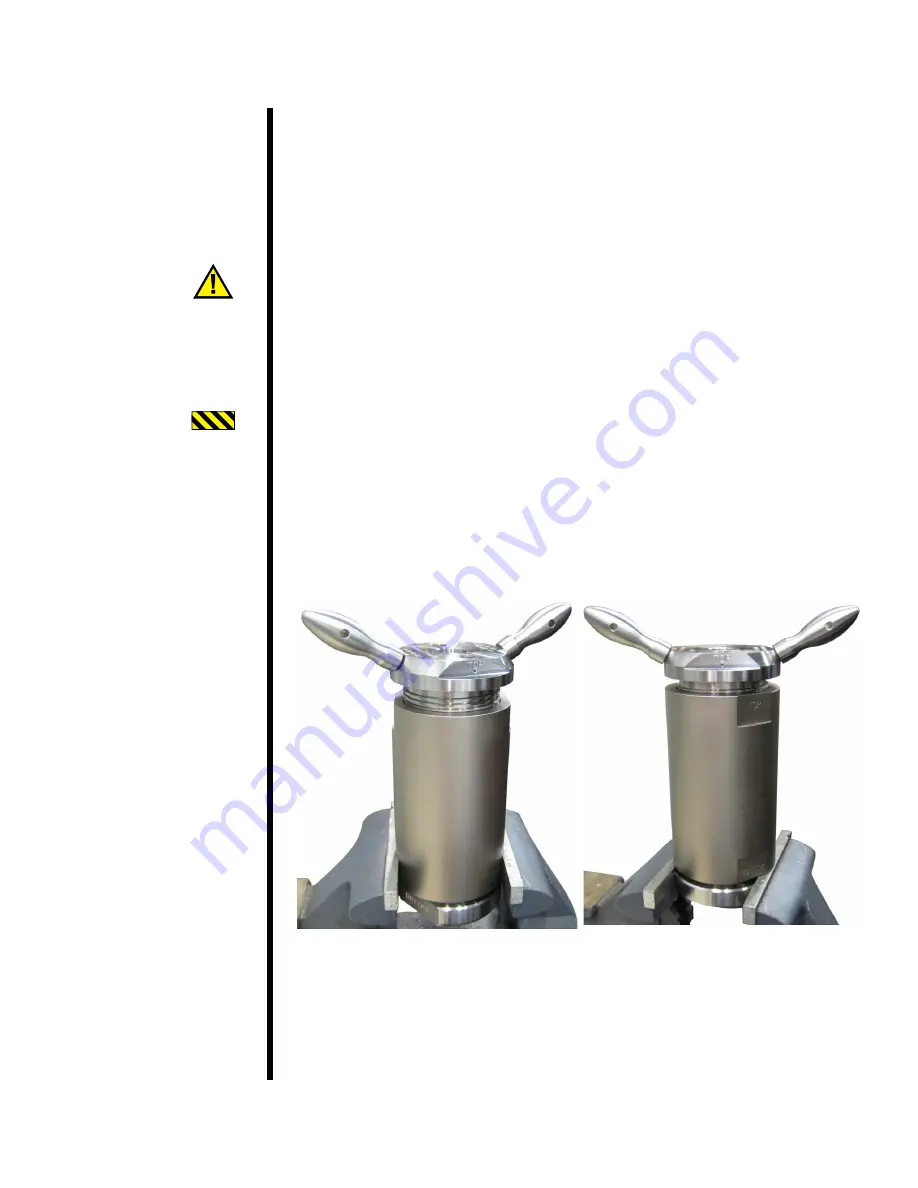
4. The UCA wrench may be required to remove the end caps. Remove both
cell caps from the cell as shown below and proceed with the following
instructions:
a. Remove the top cell cap
b. Properly dispose of water from the cell.
c. Remove the bottom cell cap.
UCA
Disassembling and
Cleaning the Test
Cell
Top Cap Removal
Bottom Cap Removal
5. Remove the backup rings, o-rings, and retainer rings from both cell caps.
6. Clean the backup rings, o-rings, and retainer rings from both cell caps.
7. Inspect the backup rings, o-rings, and retainer rings for damage.
8. Clean the threads of the cell and cell caps of grease and debris.


