OTR 700 User's Guide Rev02 11/2016
42
Brightness
Press the menu button, use the left and right buttons to highlight the brightness icon, use the up and down
buttons to adjust the brightness level of the display or cycle through the brightness levels by pressing the select
button.
11.5 Video Scope Operation
To operate the video scope, from the home screen, highlight the Scope icon and press the select button. If
a probe is not connected already, connect the VIS300 Video Probe to the video probe port on the top of the
OTDR.
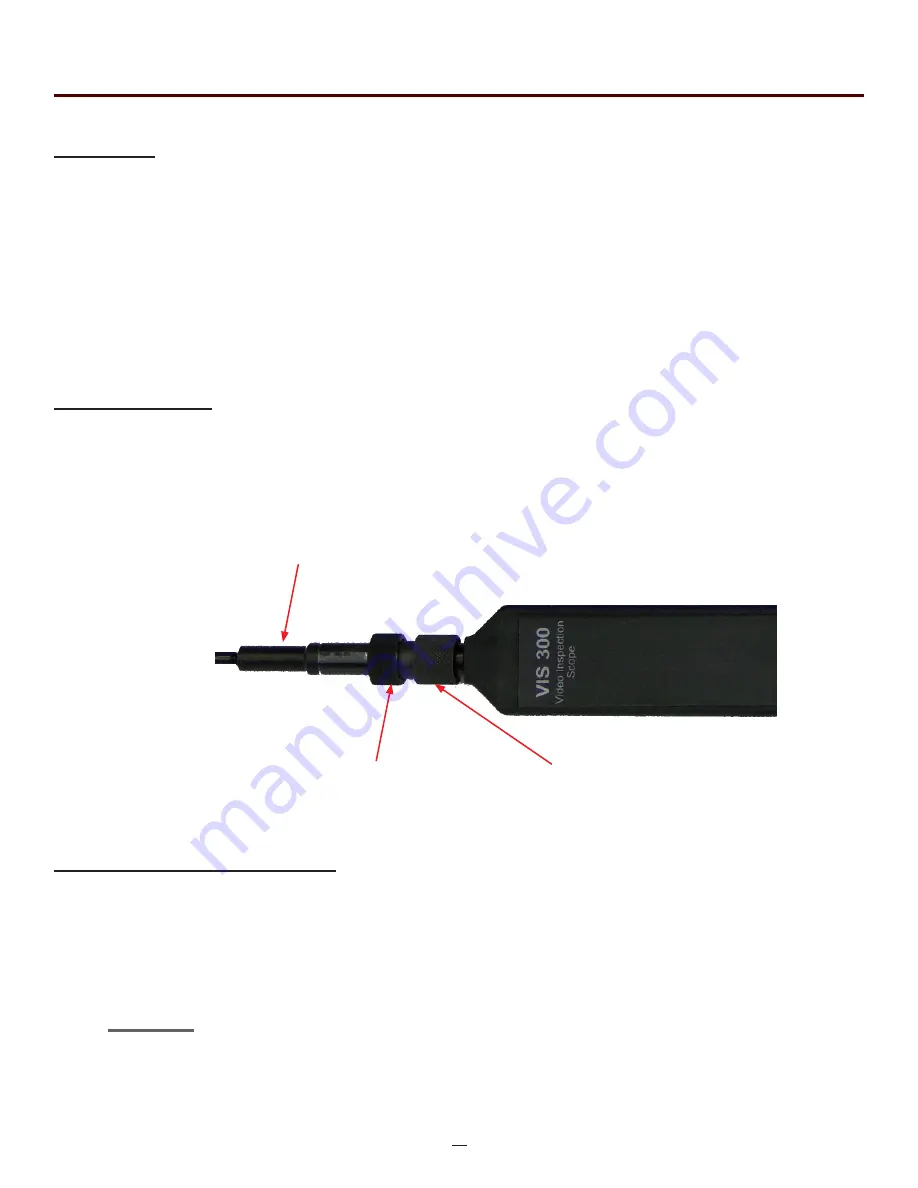
Video Probe Tips
There are a number of video probe tips available. To remove a tip from the Probe, grasp the probe tip and
unscrew the tip retention nut from the tip. Pull the tip straight up from the probe. To place a tip on the probe,
ensure the lens is clean, slide the tip on to the end of the probe and tighten the tip retention nut. Do not
overtighten the retention nut.
Viewing/Focusing a Connector
With the video scope turned on and the video probe plugged into the OTDR, insert a connector in to universal
tip or insert the panel adapter tip into the appropriate port. The scope must be in the live scanning mode to
make focus adjustments. Use the focus ring to get the connector image as sharp as possible. When using
panel adapters it is possible to turn the body of the probe to while the adapter is inserted into the panel to
make focus adjustments.
NOTE:
To make position adjustments with the LRUD buttons, the unit must not be in menu mode. Menu mode
is evident when there is a light blue box positioned around one of the icons. When the touch screen is
used to roughly center the connector image, the menu mode is automatically turned off.
Tip Retention Nut
Focusing Ring
Chapter 11 Video Scope
Adapter Tip
Fig 11.1


