20
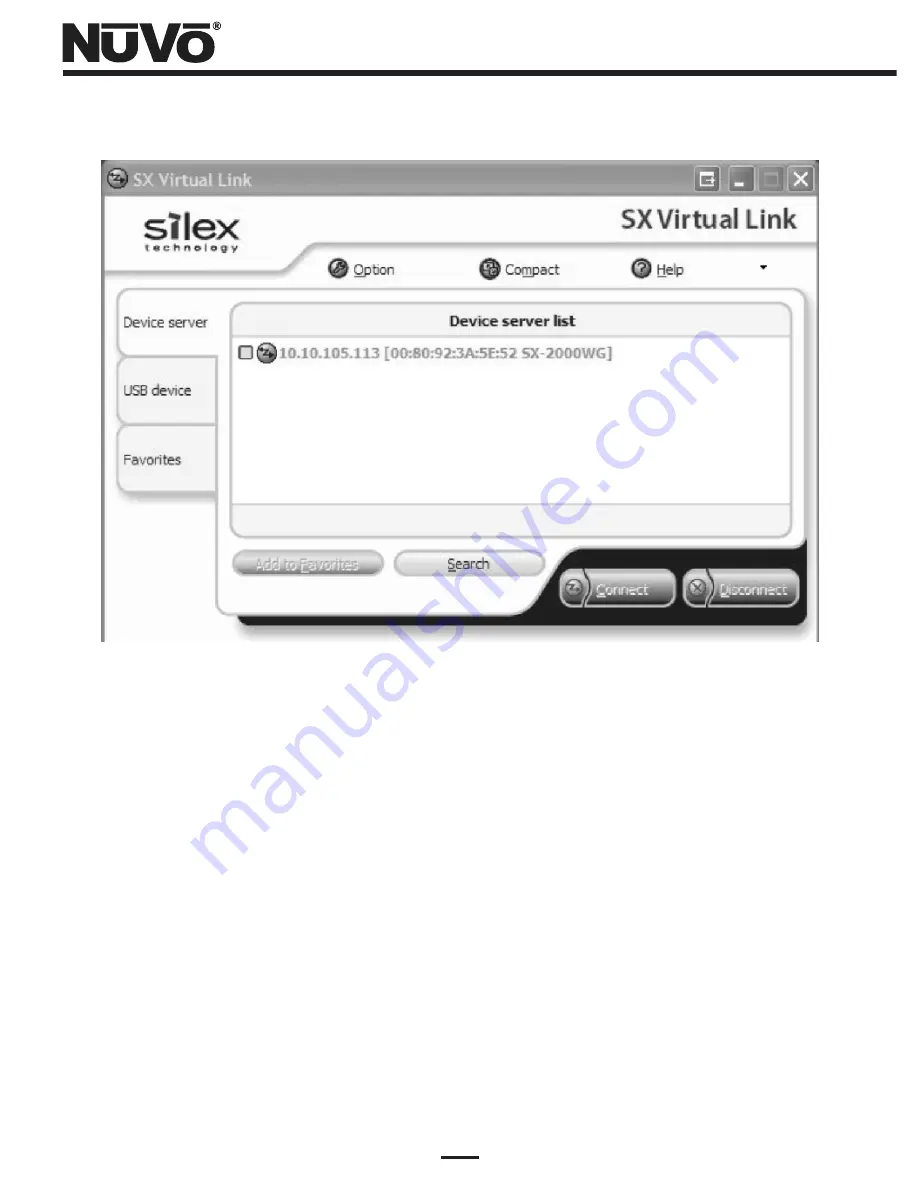
Figure 21 – Device Server List, no NV-M3 connected
(
3
)
Make sure that the NuVo NV-M3 is plugged into an AC outlet and blue STANDBY LED is lit.
Connect the NV-M3 to the device server using the supplied USB cable. A “+” icon should
appear in the box to the left of the Device Server list entry. Left-click the “+” icon to the left
to expand the view, showing the connected device, as shown in Figure 22.
(
4
)
Select the “Freescale Inc MCF5251 Device” (representing the NV-M3's Main Processor). Left-
click the “Connect” button. You should see the “Connecting” status window as shown in
Figure 23.
Summary of Contents for NV-USBW
Page 1: ...NV USBW Wireless USB Extender Installation Guide...
Page 2: ......
Page 20: ...18 Figure 19 Setup Complete status window...
Page 23: ...21 Figure 22 Device Server List NV M3 connected Figure 23 Connecting to the NV M3...
Page 26: ...24 Figure 27 Connected PC Name status Figure 26 Disconnecting from the NV M3...
Page 27: ......


