12
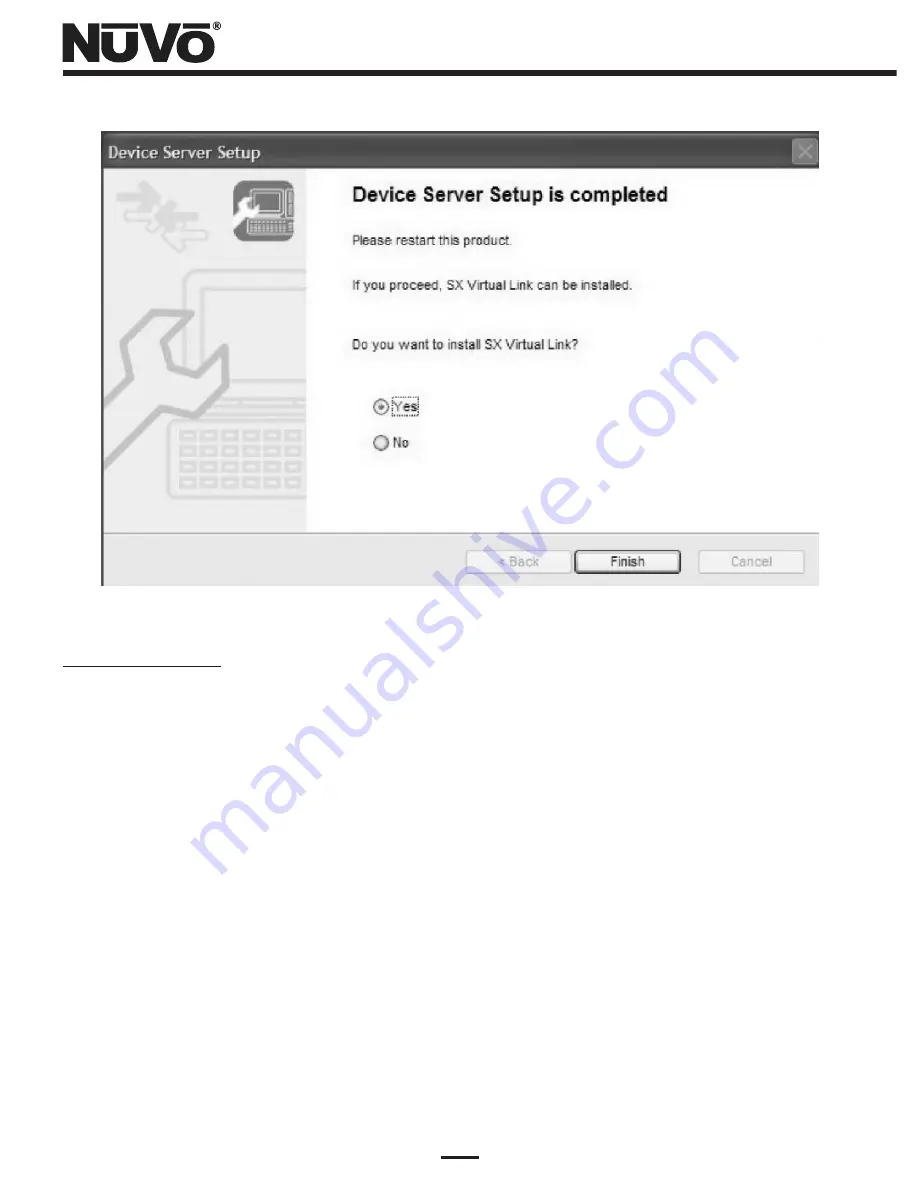
Figure 11 – Setup Complete status window
Wired Network Setup
(1) Make certain that the network router, access point, or Ethernet hub is powered up and
operating correctly. Test it by accessing it with a connected PC in the area. If the router is
connected to an active Internet access modem (cable or DSL), it is a good idea to simply open
a browser and verify access to the Internet.
(2) Make certain that the NV-USBW/SX-2000WG is set up close to the NV-M3 as described in
paragraph (1) of the “What You Need for Setup” section. BEFORE connecting the power
supply, connect an Ethernet cable between the Device Server and the network router, access
point, or Ethernet hub. Then, connect the power cable to the power supply, and plug it in to a
live AC receptacle. Observe the rectangular LED's on the side of the unit opposite the
antenna. All three LED's should flash on at first, then the bottom LED, labeled “Link” should
flash for a few seconds, and go steady ON.
(3) Insert the NuVo NV-USBW/SX-2000WG setup disk into the wireless-connected PC operating
on the wireless network. A top-level “Device Server Setup CD” menu screen will come up.
Left-click on the “Device Server Setup” button on the left.
(4) The Setup Screen shown in Figure 12 will come up. Left-click on the large “Wired” button on
the left.
Summary of Contents for NV-USBW
Page 1: ...NV USBW Wireless USB Extender Installation Guide...
Page 2: ......
Page 20: ...18 Figure 19 Setup Complete status window...
Page 23: ...21 Figure 22 Device Server List NV M3 connected Figure 23 Connecting to the NV M3...
Page 26: ...24 Figure 27 Connected PC Name status Figure 26 Disconnecting from the NV M3...
Page 27: ......


