Operating Instruction and Documentation
4.50 SL
- 45 -
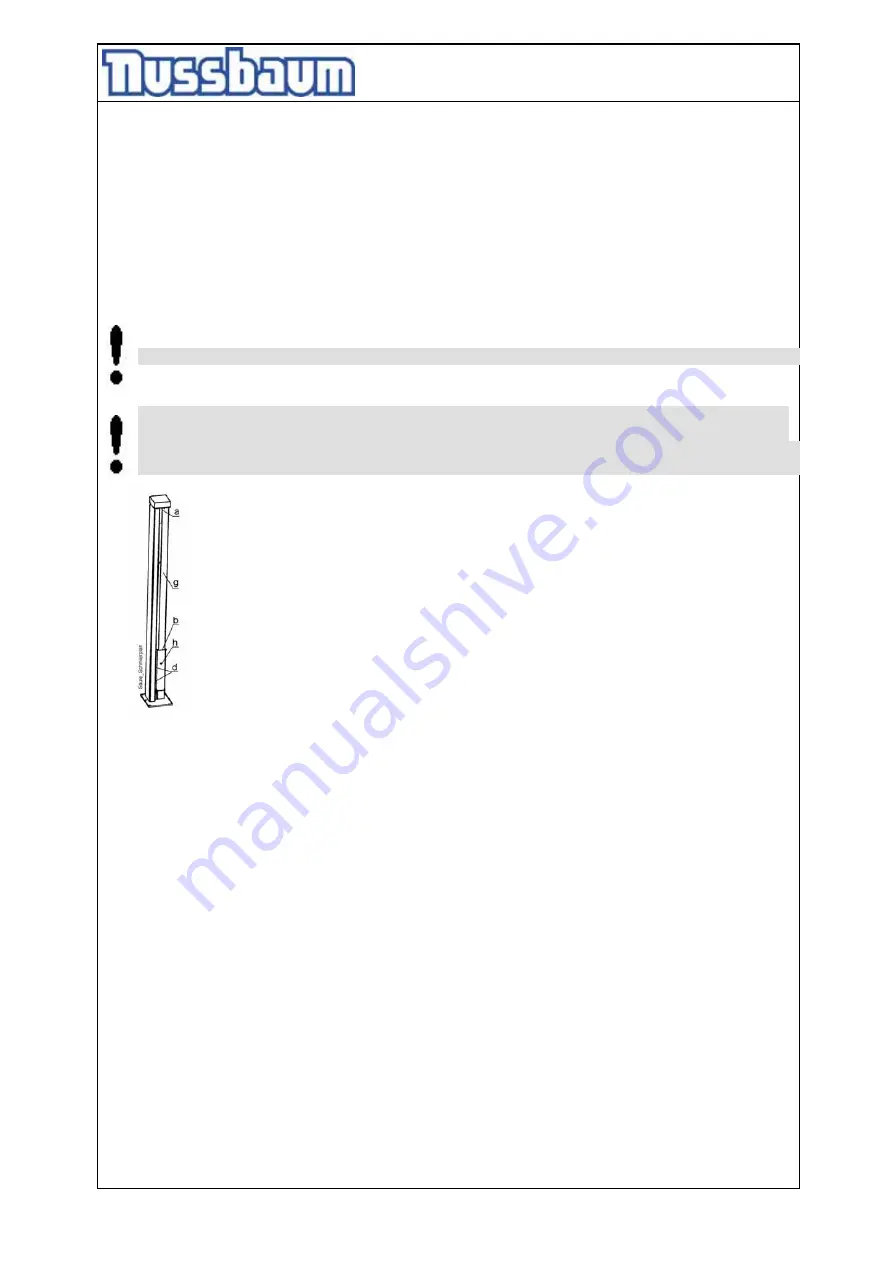
b
Oiling
the spindle and the lubricating felt between the carrying nut and the centring of
the spindle one time a month with a thin oil as SAE15W40.
Attaching twice lifting and lowering the lift in the end position. After lifting and lowering
the lift with load.
The lubricating interval has to be carried out at every maintenance. If the lift is in
continuous operation, the maintenance rate has to be increased.
The nut between the column (c) and the covering (g) will greased with an oil can.
The regular complete lubrication in the mentioned distances
secures the absolutely easy operation for the lift.
d
Grease the sliding blocks with a multipurpose fat.
Do not use an biodegradable adhesive oil for greasing the spindle.
A normal adhesive oil impaired the qualities of the lift. We recommend a thin Oil: for an
example SAE15W40.
A over-lubrication or greasing with grease of the spindle through a intensive lubrication
supplies reduce the degree of effectiveness of the lift.
pic 8: lubrication drawing
h
Grease the sequence nut one time a month with multipurpose fat. Use the boring at the
lifting carriage. (remove the cover of the spindle (g)).
• The electric parts are to be tested for damages.
• Check all welded joints for cracks on the automotive-lift.
If any cracks are found on the lift cease use immediately. Switch-off and secure the main
switch (lock) and call the service partner.
• Examine all the safety devices of the lift. (CE-Stop, cover,…..)
• Check all surfaces and repair if necessary.
• Damage to external surfaces, must be immediately repaired.
If theses repairs are not made immediately, permanent damage to the powder-coated
surface may result.
Repair and clean damaged areas with an abrasive paper (grain 120). After this is
complete, use a suitable paint (observe the RAL Number).
• Check the zinc surface and repair it with a suitable tool. Use abrasive paper (grain 280).
White rust can result from moisture laying in certain areas for long periods of time. Poor
aerating can also result in rust formation.
Rust may result from mechanical damage, wear, aggressive sediments (de-icing salt,
liquids) or insufficient cleaning.
Repair and clean these areas with abrasive paper (grain 280).
After this is complete, use a suitable paint (observe the RAL Number).
• Examine the condition and the function of the spindle centering (after running delay)
annually, or if necessary. Adjust it, if necessary.
Is it not possible to adjust the spindle centering anymore, exchange it.
Summary of Contents for 4.50 SL
Page 9: ...Operating Instruction and Documentation 4 50 SL 9 2 5 Declaration of conformity...
Page 10: ...Operating Instruction and Documentation 4 50 SL 10 3 Technical Information...
Page 12: ...Operating Instruction and Documentation 4 50 SL 12 3 3 Data sheet...
Page 13: ...Operating Instruction and Documentation 4 50 SL 13 3 4 Foundation diagram drawing...
Page 14: ...Operating Instruction and Documentation 4 50 SL 14 3 5 Electrical diagram drawing...
Page 15: ...Operating Instruction and Documentation 4 50 SL 15...
Page 16: ...Operating Instruction and Documentation 4 50 SL 16...
Page 17: ...Operating Instruction and Documentation 4 50 SL 17...
Page 18: ...Operating Instruction and Documentation 4 50 SL 18...
Page 19: ...Operating Instruction and Documentation 4 50 SL 19...
Page 20: ...Operating Instruction and Documentation 4 50 SL 20...
Page 21: ...Operating Instruction and Documentation 4 50 SL 21...
Page 22: ...Operating Instruction and Documentation 4 50 SL 22...
Page 23: ...Operating Instruction and Documentation 4 50 SL 23...
Page 24: ...Operating Instruction and Documentation 4 50 SL 24...
Page 25: ...Operating Instruction and Documentation 4 50 SL 25...
Page 26: ...Operating Instruction and Documentation 4 50 SL 26...
Page 27: ...Operating Instruction and Documentation 4 50 SL 27...
Page 28: ...Operating Instruction and Documentation 4 50 SL 28...
Page 29: ...Operating Instruction and Documentation 4 50 SL 29...
Page 30: ...Operating Instruction and Documentation 4 50 SL 30...
Page 31: ...Operating Instruction and Documentation 4 50 SL 31...
Page 32: ...Operating Instruction and Documentation 4 50 SL 32...
Page 33: ...Operating Instruction and Documentation 4 50 SL 33...
Page 34: ...Operating Instruction and Documentation 4 50 SL 34...
Page 35: ...Operating Instruction and Documentation 4 50 SL 35...
Page 36: ...Operating Instruction and Documentation 4 50 SL 36...
Page 37: ...Operating Instruction and Documentation 4 50 SL 37...


