13
the control arms further down. Confirm that the needle valves are open
1
⁄
2
turn per isolator supplied.
NOTE: If the table oscillates after it floats, decrease the air pressure or
close the needle valves slightly.
6.
In clean room applications the “EXH” (exhaust) port on the valves may
be connected to the clean room vacuum system to capture the valve
exhaust.
NOTE: Exhaust must be routed to a vacuum system. Backpressure in
the tubing will cause the exhaust air to leak from the valve.
2.3.3
Adjusting Leveling Valve Sensors
1.
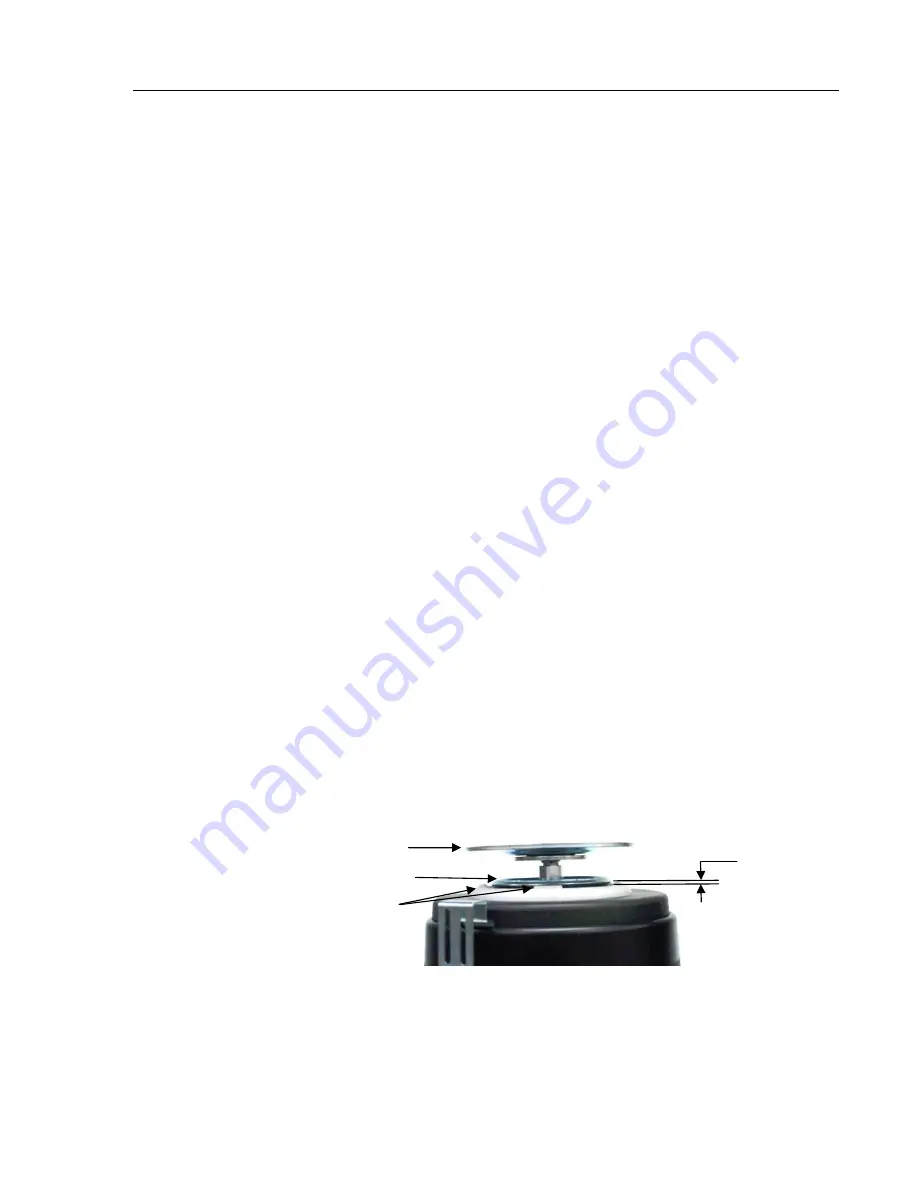
After the table floats, check the position of the centering guide and
flange of all isolators (Figure 11). The gap between the guide and flange
should be
1
⁄
4
" ±
1
⁄
16
" (6mm
±
1.5mm). The center of the isolator centering
disk should be aligned with the float height indicator tabs (Figure 11).
2.
Adjust the Table Height sensor screw of each isolator (Figure 5) as
required to obtain this gap. When all isolators are adjusted, re-check the
level of the table. NOTE: this step should require only minor
adjustments. Do not move the small set screw near the pivot of the valve
control arm.
3.
If the table is no longer level, you may have to remove the air pressure
and re-adjust the height of the isolator support plates as described in
Section 2.
4.
Verify that the table is freely floating on the isolators. Move the table
gently from side-to-side about
1
⁄
8
". You should not encounter any
resistance. Re-check by moving the table up and down the same amount.
Again, there should be no restriction of movement.
5.
Push one corner of the table down approximately
1
⁄
8
" and release it. The
table should return to the original position within less than 4 seconds.
Response time may be adjusted as described in Section 3.2.
1/4” ± 1/16”
Support Plate
Centering disk
Float height
indicator
Summary of Contents for IPV
Page 2: ...ii...
Page 22: ...16 Figure 13 Double Bolt Tightening Sequence...
Page 32: ...INSTRUCTION MANUAL Vibration Control System...
Page 39: ...viii...
Page 63: ...24...
Page 64: ...25...


