© 2021 Copyright Newmar Corporation. All rights reserved. For the most up-to-date version of this content, and for more product-specific information, please refer to Newgle.
165
INTERIOR
Safes
Stack-On Security Wall Safe Operation (Model:
PWS-1822E)
This article provides basic operation instructions for a Stack-On Security Wall Safe (Model: PWS-1822E).
Getting Started
When you first receive your new electronic safe you will
need to open the door with the key in order to install the
batteries. Batteries are included and are located inside
the safe.
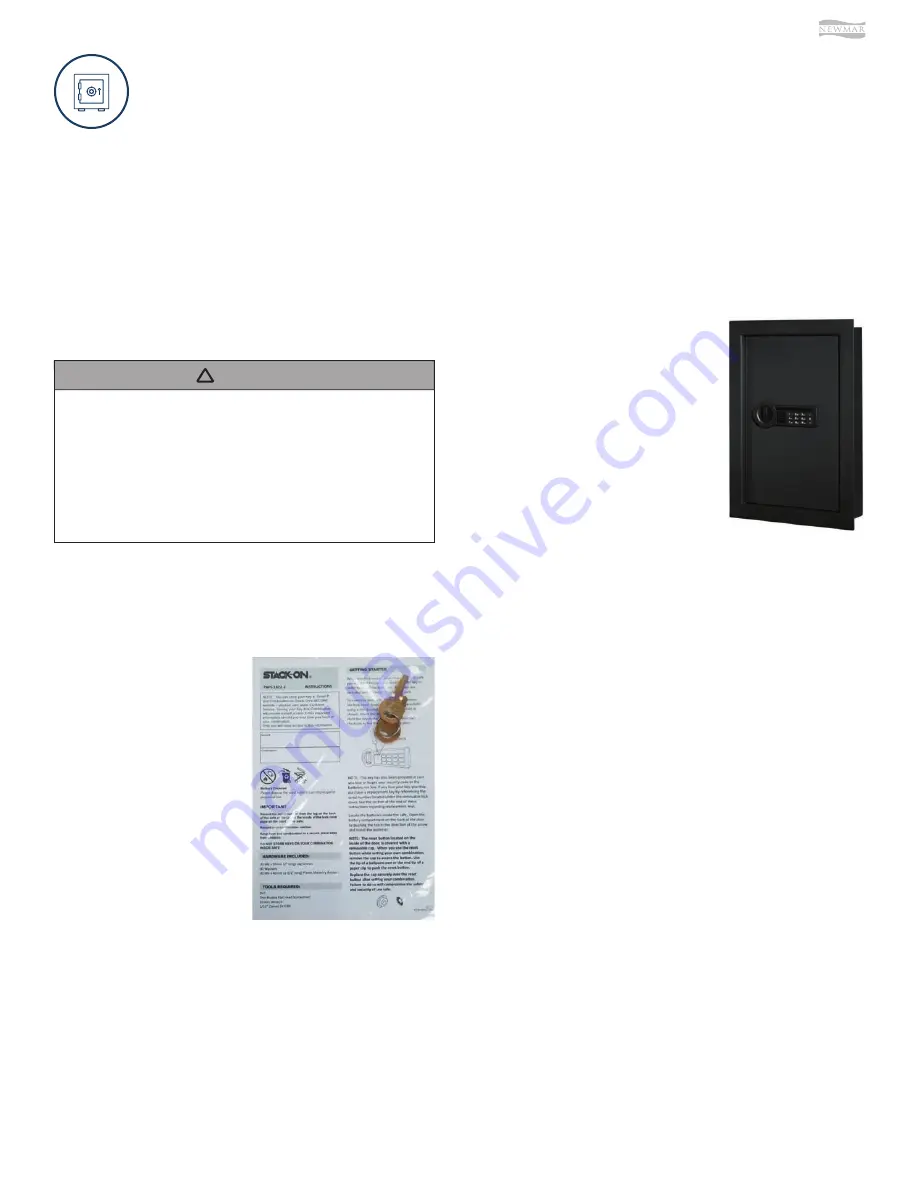
This key can be found inside the coach information
packet. This is the black bag containing user manuals
and other coach-specific documentation. If the key
is not available, the default code set by the factory
is “1-5-9,” followed by the green checkmark button.
This code will only work if the batteries have already
been installed and a security code has NOT yet been
entered.
NOTICE
!
To open the door with the key, first remove the lock
cover from the front of the faceplate using a thin bladed
flathead screwdriver. Insert the key and turn left. Hold the
key in the open position and turn the knob to the right to
open the door.
Note: This key has been
provided in case you lose
or forget your security code
or the batteries run low. If
you lose your key, you may
purchase a replacement key
by referencing the serial
number located under the
removable lock cover. See
the section at the end of
these instructions regarding
replacement keys.
Locate the batteries inside
the safe. Open the battery
compartment on the back of
the door by pushing the tab
in the direction of the arrow and install the batteries.
Note: The reset button located on the inside of the door
is covered with a removable cap. When you use the reset
button while setting your own combination, remove the
cap to access the button. Use the tip of a ballpoint pen or
the end tip of a paper clip to push the reset button.
Replace the cap securely over the reset button after
setting your combination. Failure to do so will compromise
the safety and security of the safe.
Entering Your Security Code
To enter your own security code you will need to follow
the steps listed below:
1. After installing the batteries,
locate the reset button on the
back of the door.
2. Press the reset button with a
pen and then release it; you will
hear a beep. Do NOT shut the
door until you have confirmed
that your new security code has
been entered correctly.
3. With the door open, enter your
own personal security code,
which can be 3-8 digits long,
and confirm your new code by
pressing the checkmark key on the electronic touch
pad. You will have 3 seconds to press the checkmark
key, otherwise you will have to start over from step
one. There will be 2 beeps (if the sound is turned on)
and the green light will flash twice if your code has
been entered successfully. Before you close the door,
enter the new security code and press the checkmark
key to make sure the lock releases the knob so you
can turn it and retract the live action locking bolts.
If the code fails, go through steps 1-3 again. If the code
works successfully, then you should lock the safe.
When you open the safe in the future, enter the security
code you have set, followed by the checkmark yet, and
turn the knob.
If an incorrect security code is entered 3 times, the safe
will beep 5 times (if the sound is turned on) and the
red light will flash 5 times resulting in the safe being
automatically locked out for 60 seconds before you can
try your code again. The safe will beep one time (if the
sound is turned on) and the green light will flash once
when the lockout period is over.
If an incorrect security code is entered 1 additional time,
the safe will beep 5 times (if the sound is turned on) and
the red light will flash 5 times, resulting in the safe being
automatically locked out for 5 minutes before the code
can be tried again. The safe will beep one time (if the
sound is turned on) and the green light will flash once
when the lockout period is over.
Summary of Contents for Mountain Aire 2022
Page 1: ...SM 2022...


