DRAFT
5
RHINO
™
6000+
User Guide
remembered; however, the current label file is lost and you will need to reset the
label width when you reconnect the power and turn on the printer.
LCD Display
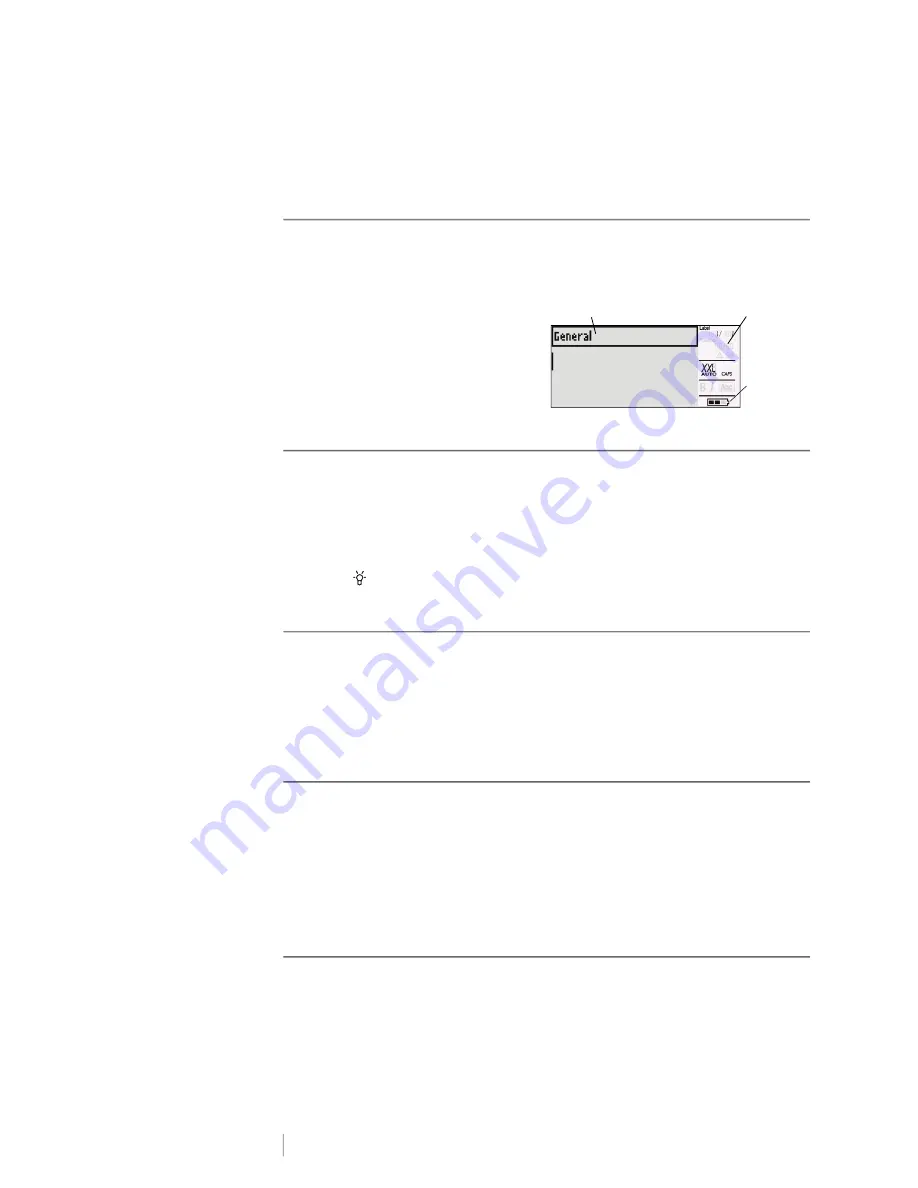
The label maker’s LCD display includes a caption bar across the top, showing the
current label type, and feature indicators on the right side, showing which features
are currently selected. See Figure 6.
When the text you have entered will not
fit on the label as currently defined, the
portion of the text that will not fit is
shaded. If you attempt to print the label
containing text that will not fit, the
excess text will not be printed.
Using the Back Light
In low light conditions, you can turn on the back light to make it easier to see the
display. To save power, the back light will turn off automatically after 15 seconds
of inactivity. Pressing any key will turn the back light on again. The back light key
acts as a toggle to turn the light on and off.
To toggle back light on and off
Press .
Keypad
In addition to the alphanumeric keys, a number of function keys give you quick
access to the features of your label printer.
Become familiar with the location of the feature and function keys on your label
maker. See Figure 5 on page 4. The following sections describe each feature in
detail.
CAPS Mode
The
CAPS
key toggles capitalization on and off. When CAPS mode is turned on,
the
CAPS
indicator is shown on the display and all letters that you enter will be
capitalized. The factory default setting is CAPS mode on. When CAPS mode is off,
all letters entered appear in lower case.
To toggle CAPS on and off
Press
CAPS
(SHIFT+ SIZE).
SHIFT Keys
The
SHIFT
keys are used to select the function or symbol printed above a key. For
example, when you press the 9 key, the number 9 appears in the display;
however, if you press
SHIFT
and then
9
, an asterisk (*) appears in the display.
Pressing one of the Shift keys toggles the function on and off, so you do not need
to hold down both keys together.
Feature
indicators
Caption bar
Battery level
indicator
Figure 6


