background image

DRAFT

19

RHINO

 6000+

User Guide

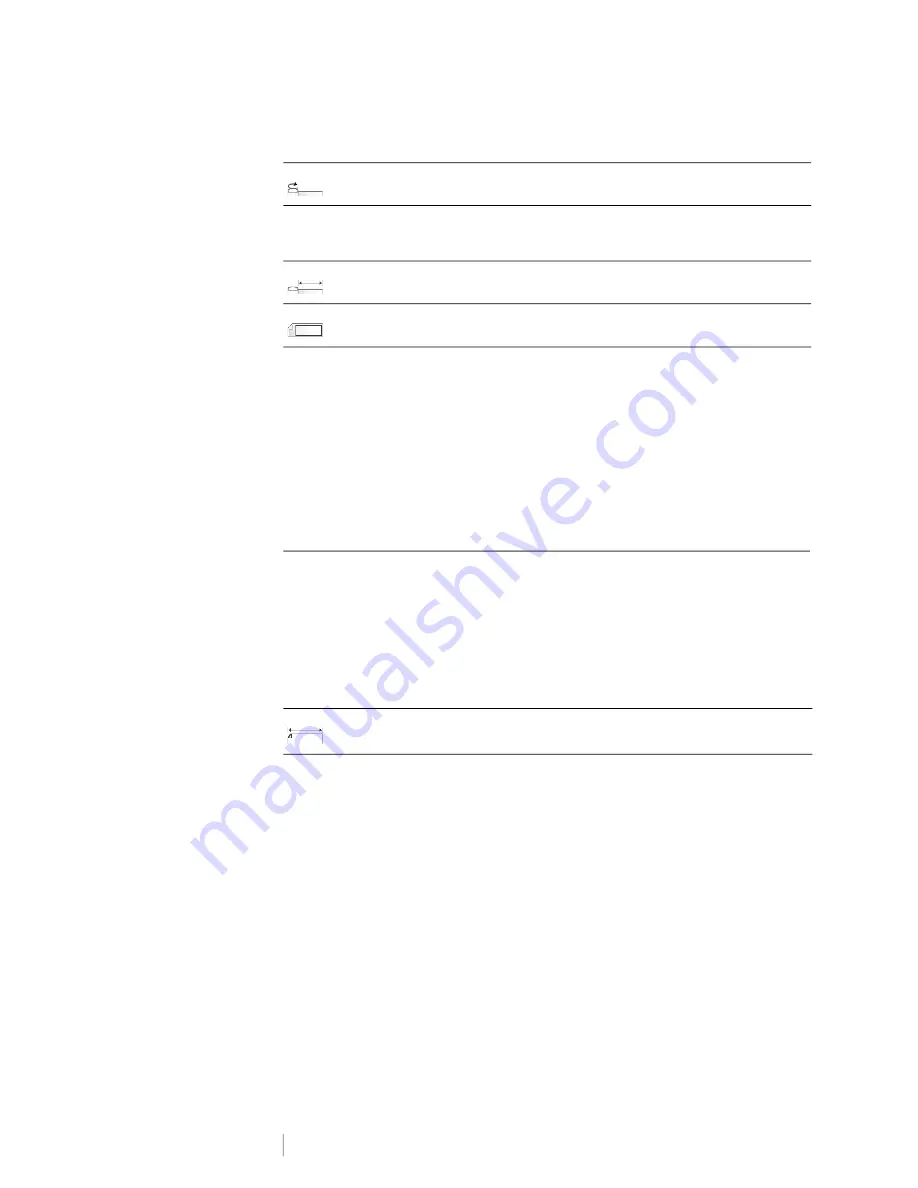
The label properties you can set are:

To print a flag label

1

Press 

CABLE.

2

Select 

Flag

 and press 

OK

.

3

Select the properties desired.

4

Select 

Done

 (ESC) to create the label.

5

Enter the text for the label and press 

PRINT

.

To create multiple labels quickly, see 

Creating a Series of Labels

 on page 12.

Creating Laminated Cable Wrap Labels

The Laminated Cable Wrap label is designed to be used with Rhino Self-
Laminating Labels (part number 1734821). The text of the label is printed on the 
top portion of the label so the clear, bottom half of the label can wrap around and 
cover the text. 
The Self-Laminating label is 24 mm wide; however, you can only enter two lines of 
text and are limited to using extra-extra-small, extra-small, and small font sizes.
The label property you can set is:

To print a self-laminating label

1

Press 

CABLE.

2

Select 

Laminated Cable Wrap 

and press 

OK

.

3

Select the 

Label length

 and press 

OK

.

4

Select 

Done

 (ESC) to create the label.

5

Enter the text for the label and press 

PRINT

.

To create multiple labels quickly, see 

Creating a Series of Labels

 on page 12.

Cable type

CAT 5/6, COAX, AWG: 4/0 - 2/0, AWG: 0 - 2, AWG: 3 - 5, AWG: 6+, or 
Custom

Diameter

Use when Custom is selected for Cable type. 

Minimum: 5/32” (4 mm)
Maximum: 2” (50.8 mm)

Flag length

Minimum: 7/16” (11.1 mm)
Maximum: 10” (254 mm)

Layout

Show label outline - 

Show label outline. Default is No. 

Label length

Minimum: 1” (24 mm)
Default: 20” (50.8 cm)

Summary of Contents for DYMO RHINO 6000+

Page 1: ...D R A F T User Guide RHINO 6000...

Page 2: ...ware may be reproduced or transmitted in any form or by any means or translated into another language without the prior written consent of Newell Office Brands Trademarks DYMO DYMO ID and RHINO are re...

Page 3: ...bel Files 14 Creating a Label File 14 Adding Labels to a Label File 14 Removing Labels from a File 15 Printing a Label File 15 Saving a Label File 15 Recalling a Label File from Memory 16 Deleting a L...

Page 4: ...justing the Print Contrast 28 Reset 29 Connecting the Label Printer to your Computer 29 Downloading and Installing DYMO ID Software 29 Connecting to your Computer 30 About DYMO ID Software 30 Transfer...

Page 5: ...aining labels and accessories for your label printer Registering Your Label Printer Visit www dymo com register to register your label printer online During the registration process you will need the...

Page 6: ...he power adapter into the power connector on the bottom of the label maker See Figure 2 2 Plug the other end of the power adapter into a power outlet Inserting the Battery The label printer is powered...

Page 7: ...clockwise to tighten the ribbon 3 Insert the cartridge with the tape and ribbon positioned between the guideposts 4 Press gently on the cartridge until the cartridge moves into place The insertion me...

Page 8: ...d for the next time the printer is turned on If the battery and power adapter are disconnected at the same time some of the settings are 1 Print of copies 8 Settings 15 Size Caps 2 Library 9 Backspace...

Page 9: ...le to turn the light on and off To toggle back light on and off Press Keypad In addition to the alphanumeric keys a number of function keys give you quick access to the features of your label printer...

Page 10: ...prints one copy of the current label file If the label file contains more than one label you can choose which labels to print Pressing SHIFT PRINT lets you change the number of copies to print Pressin...

Page 11: ...reate a Quick label 1 If not already the current label type press QUICK 2 Enter content 3 Press SETTINGS to format the text To change the properties press QUICK again A General label is similar to a Q...

Page 12: ...text sizes available for you to use depends on the width set for the label and the type of label you are creating To set the font size Press SIZE Each time you press SIZE the next available font size...

Page 13: ...ou can choose to print the human readable barcode text or not and you can serialize barcodes The barcode prints horizontally along the label with the text in small print underneath the barcode You can...

Page 14: ...The text of the existing barcode appears 4 Edit the barcode text and press OK Deleting a Barcode A barcode is entered on the label as one character To delete a barcode 1 Place the cursor at the end o...

Page 15: ...our labels My Library text is not displayed when you select All from the Library menu A complete list of pre defined text strings can be found beginning on page 36 Inserting Library Text Library text...

Page 16: ...Aaa AZ increments to BA and A9 increments to A10 Three methods of serialization are available simple simultaneous and advanced Using Simple Serialization Simple serialization creates a series of label...

Page 17: ...g Advanced Serialization Advanced serialization creates a series of labels by allowing you to select two sequences in the pattern and increment them consecutively For example A 101 A 102 A 103 B 101 B...

Page 18: ...r Text Style See Designing a Label on page 8 4 Save the label to memory See Saving a Label File on page 15 Adding Labels to a Label File You can add additional labels to an existing label file To add...

Page 19: ...f label files that can be stored is dependent on the size of the label files and the number of images they contain The more images a file contains the less memory that is available for storing label f...

Page 20: ...clear the memory location User Templates When you transfer a simple label from DYMO ID software to the printer the label file is saved as a user template You can then open and modify the label file b...

Page 21: ...bel Use a General label type to make a label for a specific purpose that is a fixed length regardless of the length of the text Any text that does not fit within the fixed length appears shaded in the...

Page 22: ...vertical wrap label 1 Press CABLE 2 Select Cable Wrap and press OK 3 Select the properties desired 4 Select Done ESC to create the label 5 Enter the text for the label and press PRINT To create multip...

Page 23: ...text The Self Laminating label is 24 mm wide however you can only enter two lines of text and are limited to using extra extra small extra small and small font sizes The label property you can set is...

Page 24: ...iple evenly spaced text for each port Use serialization to automatically populate the ports When all the ports are filled on the current label a new label is created See Creating a Series of Labels on...

Page 25: ...distribution panel label 1 Press PANEL 2 Select Distribution Panel and press OK 3 Select the properties desired 4 Select Done ESC to create the label Each connector is separated by a solid black line...

Page 26: ...two types of labels for use on a breaker box See Vertical Breaker Label on page 22 Use serialization to automatically populate the breakers When all the breakers are filled on the current label a new...

Page 27: ...nal block label 1 Press TERMNAL 2 Select the properties desired 3 Select Done ESC to create the label Each breaker is separated by a solid black line on the display 4 Enter the text for each breaker i...

Page 28: ...f Labels on page 12 The label properties you can set are To create a 110 block label 1 Press 110 BLOCK 2 Select the properties desired 3 Select Done ESC to create the label Each block is separated by...

Page 29: ...set the label width so the printer knows what size label you are currently using Some of the features you use to design labels are dependent on the width of the label However to create a label for a w...

Page 30: ...print collated so each complete copy of the file prints before the second copy starts The following example shows three copies of a label file containing three labels printed normally and collated Nor...

Page 31: ...3 Press OK and then select Done ESC Adjusting the Display Contrast In addition to back lighting you can adjust the display contrast to help in different lighting conditions To adjust the display contr...

Page 32: ...printer to its default settings All your previous settings and saved label files will be removed To adjust the print contrast 1 Press SETTINGS 2 Select Default reset and press OK 3 Use the arrow keys...

Page 33: ...m 2 Follow the instructions in the installer Connecting to your Computer The label printer connects to your computer using the USB connection located on the bottom of the label printer Do not connect...

Page 34: ...Files You can transfer simple label files to and from your label printer using DYMO ID software Transferred labels are saved as user templates See User Templates on page 16 Refer to the DYMO ID softw...

Page 35: ...ridge cover and that the label cartridge is inserted properly See Inserting and Removing the Label Cartridge on page 3 Unable to return to the previous menu Press ESC to return to the previous menu Pr...

Page 36: ...t key press and release the CUT key repeatedly Each press of the CUT key will move blade position a little bit 5 With the label cartridge cover open move the blade little by little until it reaches th...

Page 37: ...ged while inserted in the label printer using the charging adapter provided 9VDC 2A Do not connect directly to an electric outlet or cigarette lighter charger Do not store battery close to fire or ins...

Page 38: ...D R A F T 34 RHINO 6000 User Guide...

Page 39: ...A F T 35 RHINO 6000 User Guide Symbols The following tables list the default symbols by category Electrical Voice Data Audio Video Warning Punctuation Brackets Arrows Numbers Currency Home Electrical...

Page 40: ...OOM OFFICE DRESSING ROOM OUTSIDE DRIVEWAY PATIO FAMILY ROOM PLAY ROOM FLOOR POOL FOYER PORCH FRONT RIGHT GARAGE SITTING ROOM GATE SPA GUEST BATH STUDY GUEST HOUSE SUNROOM GUEST ROOM THEATER GYM UPPER...

Page 41: ...CABLE MODEM LAPTOP DSL NETWORK DSLAM PHONE DEMARC PHONE SYSTEM DESKTOP USB FAX VoIP INTERNET WIRELESS BACK DOOR HEAT DETECTOR CCTV HIGH WATER CAMERA HORN CARBON MONOXIDE LOW TEMP CELL MOTION SENSOR C...

Reviews: