For information about RAID configurations, setting up email alerts, and using the local admin page, see the
ReadyNAS OS 6 Software Manual, which is available at
http://support.netgear.com/product/ReadyNAS-OS6
.
ReadyNAS supports hot-swap drive bays, so you do not need to power down your storage system when
replacing a disk.
If you are replacing a disk with a previously formatted disk, see the instructions in
Previously Formatted
Disks
on page 20.
WARNING:
Replace one disk at a time. Wait for the volume to resynchronize your data
before replacing another disk. If you attempt to replace more than one disk
at a time, the system crashes.
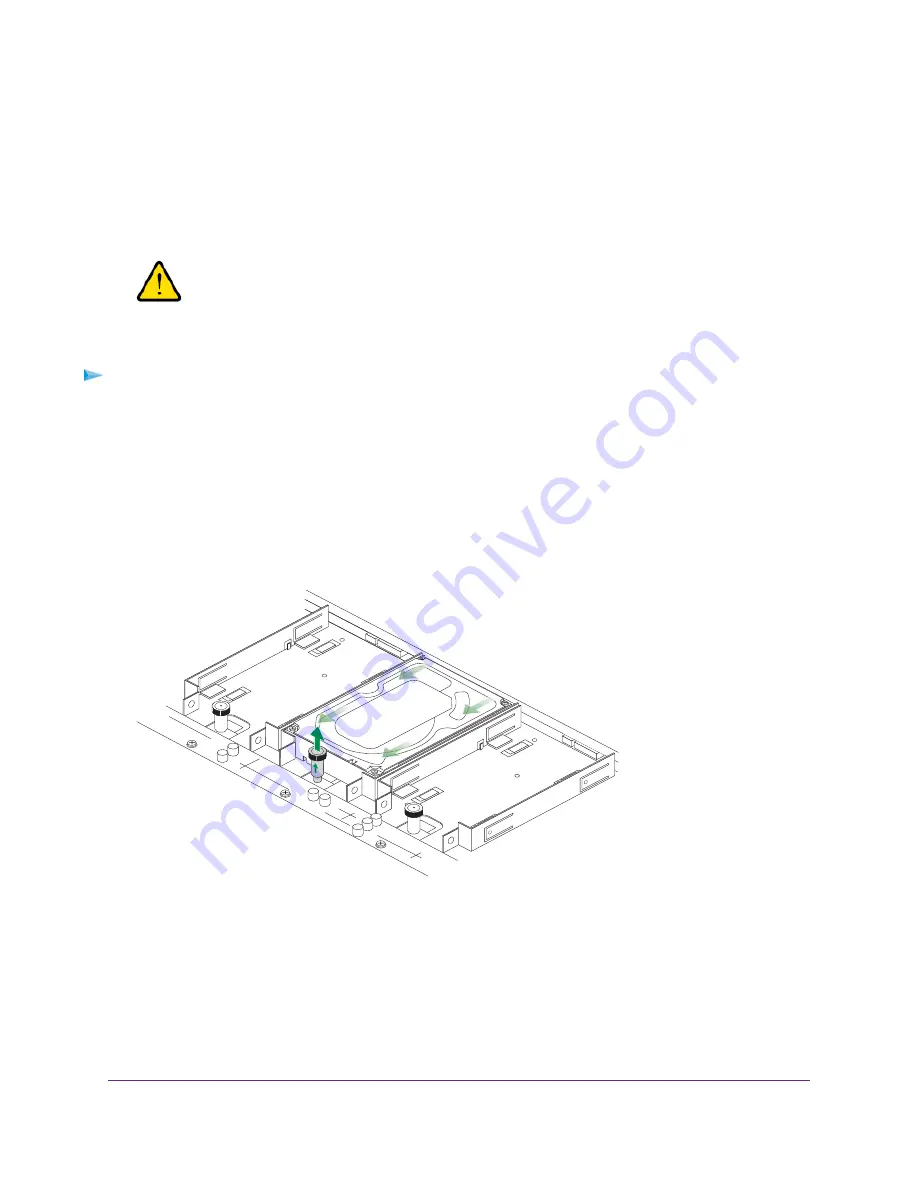
To replace a disk:
1.
Remove the screws securing the chassis to the rack and rails.
2.
Pull the system forward from the rack until the rails lock partially extended.
Use care when pulling the system forward to keep from stressing the cables attached to the back.
3.
Unscrew the two thumb screws on the front of the chassis.
4.
Lift the top cover to access the disk tray array.
5.
Set the top cover aside.
6.
Gently pull up the locking post and pull the drive towards you.
Disks
24
ReadyNAS OS 6


