10
Etisalat HSPA+ WiFi Router
USER GUIDE
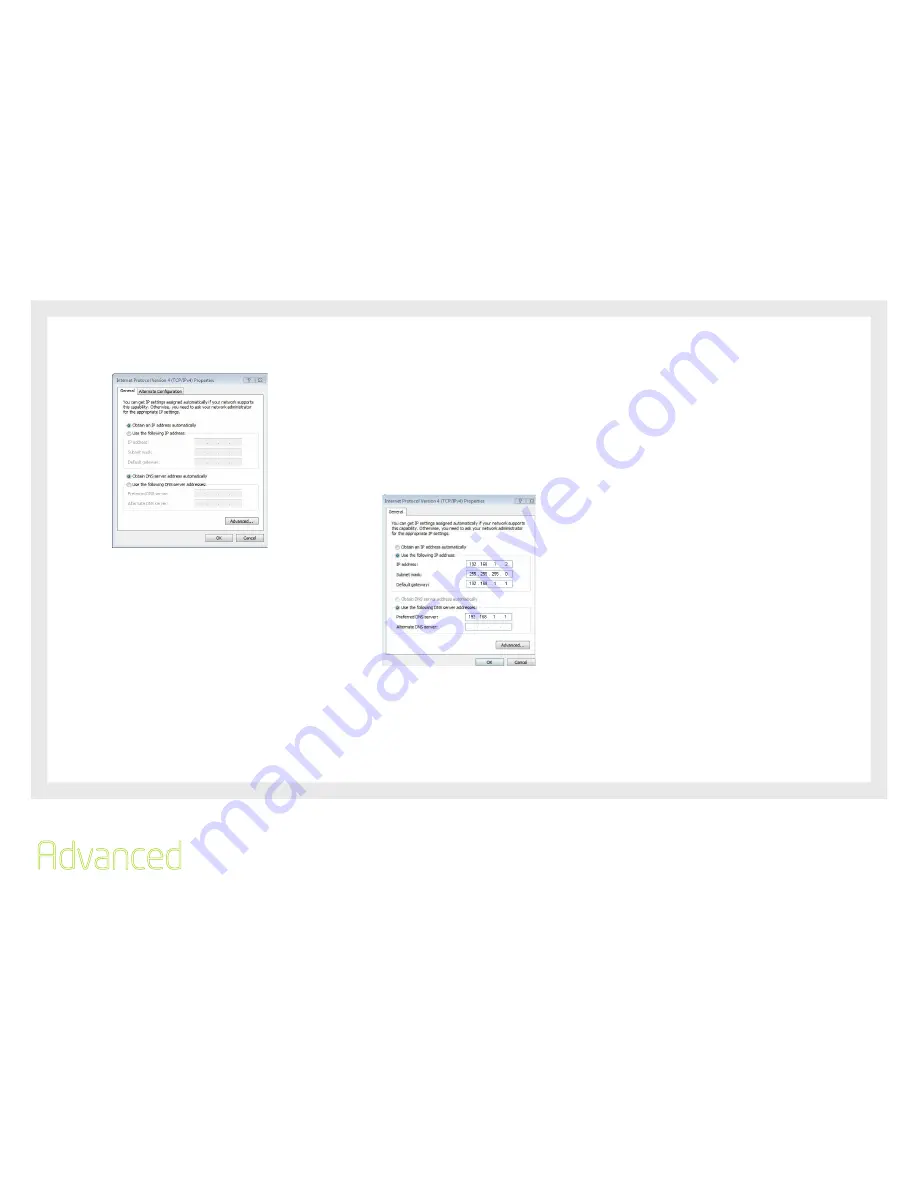
DHCP MODE
You can set your PC to DHCP mode by selecting Obtain an IP
address automatically in the dialog box shown below.
STATIC IP MODE
To configure your Router manually, your PC must have a
static IP address within the Router’s subnet. The following
steps show how to assign a Static IP address to your PC
using subnet 192.168.1x
1:
Select Use the following IP Address. Choose an IP address
between 192.168.12 – 192.168.1.254
NOTE:
The Ip address of the Router is 192.168.1.1 (default), so the PC must
be set with a different Ip. In the case below, the PC’s IP address is
set as 192.168.2
2:
Set the Router and DNS server field to 192.168.1.1 (The
Router’s IP address).
3.
Click Ok to apply the settings.
2.2 Default Settings
The following are the default settings for the Router
•
Local (LAN) access (username: admin, password: admin)
•
Remote (WAN) access (username: support, password:
support)
•
User access (username: user, password: user)
•
LAN IP address: 192.168.1.1
•
Remote WAN access: disabled
•
NAT and firewall: enabled
•
Dynamic Host Configuration Protocol (DHCP) server on
LAN interface: enabled
Technical Note:
During power on, the device initializes all settings to default values. It will
then read the configuration profile from the permanent storage section of
flash memory. The default attributes are overwritten when identical attributes
with different values are configured. The configuration profile in permanent
storage can be created via the web user interface or telnet user interface,
or other management protocols. The factory default configuration can be
restored either by pushing the reset button for more than five seconds until
the power LED blinks or by clicking the Restore Default Configuration option
in the Restore Default Settings screen (see section 6.7.3).
Advanced
Summary of Contents for 3G21WE
Page 1: ...Introduction User Guide ...
Page 4: ...Introduction Introduction CHAPTER 1 4 Introduction ...
Page 7: ...7 Advanced This chapter explains advanced setup for your Router CHAPTER 2 ...
Page 12: ...12 Basic This chapter explains basic setup for your Router CHAPTER 3 ...
Page 14: ...14 Settings This menu includes Etisalat service Setup and PIN Configuration CHAPTER 4 ...
Page 16: ...16 WIFI Etisalat CHAPTER 5 ...
Page 23: ...23 Advanced This chapter explains advanced setup for your Router CHAPTER 6 ...


