NLC
‐
100SH
Installation
and
troubleshooting
60
Once your moisture sensor has an ID you need to tell the controller what type of
sensor it is and in which
type
of
soil
it
is
placed.
Follow
this
procedure
to
make
the
sensor
known
to
the
NLC:
Configuring
a
soil
moisture
sensor
1
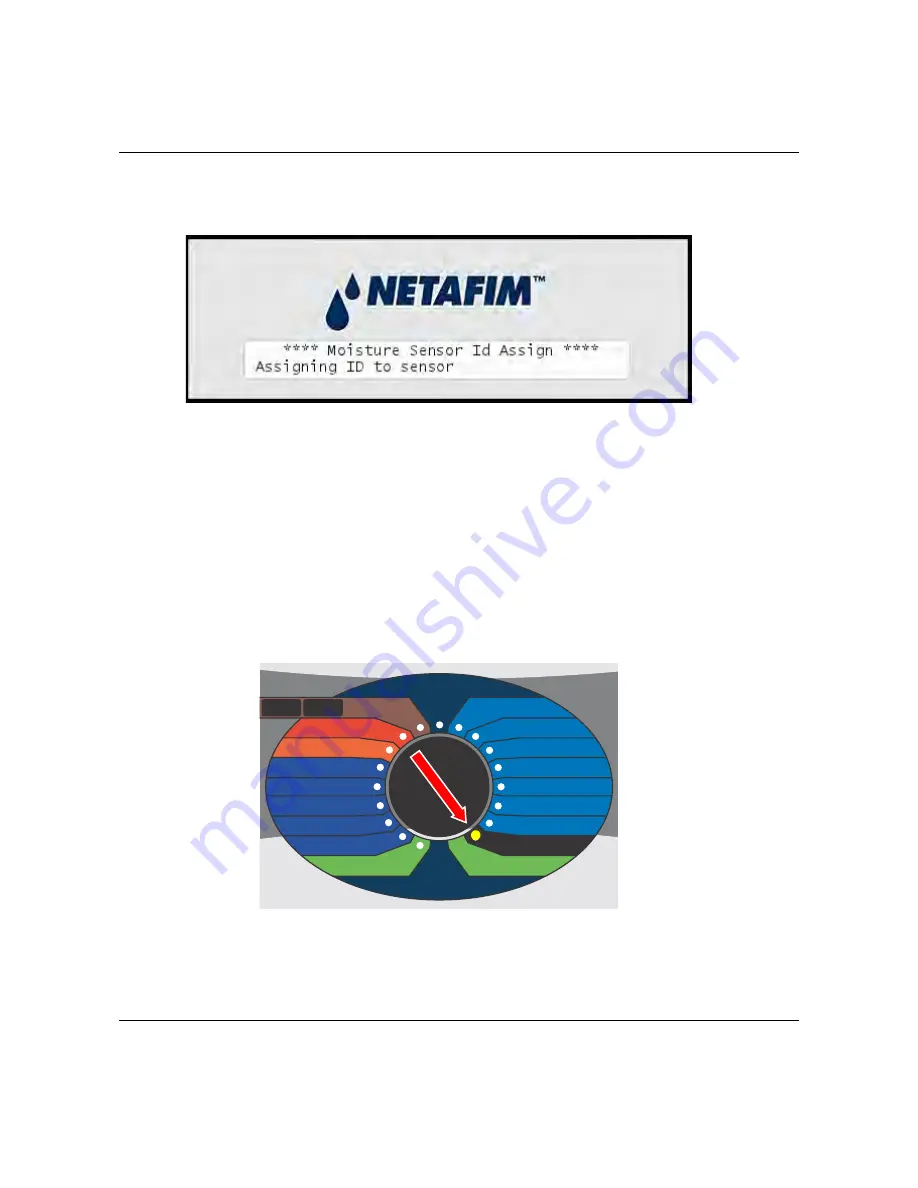
Turn the dial to
ADVANCED
Now the display looks like this:
PAUSE/
RESUME
STOP
MANUAL
OFF
RAIN OFF
RAIN ALARM STATUS
VIEW ALARMS
VIEW ET & RAIN
VIEW MOISTURE SENSOR
SETUP SENSORS
SOLENOID AMPS
ADVANCED
PROGRAM STATUS
WATER BUDGET / ET
START TIME
WATER DAYS
RUN TIME
PROGRAM
SET DATE & TIME
AUTO
Summary of Contents for NLC-100SH
Page 6: ...NLC 100SH Installation and troubleshooting 6...
Page 10: ...NLC 100SH Installation and troubleshooting 10...
Page 15: ...NLC 100SH Installation and troubleshooting 15 Connecting the conventional field wires...
Page 16: ...NLC 100SH Installation and troubleshooting 16 Connecting Two wire with shared Common...
Page 17: ...NLC 100SH Installation and troubleshooting 17 Connecting pure Two wire...
Page 80: ...NLC 100SH Installation and troubleshooting 80...
Page 81: ...NLC 100SH Installation and troubleshooting 81...


