VP1007-B / Installation manual
Version 01.000 / November 2020 / EN
11
Livestock Management
4 Configuration
4.1 Configure the VP1007-B
Caution
Before configuring the VP1007-B, the system must be fully mounted and all cabling must be installed and
checked.
Some settings of the VP1007-B must be set prior to use.
1. Power up and check the LED indicators (see Power up check).
2. Set the required address (see Address setting).
Power up check
1. Power up the VPU.
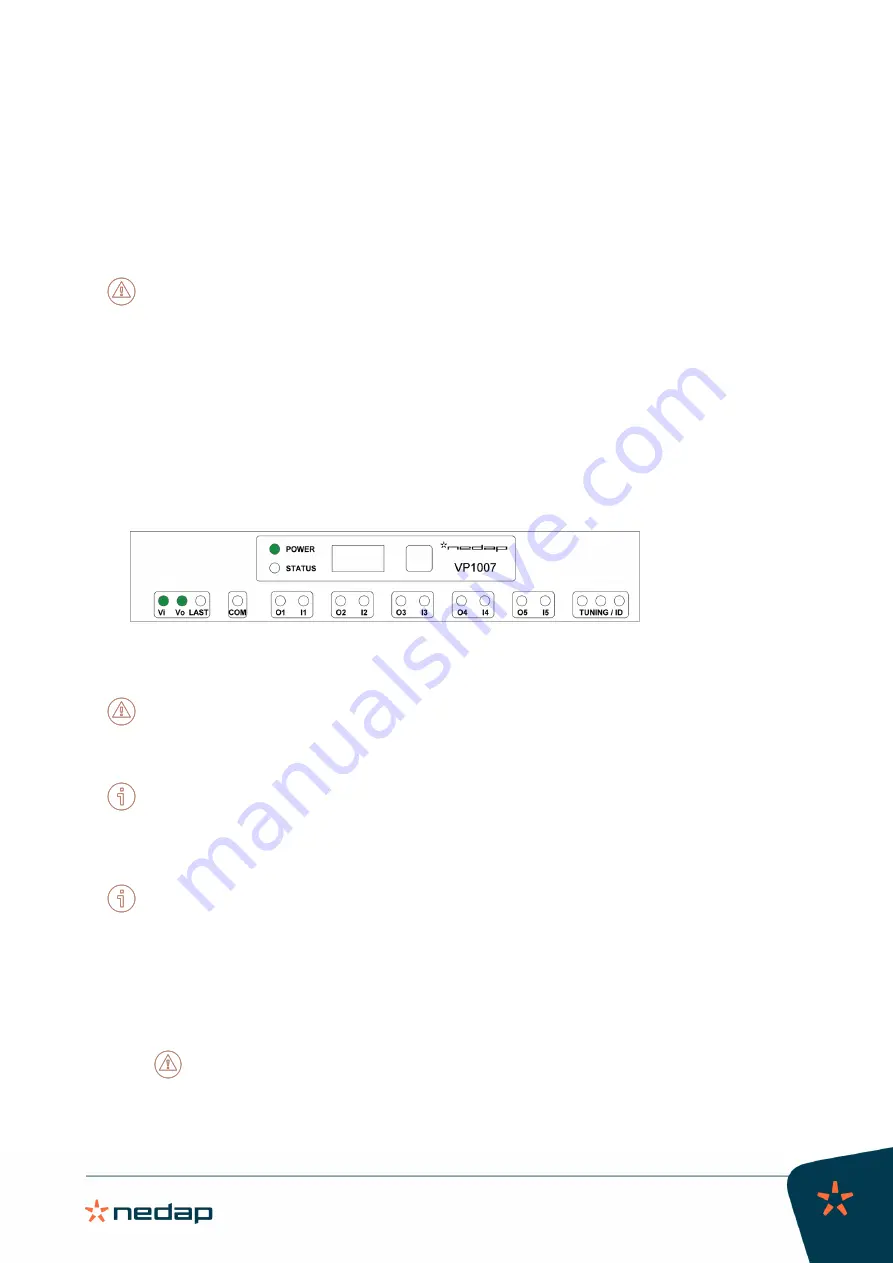
2. Check if the VP1007-B has power after power up. The "Power", "Vi" and "Vo" LEDs must light up green.
3. Check if the LED "LAST" is green at the last V-pack on the CAN bus
4. When the LEDs are green, continue with address setting.
Caution
If the output LEDs are red (flashing), there is an output error. Go to
It > dE
in the display menu to reset all
errors.
The LED indicators are explained in
VP1007-B reader LED indicators (page 25)
Address setting
The parameters and use of the VP1007-B are described in
VP1007-B reader menu overview (page 26)
.
Each V-pack connected to the same VPU requires a unique logic address. Set the logic address of the VP1007-B
either
manually
or in
Velos
:
1. Set the logic address of the VP1007-B
manually
:
a. Go to parameter
Ad > dA
in the VP1007-B menu to read the logic address of the VP1007-B.
The default logic address of the VP1007-B is 01.
Caution
When the logic address is not a unique number, the logic address will blink in the display.
b. Go to parameter
Ad > SA
to set the logic address of the VP1007-B reader to a unique number when
multiple V-packs are connected to the same VPU.


