4-38 Using Your NEC Versa
3.
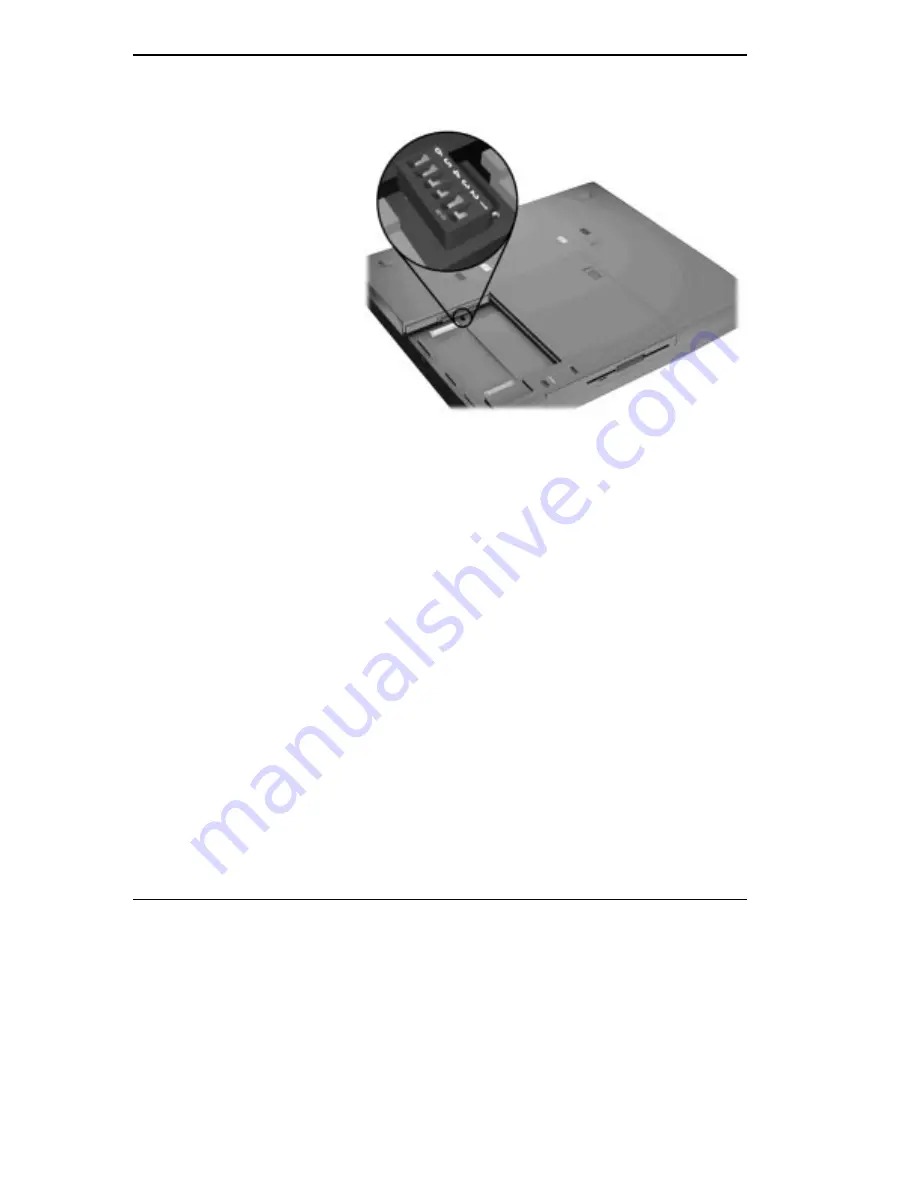
Locate switch 1 on the six-position dip switch in the hard disk drive bay.
Locating the switch settings
4.
Set the switch to “off” to enable BIOS reprogramming.
5.
Replace the hard disk drive and the compartment cover.
Now you are ready to begin the actual update procedure using the fol-
lowing steps.
6.
Make sure that the computer is connected to AC power, and that the
power is off. Insert the BIOS Update diskette into diskette drive A.
7.
Power on the computer with the BUD diskette in drive A. The computer
boots and automatically loads the utility. A message similar to the fol-
lowing appears:
The NEC BIOS Update Utility should not be used to modify
the BIOS in a Versa system which is docked. If your Versa is
docked, please exit the BIOS Update Utility, power down, and
undock your Versa before running the utility. Plug in your AC
cable before re-starting the flash utility.
8.
Press any key to continue.
The utility checks the currently installed BIOS version and the diskette’s
BIOS version. The Main Menu appears.


