34
Option4 Settings Menu
Erasing the sub screen image when there is
no input signal
This function automatically erases the black frame of the
sub screen when there is no sub screen input signal.
This feature is available only when the picuture-in-picuture
mode is selected.
Example: Set to “OFF”
Set “ADVANCED OSM” to “ON” in the main menu (1/
2), then perform the following operations.
On “SUB. P DETECT” of “OPTION4” menu, select
“OFF”.
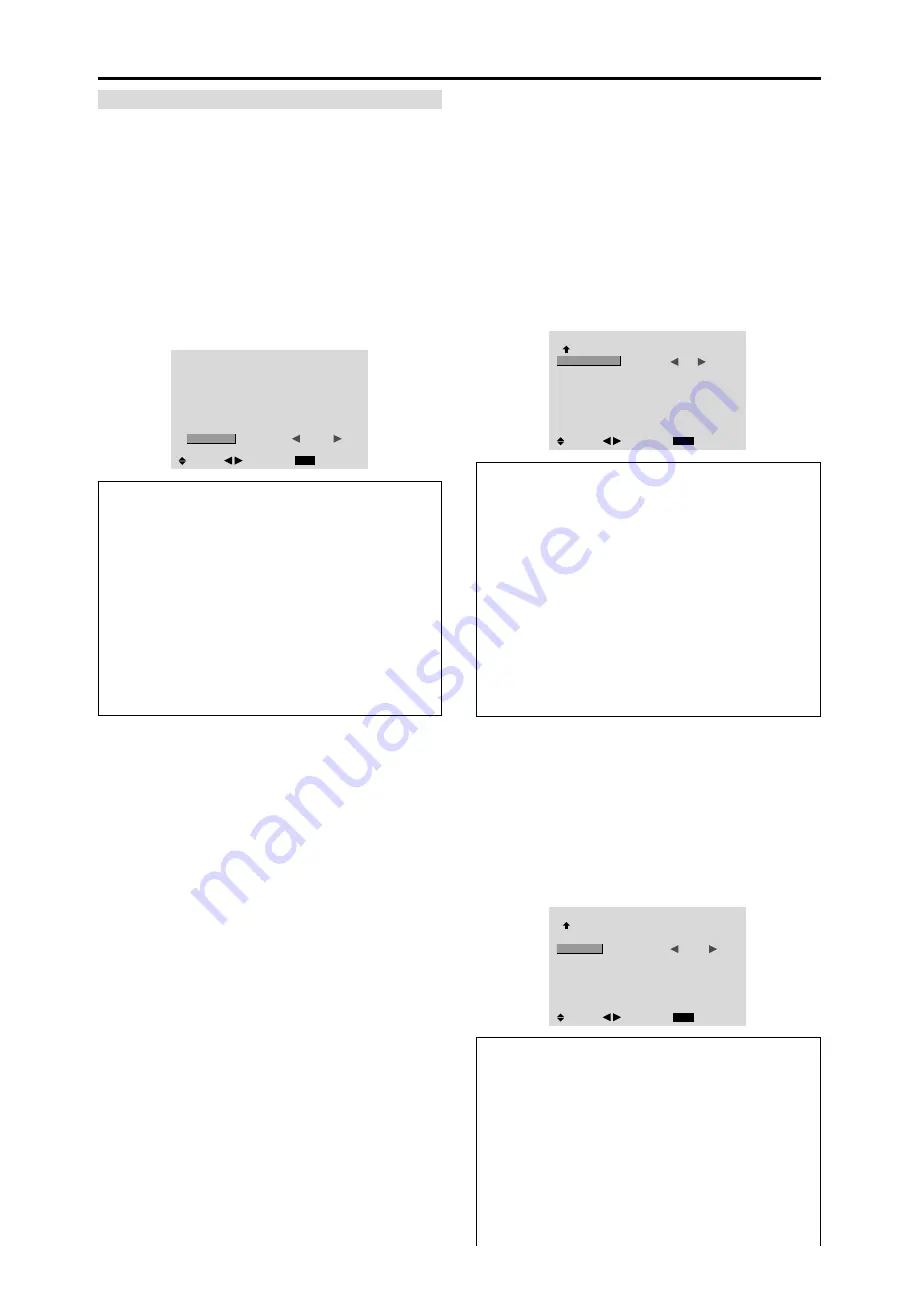
OPTION4
4 / 4
EXIT
PREVIOUS PAGE
SUB. P DETECT
ZOOM NAV
PIC FREEZE
SEAMLESS SW
SELECT1
SELECT2
:
OFF
: BTM LFT
: S BY S
: OFF
: —
: —
SEL.
RETURN
ADJ.
Information
䡵
SUB. P DETECT Function
* The sub screen disappears when the input signal is lost.
* Loss of the input signal means a condition in which the
video signal and the sync signal are not present.
* Under conditions in which the sub screen has
disappeared, the ZOOM NAV, PIC FREEZE, and
SEAMLESS SW functions will not work. The WIDE
button will not function either.
䡵
SUB. P DETECT settings
AUTO:
The black frame disappears 3 seconds after the
input signal is lost.
OFF:
Turns off the SUB. P DETECT function.
Displaying the entire image during DIGITAL
ZOOM operations
Use this function to display the entire image within the
sub screen together with an enlarged image on the main
screen.
Example: Setting “ZOOM NAV” to “S BY S”
Set “ADVANCED OSM” to “ON” in the main menu (1/
2), then perform the following operations.
On “ZOOM NAV” of “OPTION4” menu, select “S BY S”.
OPTION4
4 / 4
EXIT
PREVIOUS PAGE
SUB. P DETECT
ZOOM NAV
PIC FREEZE
SEAMLESS SW
SELECT1
SELECT2
: AUTO
:
S BY S
: S BY S
: OFF
: —
: —
SEL.
RETURN
ADJ.
Information
䡵
ZOOM NAV Function
* This feature is available only for RGB1 or RGB2 input
signals.
* This feature does not function during multi screen mode.
* This feature does not function while PIC FREEZE is
operating.
* Providing a 2-screen display will cancel this function.
REPEAT TIMER
Use this to set two timers. Each timer can use the
DIVIDER, SOURCE and WORK TIME functions.
Turn on the AUTO ID and set the DIVIDER (at 1, 4 or 9)
before the following operations.
Example:
TIMER1...VIDEO1 will be displayed for 3 minutes.
TIMER2...RGB1 will be displayed for 6 minutes in a
2
×
2 video wall.
On “REPEAT TIMER” of “VIDEO WALL” menu, select
“ON”, then press the MENU/ENTER button.
The “REPEAT TIMER” screen appears.
Adjust the items.
REPEAT TIMER
EXIT
1 DIVIDER
SOURCE
WORK TIME
2 DIVIDER
SOURCE
WORK TIME
: 1
: VIDEO1
: 00H03M
: 4
: RGB1
:
00H06M
SEL.
RETURN
ADJ.
Information
䡵
REPEAT TIMER settings
DIVIDER:
Divide the screen into 1, 4 or 9 sections.
SOURCE:
Set the input mode to be displayed.
WORK TIME:
Can be set to up to 4 hours 15 minutes
in units of 1 minute.
If you set both timers, Timer 1 and Timer 2 run
consecutively.
In the case of the Video wall, timer No.1 can be used to
control all the displays simultaneously.
* This becomes effective when the on-screen menu goes
out.


