1. Installing Internal Optional Devices
Express5800/E120d-M User's Guide
61
Chapter 2 Preparations
Note
Make sure that the head of a PCI card bracket is seated into the fixed slot of PCI riser
card.
Depending on type of PCI cards, the terminal part of the PCI card may be too large to
fit in the connector.
If you have trouble installing the board, remove the board once and try again. If you
apply excessive pressure on the board, a PCI card or riser card might break.
6. Fix the PCI card with the screw you removed in step 4.
Tips
To connect a PCI card to the connector on motherboard with cable, connect a cable to PCI
card before installing PCI riser card.
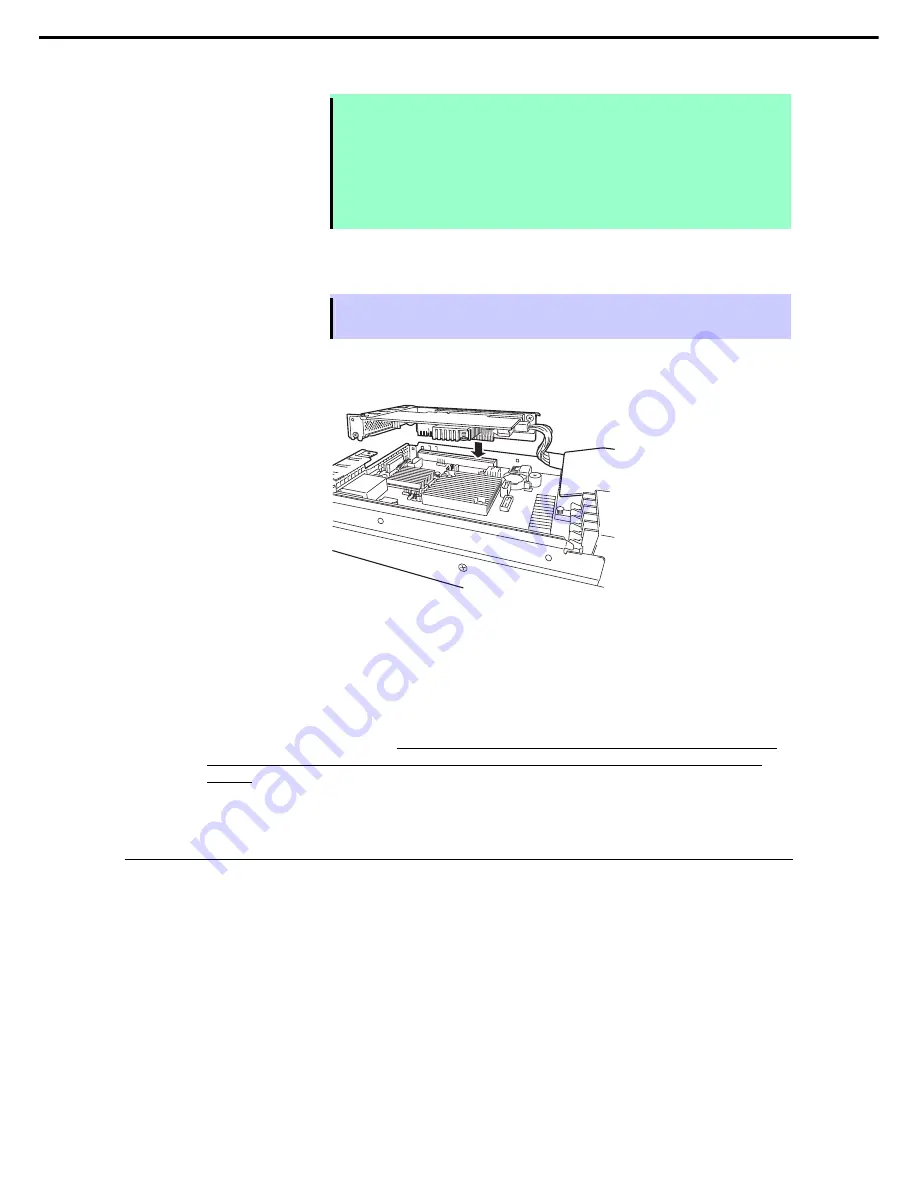
7. Align the terminal part of the PCI riser card with the slot on the motherboard and insert it.
Fix the PCI riser card with three screws you removed in step 2.
8. Continue to install or remove internal optional devices, mount and connect the server, and turn it on.
9. Make sure that no error messages are displayed on POST screen.
For details on POST error messages, refer to
Chapter 3 (1. POST Error Message)
in "
Maintenance
Guide
".
10. Run the configuration utility of the mounted card to set up the board.
Availability or startup and operation procedure of the utility depends on card. For details, refer to the
manual that comes with the card.
If a PCI card including RAID Controller and LAN adapter which
connects to any bootable device is added, the boot priority might be changed to the default
setting.
In that case, configure the boot priority in
Boot
menu of BIOS Setup Utility. For details, refer to
Chapter 3 (2. System BIOS Setup)
.
1.9.4
Removal
To remove a PCI card, reverse the installation procedure.
Run SETUP and change boot order in
Boot
menu. Refer to
Chapter 3 (2. System BIOS Setup)
for how to
specify it.
If using the server while the card is removed, attach the blank cover that comes with the PCI riser card.


