5-4
Chapter 5: Touch Screen Calibration - Windows
4.
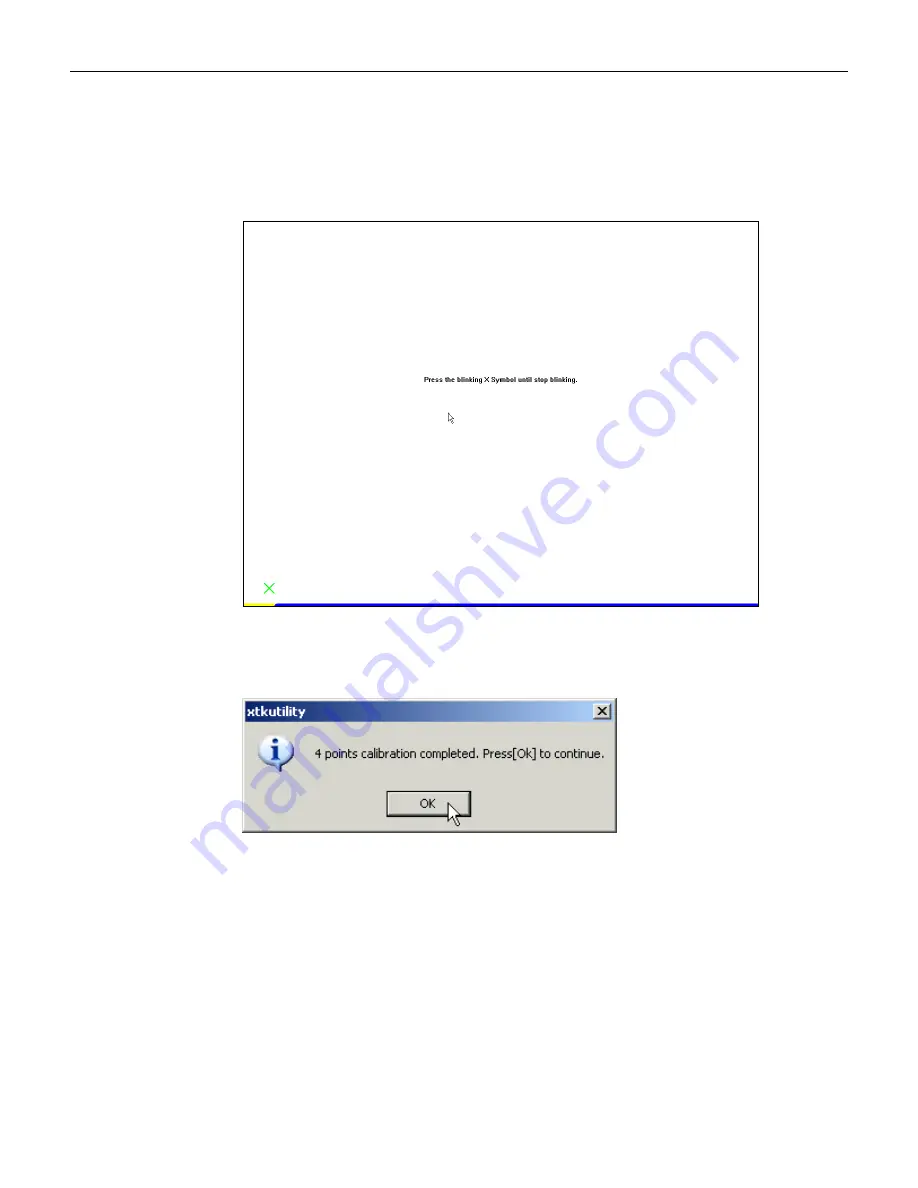
Place a stylus in the center of the flashing target in the lower left-hand corner of the screen
and hold it until it stops blinking.
Note:
For best results, a stylus should be used to calibrate the screen rather than your
finger. Not all operators use the same touching techniques and can result in poor
calibration on terminals that have multiple operators.
5.
Repeat this procedure for the other three targets
6.
Select
OK
to continue.
7.
Test the calibration by moving the stylus around on the screen and verifying that the cursor
follows it. Also, touch all 4 Corners and verify that the cursor moves deeply into the
corners.
8.
If you are satisfied with the calibration results select
OK
to exit the TouchKit Utility.
Summary of Contents for 5966
Page 1: ...NCR RealPOS Value Touch Display 5966 15 Inch Release 1 0 User Guide B005 0000 1770 Issue D...
Page 6: ......
Page 24: ...3 12 Chapter 3 Hardware Installation...
Page 28: ...4 4 Chapter 4 OSD Adjustment...
Page 36: ...6 2 Chapter 6 Touch Screen Calibration Linux 3 Select 1 Adapter 4 Select 9 Calibrate Touch...
Page 37: ...Chapter 6 Touch Screen Calibration Linux 6 3 5 Press any key to continue...
Page 39: ...Chapter 6 Touch Screen Calibration Linux 6 5 2 Select 4 Pts Cal to start the calibration...
Page 41: ...Chapter 6 Touch Screen Calibration Linux 6 7 8 Select OK to continue...
Page 44: ...6 10 Chapter 6 Touch Screen Calibration Linux...
Page 46: ...7 2 Chapter 7 Auto Config Adjustment...
Page 48: ...8 2 Chapter 8 MSR Driver...
Page 52: ...9 4 Chapter 9 Maintenance...


