


01
7
Before You Start
34
08
Bluetooth
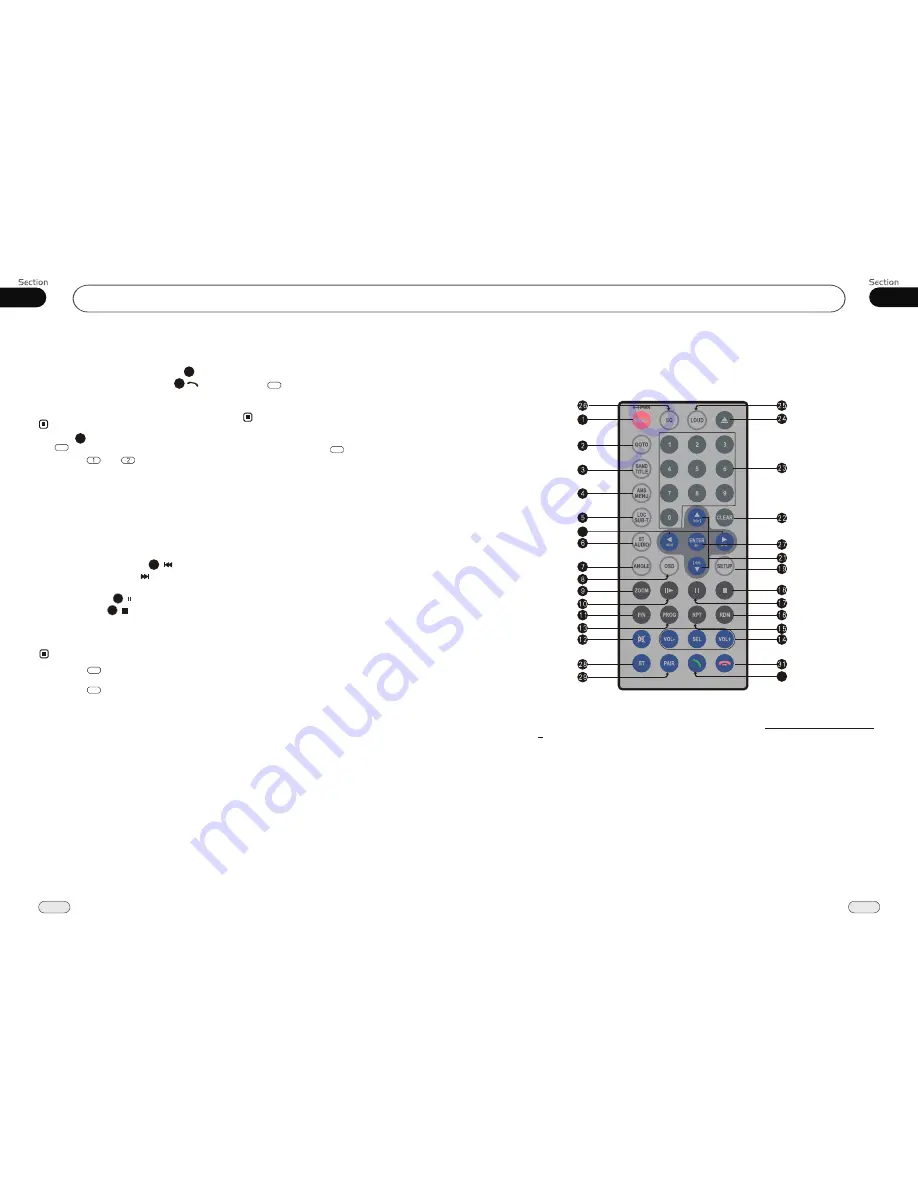
Remote Control
Tips:
For more information as to replacing battery, please refer to
Replacing the Battery
on page 6.
20
30
To Dial by the Unit
when cellphone is connected, press to
input the call number, then press
to dial,
DIAL OK
appears, when the call is
pick up, and it appears
PICK UP
.
23
Note:
* Press CLEAR on the remote control or
in the monitor to delete wrong inputs.
22
Using the Unit as Bluetooth
Music
During bluetooth mode, the musics on the
cellphone switch to the unit for play.
To select music fast: press to play
the previous track, press to play the next
one.
Pause play: press to pause play.
Stop play: press to stop play, and
press the PLAY to play the current track
again.
21
17
18
30
* Pressing and in the monitor also
performs the same function.
Audio Transfer between the Unit
and Phone
Press to change the conversation from
the unit to the cellphone.
Note:
* The function will be cause to be disconnected
bluetooth link for some phones, but you do
not worry just press button while private
conversation with some phones, then switch
back to the unit automatically.
6
6
8
Note:
* Pressing in the monitor also can play
and pause music.
9
* Pressing in the monitor also can play
the previous /next track.
10


