


SHOUT ts User Guide Version B
Document Number: 451-92854-001B
36 of 62
6
T
RACKING
M
ENU
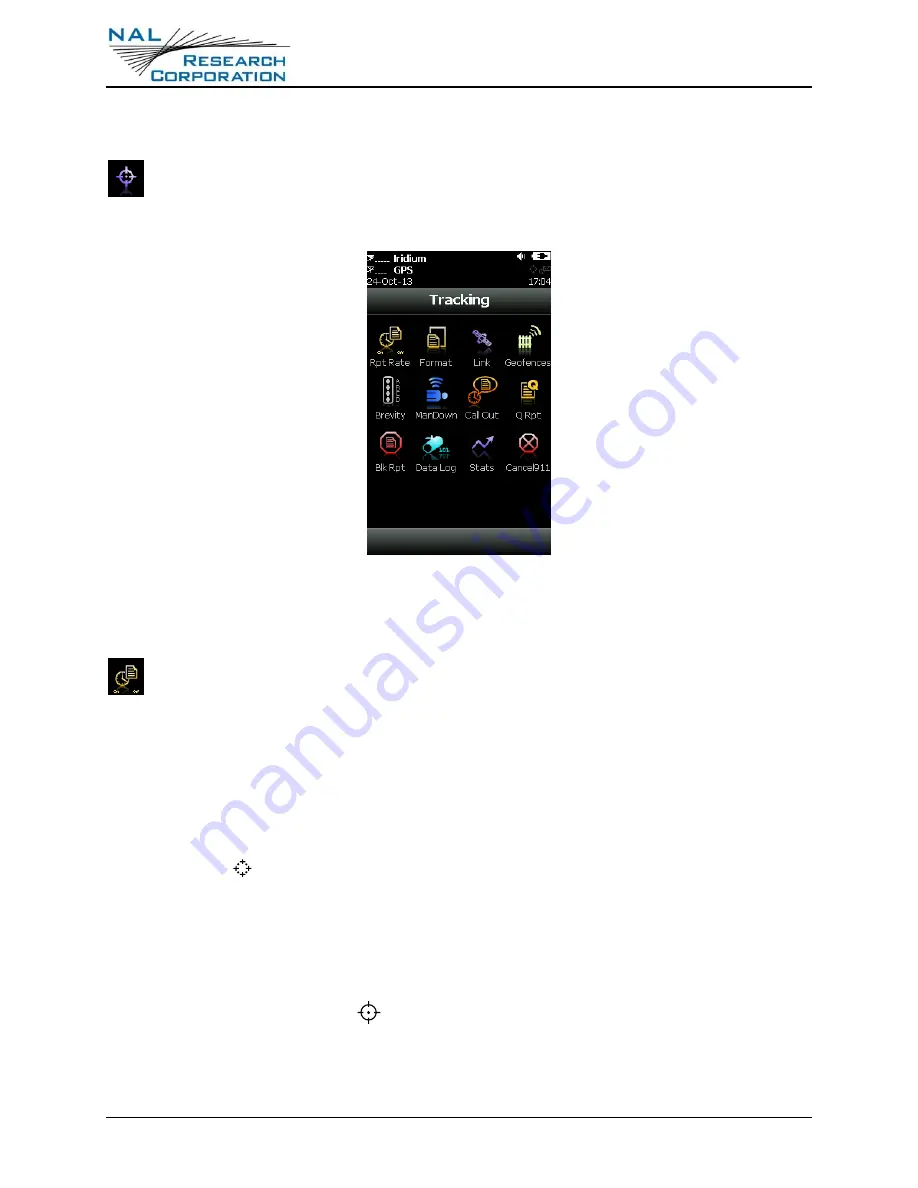
The
Tracking
menu for the SHOUT ts is shown below. Some options are very
complex, including Geofences and Call Out, which require SatTerm to set up. For
these options, refer to the “SatTerm for SHOUT ts” manual [2].
Figure 17: Tracking Menu
6.1
R
PT
R
ATE
The Report Rate [
Rpt Rate
] is used to set the tracking report rate (time between
tracking reports) and to enable tracking. You can set the reporting rate for standard
or motion reporting through the two different tabs. Choose from either a predefined rate or
a user-defined rate with an on-screen keypad. The
Reporting Rate
menu is dimmed for both
tabs when tracking is disabled. However, even when tracking is disabled and the labels are
dimmed, you can still enter the report rate.
The On/Off buttons enable/disable the SHOUT ts tracking mode. When tracking is on, the
tracking symbol
at the top of the screen changes from dimmed gray to bright white. The
SHOUT ts immediately turns the GPS receiver on to acquire a GPS fix and then attempts to
transmit a position report. The next position report is sent automatically based on the
reporting rate. The countdown timer to the next report is displayed inside the parentheses
next to the tracking symbol. When tracking is enabled and the SHOUT ts sleeps in between
position reports, the status LED
flashes once every five seconds. It can be turned off
during sleep to reduce power consumption by using the
Settings
>
LED
menu. Activate the