Temposonics
®
R-Series Powerlink V2
Operation Manual
I 33 I
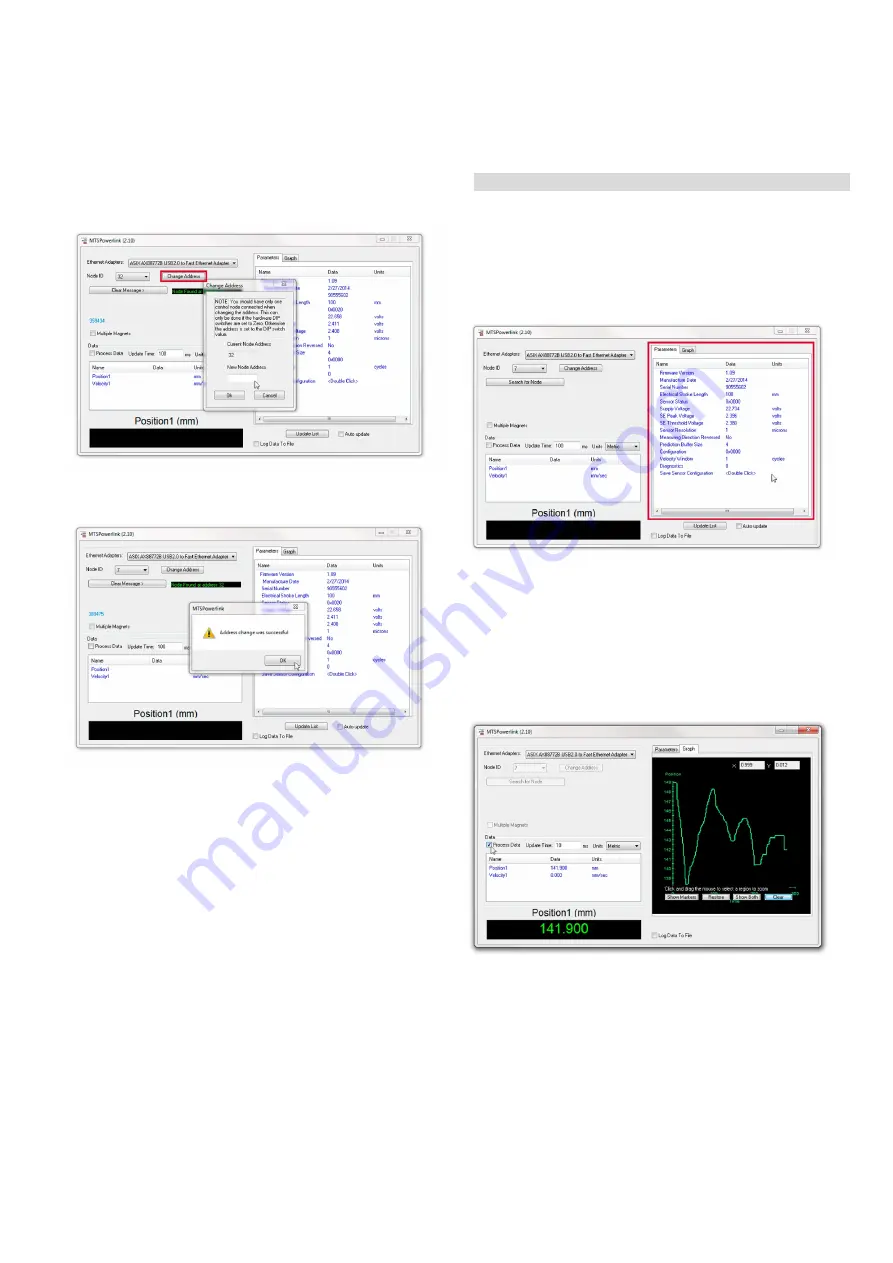
4. The node ID can be changed by “Change Address”.
A window pops up. Fill in the new node address and click
“Ok” (Fig. 54).
Fig. 54: Choose new node ID
5. An acknowledgement will be displayed after it (Fig. 55).
Fig. 55: Address change was successful
Fig. 56: Sensor parameters
Fig. 57: Process data
6. After software adjustment the sensor needs a hardware reboot
to adapt the new node ID. Disconnect the power supply of the
sensor and connect the power supply once again.
6.1.4 Process data
Step 1: Network adapter set-up
Step 2: Node ID configuration
Step 3: Process data
The tab “Parameters” on the right shows different attributes
of the connected sensor (Fig. 56).
There is also the possibility to show the process data in figures
and graphs.
Click on the tab “Graph”, choose an update time and the prefered
unit value and activate the checkbox “Process Data”.
The box on the lower left side will show the figures of the magnet's
position and the field on the right side will show the process
graphically (Fig. 57).


