Blade and Belt
9
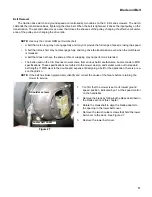
5.
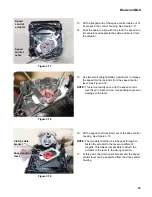
Lift away the blade.
6.
Inspect the blade. If it is bent or worn beyond proper
sharpening, replace it with a new blade.
7.
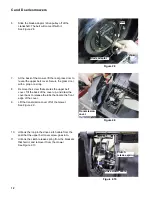
Sharpen and balance the blade if it is not badly worn.
NOTE:
If the customer complains of vibration or parts fall-
ing off, or if the mower is showing signs of vibration
fatigue damage, there is reason to suspect a bent
blade and/or bent crankshaft.
8.
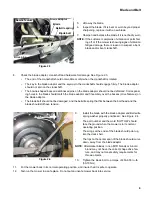
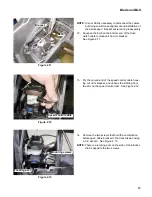
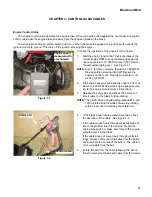
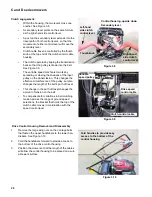
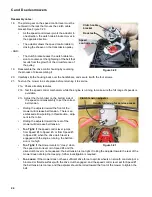
Check the blade adapter, crankshaft and hardware for damage: See Figure 2.3.
•
The end of the crankshaft should not wobble or orbit when the crankshaft is rotated.
•
The key in the blade adaptor and the keyway in the crankshaft should engage firmly. The blade adaptor
should not spin on the crankshaft.
•
The bowtie-shaped boss and embossed pins on the blade adaptor should not be deformed. Correspond-
ing holes in the blade should match the blade adaptor and fit securely over the bosses (drive features) on
the blade adaptor.
•
The blade bolt should not be damaged, and the bellville spring that fits between the bolt head and the
blade should still have tension.
9.
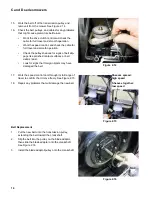
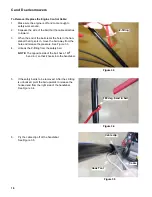
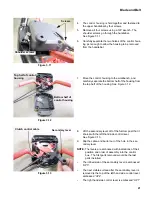
Install the blade with the blade adapter and Belleville
spring washer properly positioned: See Figure 2.4.
•
The part number and the word “BOTTOM” should
face the ground when the mower is in its normal
operating position.
•
The wings at the ends of the blade should point up,
into the deck shell.
•
The lips on the center span of the blade should curve
down, away from the blade adaptor
NOTE:
Aftermarket blades in non MTD brands or Arnold
brand may not have the correct shape drive fea-
ture, and may not meet safety requirements for
thrown objects.
10.
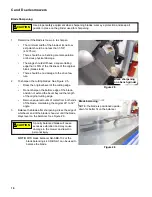
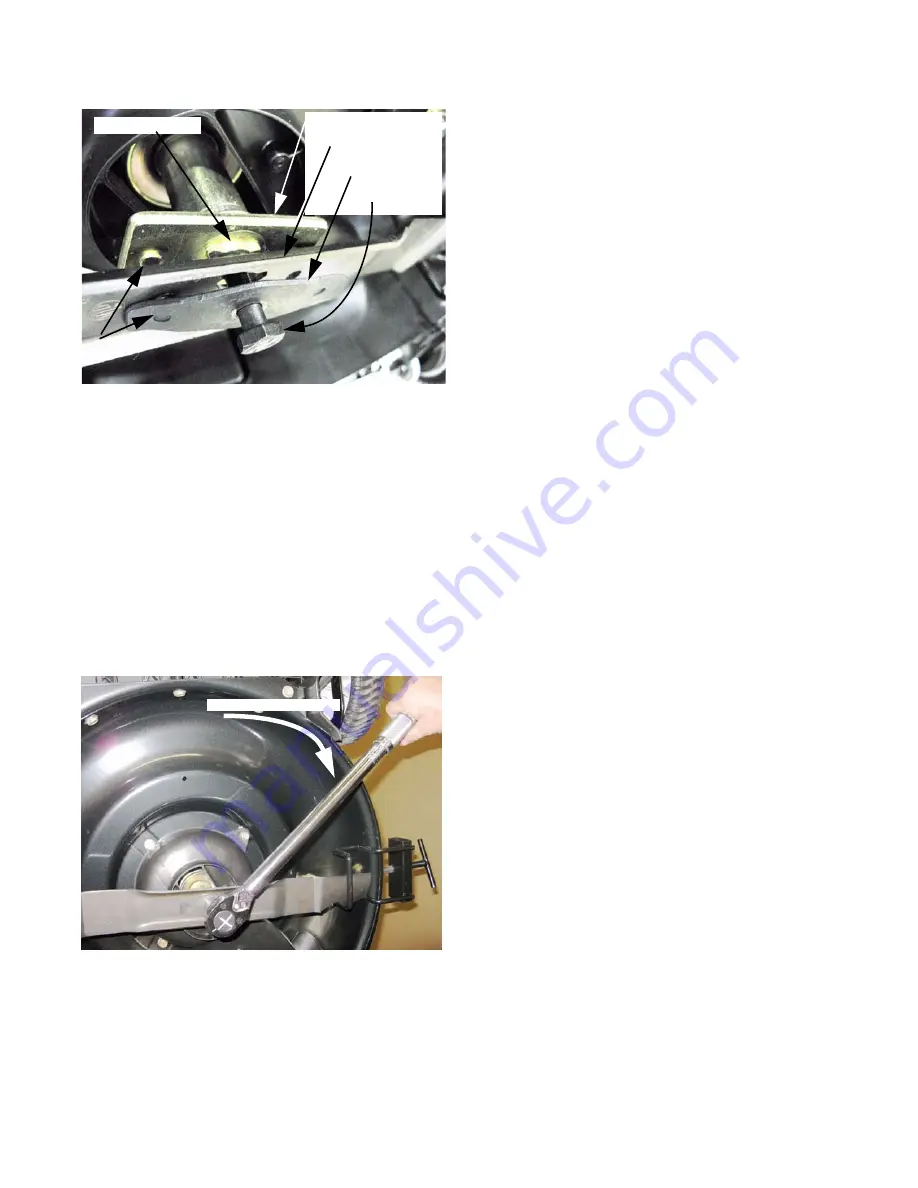
Tighten the blade bolt to a torque of 450-600 in.-lb.
(50-70 Nm).
11.
Put the mower back in its normal operating position, and insure that it is safe to operate.
12.
Test-run the mower in a safe place. Do not put an unsafe mower back into service.
Figure 2.3
Blade adaptor
Blade
Bellville spring
Blade bolt
Bowtie feature
Drive pins
Figure 2.4
450-600in.-lb.

