


3-3
BIOS Setup
Control Keys
<
↑
>
Move to the previous item
<
↓
>
Move to the next item
<
←
>
Move to the item in the left hand
<
→
>
Move to the item in the right hand
<Enter>
Select the item
<Esc>
Jumps to the Exit menu or returns to the main menu
from a submenu
<+/PU>
Increase the numeric value or make changes
<-/PD>
Decrease the numeric value or make changes
<F6>
Load Fail-Safe Defaults
<F7>
Load Optimized Defaults
<F10>
Save all the CMOS changes and exit
Getting Help
After entering the Setup menu, the first menu you will see is the
Main Menu.
M ain M enu
The main menu lists the setup functions you can make changes to. You can use the
arrow keys (
↑↓
) to select the item. The on-line description of the highlighted setup
function is displayed at the bottom of the screen.
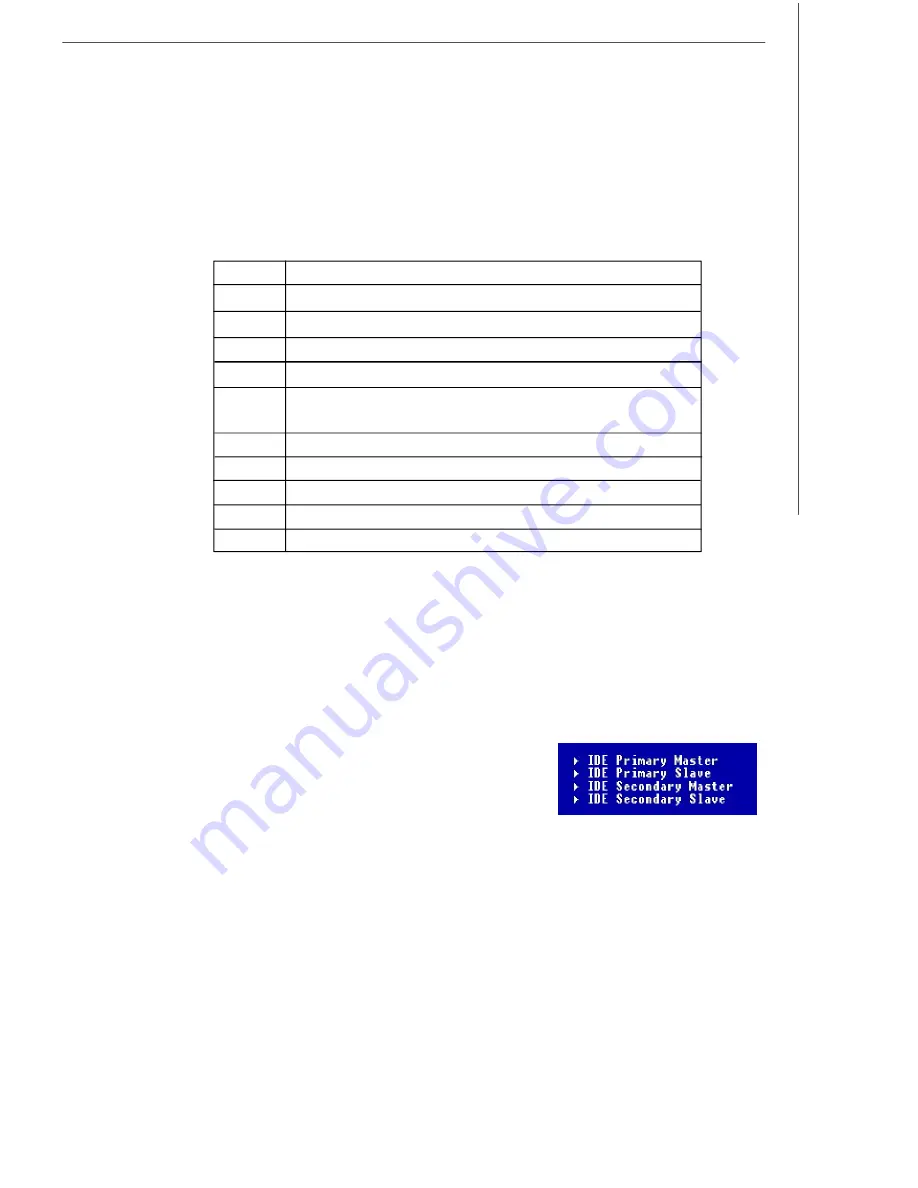
Sub-M enu
If you find a right pointer symbol (as shown in the right
view) appears to the left of certain fields, that means a
sub-menu can be launched from this field. A sub-menu
contains additional options for a field parameter. You
can use arrow keys (
↓
) to highlight the field and press
<Enter> to call up the sub-menu. Then you can use the control keys to enter values
and move from field to field within a sub-menu. If you want to return to the main
menu, just press <Esc >.
General Help <F1>
The BIOS setup program provides a General Help screen. You can call up this screen
from any menu by simply pressing <F1>. The Help screen lists the appropriate keys
to use and the possible selections for the highlighted item. Press <Esc> to exit the
Help screen.


