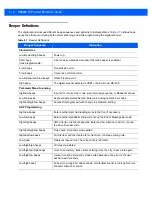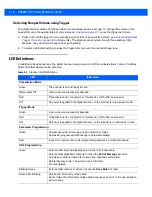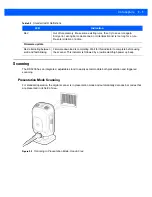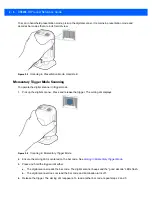
1 - 6
DS9208-1D Product Reference Guide
2.
Tighten the screws to secure the bracket to the counter or desktop.
3.
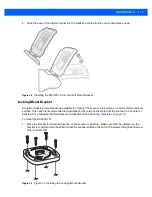
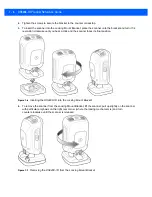
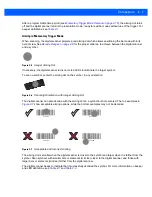
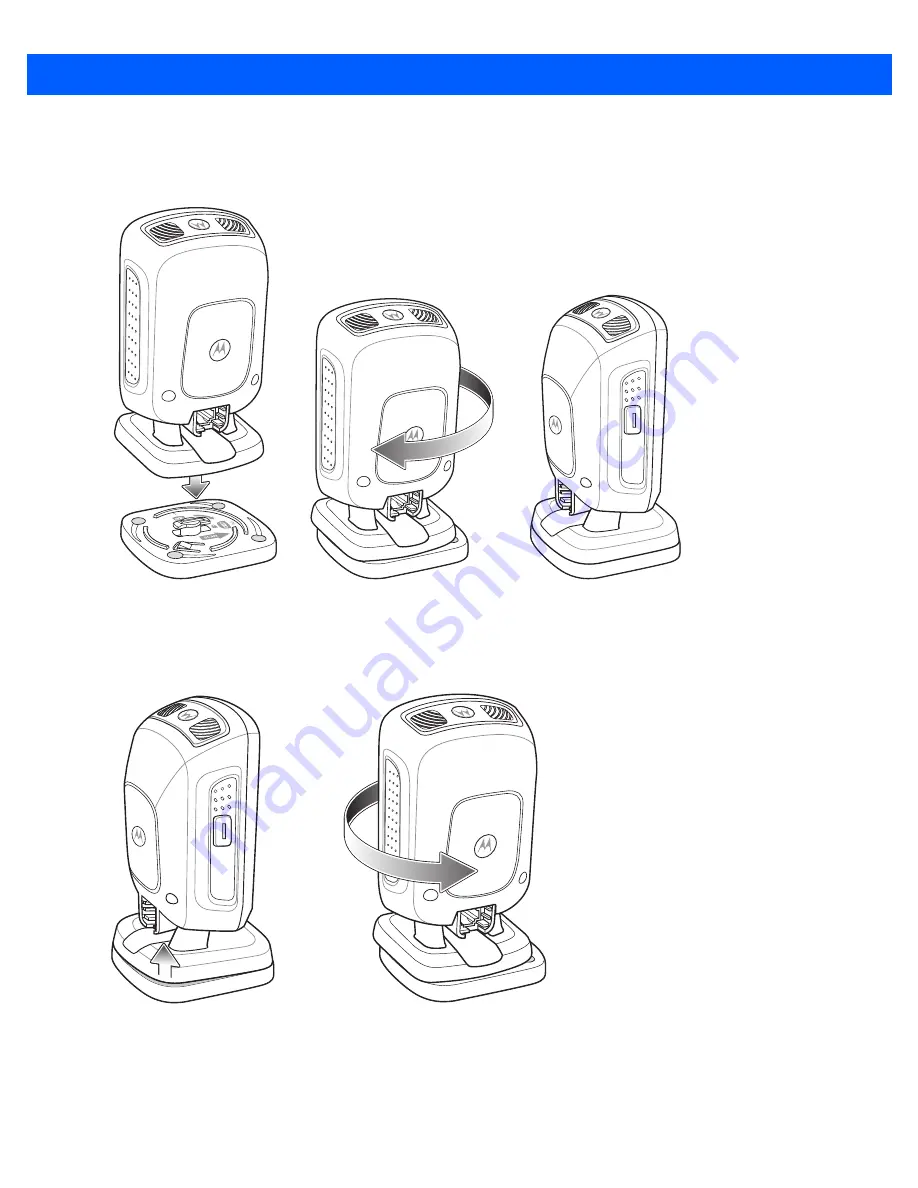
To insert the scanner into the Locking Mount Bracket, place the scanner onto the bracket and turn it 1/4
revolution clockwise until you hear a click and the scanner faces its final position.
Figure 1-6
Inserting the DS9208-1D into the Locking Mount Bracket
4.
To remove the scanner from the Locking Mount Bracket, lift the scanner, pull up slightly on the scanner
with particular emphasis on the right rear corner (where the locking mechanism is) and turn
counter-clockwise until the scanner is released.
Figure 1-7
Removing the DS9208-1D from the Locking Mount Bracket
Summary of Contents for DS9208-1D
Page 1: ...DS9208 1D DIGITAL SCANNER PRODUCT REFERENCE GUIDE ...
Page 2: ......
Page 3: ...DS9208 1D PRODUCT REFERENCE GUIDE 72E 162626 01 Revision A May 2012 ...
Page 6: ...iv DS9208 1D Product Reference Guide ...
Page 14: ...xii DS9208 1D Product Reference Guide ...
Page 42: ...3 8 DS9208 1D Product Reference Guide ...
Page 102: ...5 30 DS9208 1D Product Reference Guide ...
Page 126: ...6 24 DS9208 1D Product Reference Guide ...
Page 154: ...8 22 DS9208 1D Product Reference Guide ...
Page 226: ...11 2 DS9208 1D Product Reference Guide ...
Page 239: ...APPENDIX C SAMPLE BAR CODES Code 39 UPC EAN UPC A 100 123ABC 0 12345 67890 5 ...
Page 242: ...C 4 DS9208 1D Product Reference Guide ...
Page 272: ...Index 6 DS9208 1D Product Reference Guide ...
Page 274: ......
Page 275: ......

