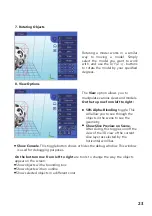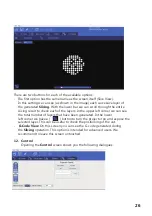
From this screen we will be able to control the motors of the printer, which means displacing
the build base over the Z axis, as well as controlling the LCD.
In this section of the
Control
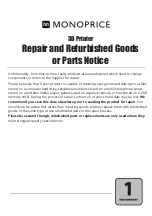
screen we have the buttons that will allow us to move
the Z position of the build base. As you can see, we have 4 buttons for
each direction, 50, 10, 1 and 0.1 mm. Using the value indicated as
Z
Rate (at the bottom) you can change the speed of progress measured in
millimeters / minute. We also find the
Home
button. This is similar in function
to the button that we have described above in the 3D View screen, that is, if
you click it, the whole build base will rise to the detector limit, where it will seek
the zeros of each axis, then descend to a lower position. The descent is
done first fast then slow. This
Home
also includes a stage where the build base
raises to a higher position so as to be able to prepare the machine to pour the resin in
and
l
eave it ready to lower the base and start printing.
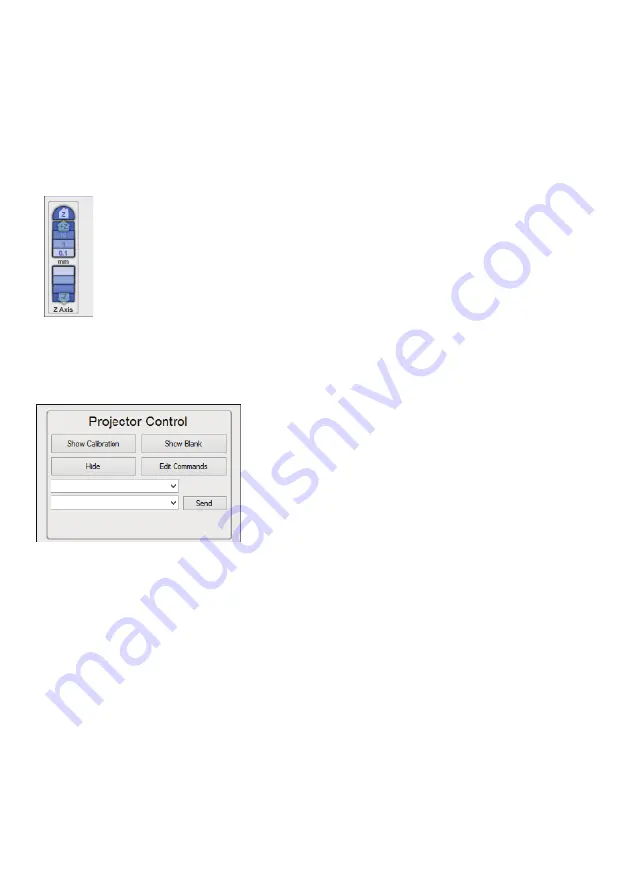
With this box you can control the image exposed by the LCD with the following options:
-
Show Calibration
: A red grid is projected. This
will allow you to check if your projector is well focused
on
the vat bottom.
-
Show Blank
: A black screen is shown, meaning a
screen that won't cure the resin instantly.
-
Hide
: This option hides the slice projection
screen,
allowing the projector to display the main
desktop
background (the extended part).
-
Edit Commands
: This option allows you to
edit
commands to control the projector. Fields
beneath this are not recommended
for
use.
13. Con
f
igure
13.1 Con
f
igure Machine
Machine Connection COM Port
Once a
m
achine profile has been selected, the
Configure
button on the
Machine
Connection
box can be selected to show the
Connection Setup
screen.
This screen allows you to choose the correct COM port and speed to communicate with the
printers’ controller card via serial connection.
*NOTE
– The current version of the application will allow connections up to
115200 bps.
Please ensure your controller firmware is configured for the speed chosen.
27
Summary of Contents for 21824
Page 1: ...MONOPRICE MP Cadet LCD Resin Printer P N 21824 User s Manual ...
Page 32: ......
Page 34: ......

