Now you have your printer installed and configured. Please read these
software instructions to understand the different settings before starting.
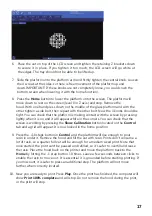
Let’s start by printing the first object using the stock resin and do the
printout at the lowest resolution so that the test doesn’t take too long. You will
find some test objects (STL file) in the folders supplied with the software.
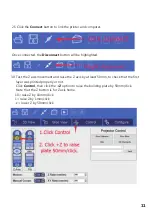
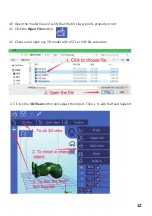
1. Switch on your computer and the switch on the Duplicator 7. Open the
software and load an object (STL, OBJ
,
or AMF).
2. With the object loaded and located in the build area
,
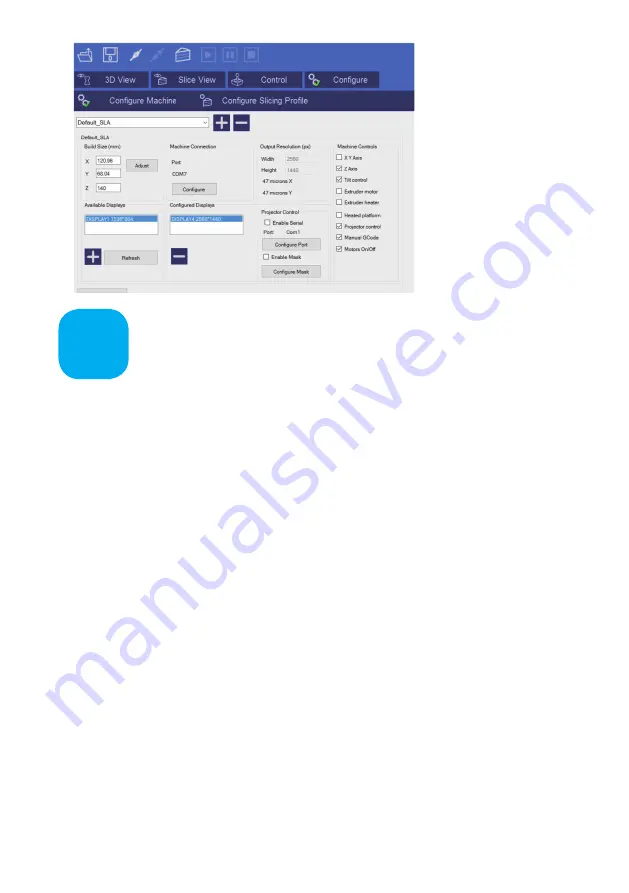
check the settings of the
printing
profile.
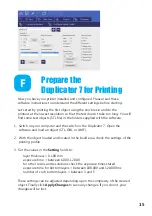
3. Set the values in the
Setting
fields to:
- layer thickness = 0.100 mm
- exposure time = between 6.000-12.000
- for other resins and resolutions check the exposure times stated
- exposure time for bottom layers = between 100.000 and 120.000 ms
- number of such bottom layers = between 3 and 5
These settings can be adjusted depending upon the complexity of the desired
object. Finally click
Apply Changes
to save any
changes. If you do not, your
changes will be lost.
15
F
Prepare the
Duplicator 7 for
P
rinting
Summary of Contents for 21824
Page 1: ...MONOPRICE MP Cadet LCD Resin Printer P N 21824 User s Manual ...
Page 32: ......
Page 34: ......

