9
10.
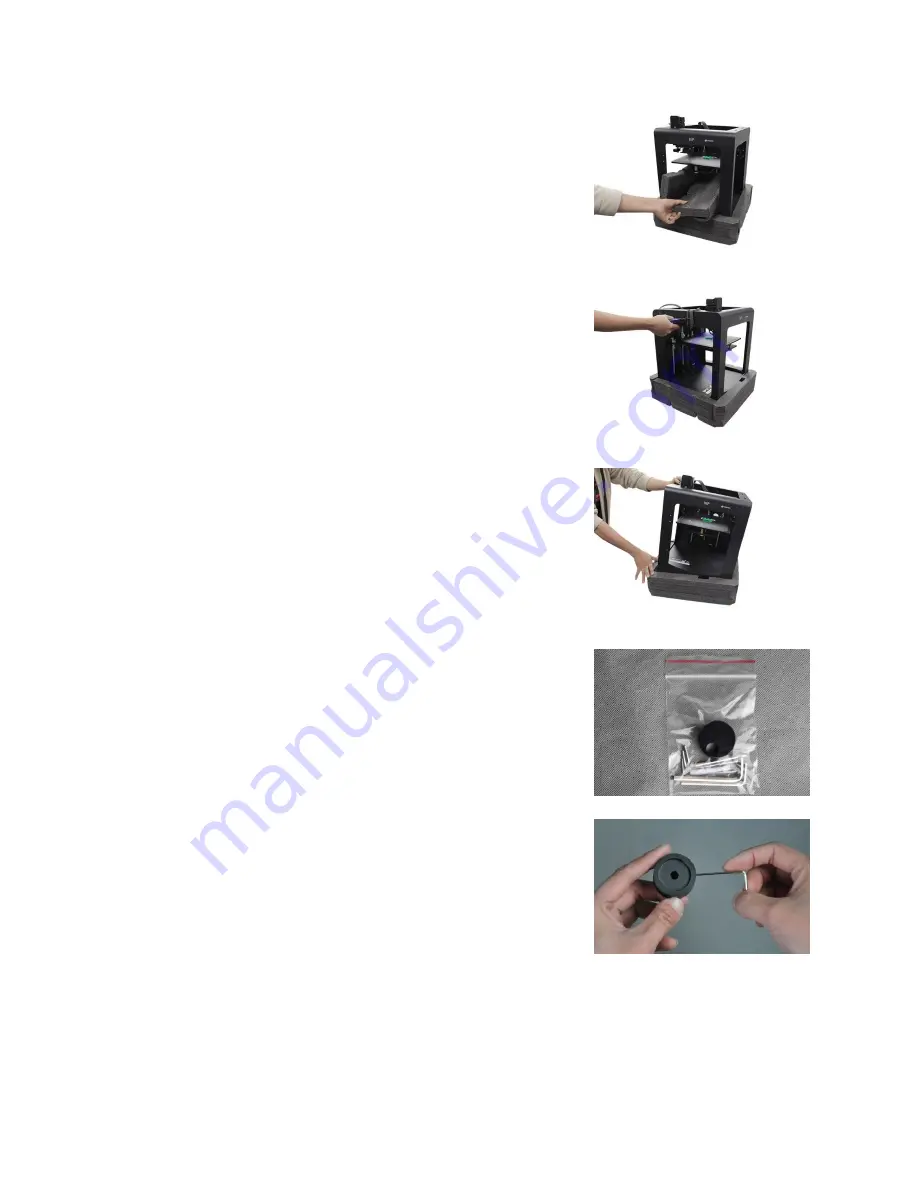
Fold the protecting foam and carefully pull it out from
under the print bed.
11.
Carefully cut the bindings that hold the X-axis and Y-
axis rails in place.
12.
Carefully lift the printer out of the foam cradle and set
the foam aside.
13.
Open the accessories box and locate the bag with the
hex wrenches and control knob. Remove the control
knob from the bag.
14.
Using the 1.5mm hex wrench, loosen the locking
screw.


