


PAYD Pro Plus® Mobile Solution Customer Display: Reference Guide
24
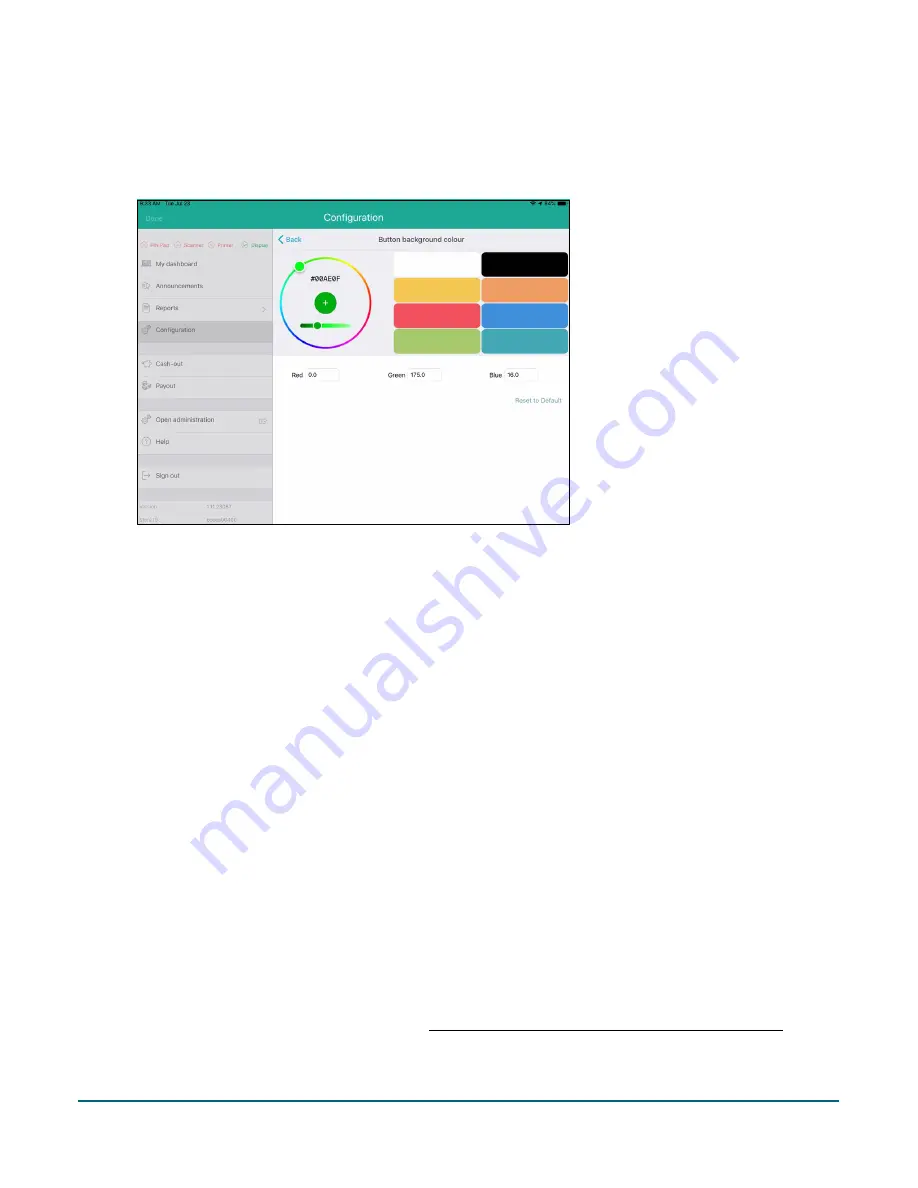
b.
Tap
Button background colour
.
The Button background colour screen appears.
c.
Select the colour you want:
Drag your finger around the circle, moving the dot around to the colour you wish to use.
Tap one of the default colour bars on the right.
Tap inside the
Red
,
Green
, and
Blue
fields and enter the numeric RGB values.
d.
When finished, tap
< Button colours
to return to the Button colours screen.
6.
Set the colour for the text that will appear on the buttons:
a.
Tap
Button text colour
.
The Button text colour screen appears.
b.
Select the colour you want:
Drag your finger around the circle, moving the dot around to the colour you wish to use.
Tap one of the default colour bars on the right.
Tap inside the
Red
,
Green
, and
Blue
fields and enter the numeric RGB values.
c.
When finished, tap
< Button colours
to return to the Button colours screen.
7.
Tap
< Logos and colours
at the top of the screen to return to the Logos and colours screen.
Reviewing the schedule
Once you have designed and configured your templates, and set their schedules and frequency, you can use the
Schedule screen to review what you have set up, and edit the schedule as necessary.
1.
Access the Customer Facing Display screen. See Accessing the Customer Display configuration screen on
page 10 for instructions.


