Blue Seal Evolution Series Gas Salamander
© Copyright Moffat Ltd. 9 February 2016
Amendment 9
Gas Salamanders
G91
Service Manual
Page 1: ...Blue Seal Evolution Series Gas Salamander Copyright Moffat Ltd 9 February 2016 Amendment 9 Gas Salamanders G91 Service Manual...
Page 2: ...leteness and those special cases where these settings are required to change this manual gives a full explanation as to how and what effects will result MAKING ALTERATIONS MAY VOID WARRANTIES AND APPR...
Page 3: ...6 Service Procedures 18 6 1 Access 6 2 Replacement 6 3 Adjustment Calibration 7 Accessories 26 Gas Conversion Kits 8 Exploded Parts Diagrams 27 8 1 G91 Main Assembly Up to Ser No 401964 8 2 G91 Gas A...
Page 4: ...Blue Seal Evolution Series Gas Salamander Copyright Moffat Ltd 9 February 2016 Amendment 9...
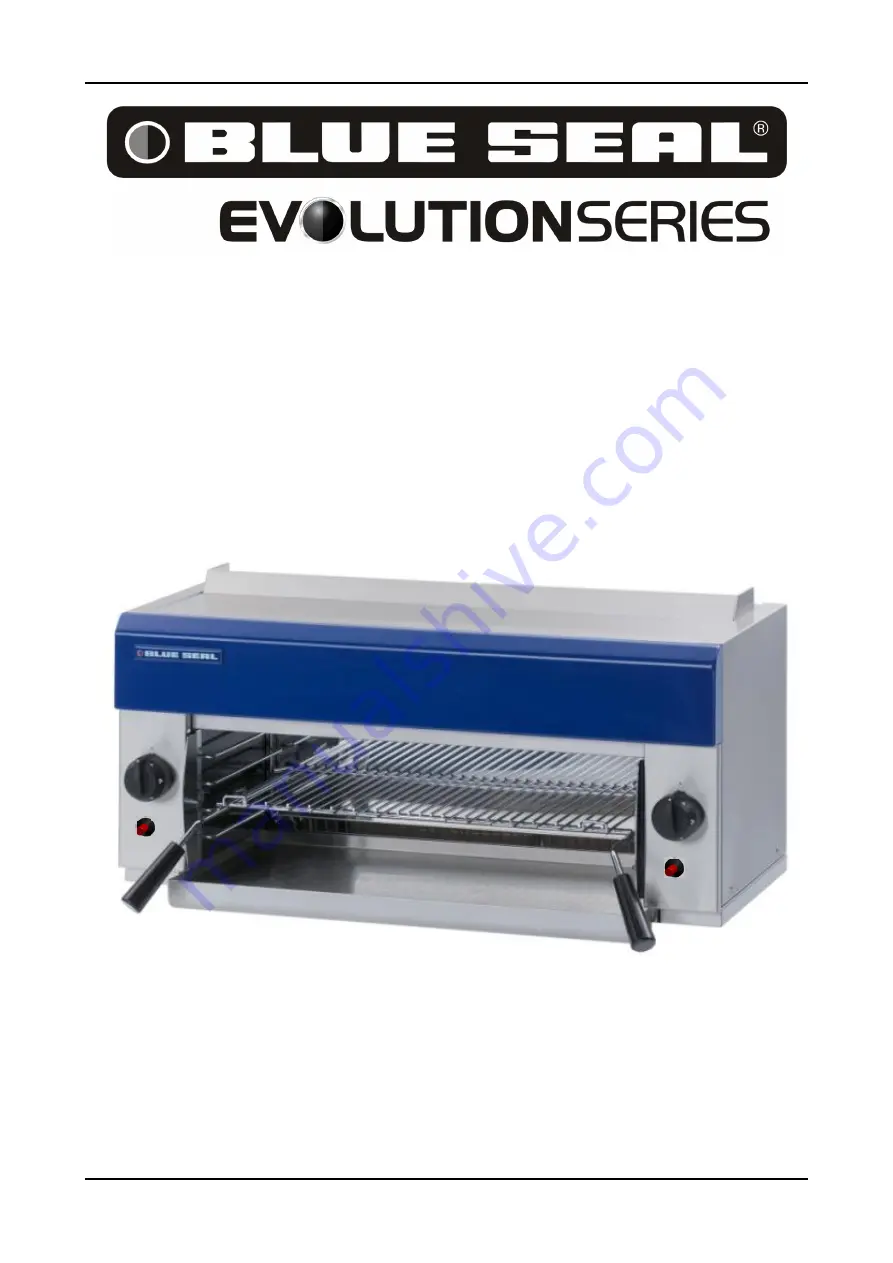
Page 5: ...February 2016 Amendment 9 Model Numbers Covered in this Specification G91 Blue Seal Gas Salamander Internal Dimensions Width 685mm Height 230mm at front Depth 330mm Cooking Area Rack 610mm x 310mm Bra...
Page 6: ...or details Natural G20 Propane G31 Heat Input Gross Nominal 8 8 kW 8 8 kW Reduced 3 6 kW 2 6 kW Gas Rate Nominal 0 84 m3 hr 0 63 kg hr Reduced 0 34 m3 hr 0 19 kg hr Supply Pressure 20 mbar 37 mbar Bur...
Page 7: ...able gas regulator supplied Refer to Gas Conversion and Specifications section of this manual for further details Gas Connection Gas supply connection point is located 25mm in from the rear of the app...
Page 8: ...deficiencies to distributor who supplied appliance Check available gas supply is correct to as shown on rating plate located on front bottom corner of right hand side panel Check the following parts h...
Page 9: ...on either side of appliance to allow access to side panels for servicing purposes Using wall mounting accessories provided with this appliance Top clearances can be reduced where local fire protection...
Page 10: ...the two black plastic spacers to the top rear corners of the unit Leave them unscrewed by approximately 5mm 3 Fit the two adjusting screws bolts into the nutserts at the bottom rear corners of the uni...
Page 11: ...tions are 1 2 BSP female The connection to the appliance is 1 2 BSP male Refer to the the Specifications section for the gas supply location dimensions NOTE A Manual Isolation Valve must be fitted to...
Page 12: ...High Fire burner operation Check the Racking System operation b Ensure that the operator has been instructed in the areas of correct lighting operation and shutdown procedure for the appliance 2 The...
Page 13: ...is provided by the two infrared gas burners in the ceiling of the grilling compartment The left hand gas control knob and right hand gas control knob operate the left side and right side burners resp...
Page 14: ...full rate For lower heat push in gas control knob and turn fully anti clockwise to LOW position 5 Also for intermediate heat position the control knob between the HIGH and LOW positions 6 Repeat Item...
Page 15: ...the tip but insulated from the rest of the tubing These two parts the copper tubing and wire make up the wiring for an electrical circuit When these two dissimilar metals wire and tip are heated an el...
Page 16: ...correctly Remove blockages if any 5a Inspect thermocouples 5b Replace thermocouples every 12 months 6 Check injectors are clean and free from blockages 7 Re grease gas valves 8 Check for tightness of...
Page 17: ...Refer Service Section 6 2 7 Pilot goes out when main burner comes On Incorrect gas pressure Faulty gas control valve Check supply adjust pressure Refer Specifications Section Replace gas control valve...
Page 18: ...gas control knob is released Releasing gas control knob before the thermocouple is heated Burner flame too small Refer fault Pilot Flame Small Thermocouple faulty Refer Fault Diagnosis 5 2 1 Gas magn...
Page 19: ...n millivolt circuit and result in pilot outage If connection is OK then disconnect the thermocouple from the rear of the gas control light the pilot and whilst holding the control knob in and measure...
Page 20: ...5 19 6 2 2 Pilot Burner Up to Ser No 401964 20 6 2 3 Pilot Injector Up to Ser No 401965 21 6 2 4a Main Burner Up to Ser No 401964 21 6 2 4b Main Burner From Ser No 401965 22 6 2 5a Main Burner Injecto...
Page 21: ...from the salamander Figure 6 1 2 Two screws Clamp 1 Remove the side panel refer 6 1 2 2 Unscrew the thermocouple from the rear of the gas control 3 Undo the clamp on the pilot burner holding thermocou...
Page 22: ...IMPORTANT WHEN SCREWING THERMOCOUPLE BACK INTO THE GAS CONTROL ONCE THREADED UP TIGHTEN UP ANOTHER TURN ONLY DO NOT OVER TIGHTEN 3 Undo the clamp on the pilot burner holding the thermocouple in place...
Page 23: ...assembling ensure that the injector is fully screwed in 6 2 4a Main Burner Up to Ser No 401964 1 Remove the side panel refer 6 1 2 2 Remove the burner guard by pulling it down from the centre fastenin...
Page 24: ...burner and re assemble in reverse order Figure 6 2 4c 6 2 4b Main Burner From Ser No 401965 Two Screws Figure 6 2 4d Two Screws 6 2 5a Main Burner Injectors Up to Ser No 401964 1 Remove the side panel...
Page 25: ...and re assemble in reverse order 1 Remove side panel refer 6 1 1 2 Unscrew the thermocouple from the rear of the gas control 3 Remove the rear nut from the gas control 4 Extract gas magnet 5 Replace...
Page 26: ...rease or lubricant such as ROCOL A S P Anti scuffing paste to the outside of the spindle 5 Replace spindle and re assemble gas control in reverse order Figure 6 3 1a Spindle Figure 6 3 1b Two Screws F...
Page 27: ...ries 25 Blue Seal Evolution Series Gas Salamander Copyright Moffat Ltd 9 February 2016 Amendment 9 Salamander Rack 017963 Rack Handle 013395 Side Rack 026093 Branding Plate 013418 Wall Mounting Bracke...
Page 28: ...ODEL TYPE CONVERT TO CONVERSION KIT G91 SALAMANDER without PILOTS From Ser No 401965 LPG 232056 NAT 232057 BUTANE 232058 TOWNS 232059 Gas Conversion Kits Index AU NZ XP Models Only UK Models Only MODE...
Page 29: ...Description 1 026096 WALL MOUNTING BRACKET 2 026086 BACK PANEL 3 026090 FLUE END RH 4 026094 SIDE PANEL 5 227476 FRONT COVER 6 227490 CONTROL PANEL 7 026091 TRAY SUPPORT 8 227960 BLUE SEAL BADGE 9 026...
Page 30: ...PLY TUBE 227559 OLIVE 227560 NUT 16 227497 PILOT SUPPLY TUBE RH 17 026077 BURNER RETAINING CHANNEL 18 026123 BURNER GUARD D 19 227378 KNOB BSEAL 8mm GAS PF B 20 017800 GAS CONTROL A 21 034115 INJECTOR...
Page 31: ...mendment 9 8 1 3 G91 Racking Assembly to Ser No 401964 27 026093 SIDE RACK WA SALAMANDER 28 227961 SIDE RACK SCREW 29 013395 RACK HANDLE 30 017963 RACK 31 227950 TROUGH TRAY WA Item Part No Descriptio...
Page 32: ...SIDE PANEL D 5 227476 FRONT COVER D 231541 CONTROL PANEL Models with Piezo ignition D 227490 CONTROL PANEL Models without Piezo ignition D 7 026091 TRAY SUPPORT 8 227960 BLUE SEAL BADGE D 9 026089 FL...
Page 33: ...UARD D 17 227379 KNOB BSEAL 8mm GAS F B 18 019430 GAS CONTROL PINTOSSI 20S B A 017803 OLIVE 017804 NUT 19 034115 INJECTOR 1 15 mm LPG C 034185 INJECTOR 1 85mm NAT C 034110 INJECTOR 1 10mm BUTANE C 229...
Page 34: ...endment 9 8 2 3 G91 Racking Assembly from Ser No 401965 24 026093 SIDE RACK WA SALAMANDER 25 227961 SIDE RACK SCREW 26 013395 RACK HANDLE 27 017963 RACK 28 227950 TROUGH TRAY WA Item Part No Descripti...
Page 35: ...NAL COVERAGE FOR 24 HOUR SERVICE OR MAINTENANCE DIAL FREE CALL 1800 622 216 AUSTRALIA ONLY Canada SERVE CANADA 22 Ashwarren Rd Tel 416 631 0601 Downview Fax 416 631 0315 Ontario M3J1Z5 New Zealand SOU...
Page 36: ...ue Seal Evolution Series Gas Salamander Copyright Moffat Ltd 9 February 2016 Amendment 9 808 206 80 772 325 Base view Rear view Dimensions shown in millimetres All mounting holes are threaded 3 8 BSW...
Page 37: ...e springs 2 Determine the correct pilot injector sizes for the corresponding gas from the rating plate affixed to the right hand side panel front bottom corner 3 Replace with the correct size pilot in...
Page 38: ...Verify the operating pressure remains correct Re adjust the regulator if required 8 Screw the cap back into the regulator Commissioning Before leaving the converted installation 1 Check all gas connec...
Page 39: ...usted apart from when converting between gases if required Refer to the Gas Conversion section for details Natural Gas G20 LP Gas Propane G31 Main Burner Injectors 1 90mm 1 20mm Pilot Burner Injectors...
Page 40: ...o the right hand side panel front bottom corner 4 Replace with the correct size injectors Low Fire Adjustment 1 Remove the gas control knobs from the front of the unit 2 Remove the 2 front control pan...
Page 41: ...e on the flank of the pin once re fitted to the cap 4 Screw the cap back into the regulator hand tight only Town Gas Only 1 Unscrew and remove the slotted cap from the regulator 2 Turn on the gas supp...
Page 42: ...gas connections for leaking using soapy water or other gas detecting equipment 2 Carry out a Commissioning check of the appliance as shown in the Installation Section of this manual 3 Ensure that any...
Page 43: ...in Burner Injectors 1 85mm 1 15mm Low Fire Size 1 00mm 1 00mm Adjustment 2 turns out c c w turn out c c w Supply Pressure 20 mbar 37 mbar Burner Operating Pressure 10 mbar 26 mbar Gas Regulator Cap Sc...
Page 44: ...Gas adjustable gas regulator supplied Refer to Gas Conversion and Specifications section of this manual for further details Natural Gas Town Gas Main Burner Injectors 1 85mm 3 50mm Low Fire Size 1 00m...
Page 45: ...of pilot burners from gas salamanders Addition of piezo ignition to main burners Change of thermocouple type and location Change No 10985 From Ser No 401965 Regulator changed from Part No 026149 with...
Page 46: ......