


DiMAGE Scan Multi PRO
67
TONE CURVES AND HISTOGRAM
SETTING THE WHITE, BLACK OR GRAY POINTS
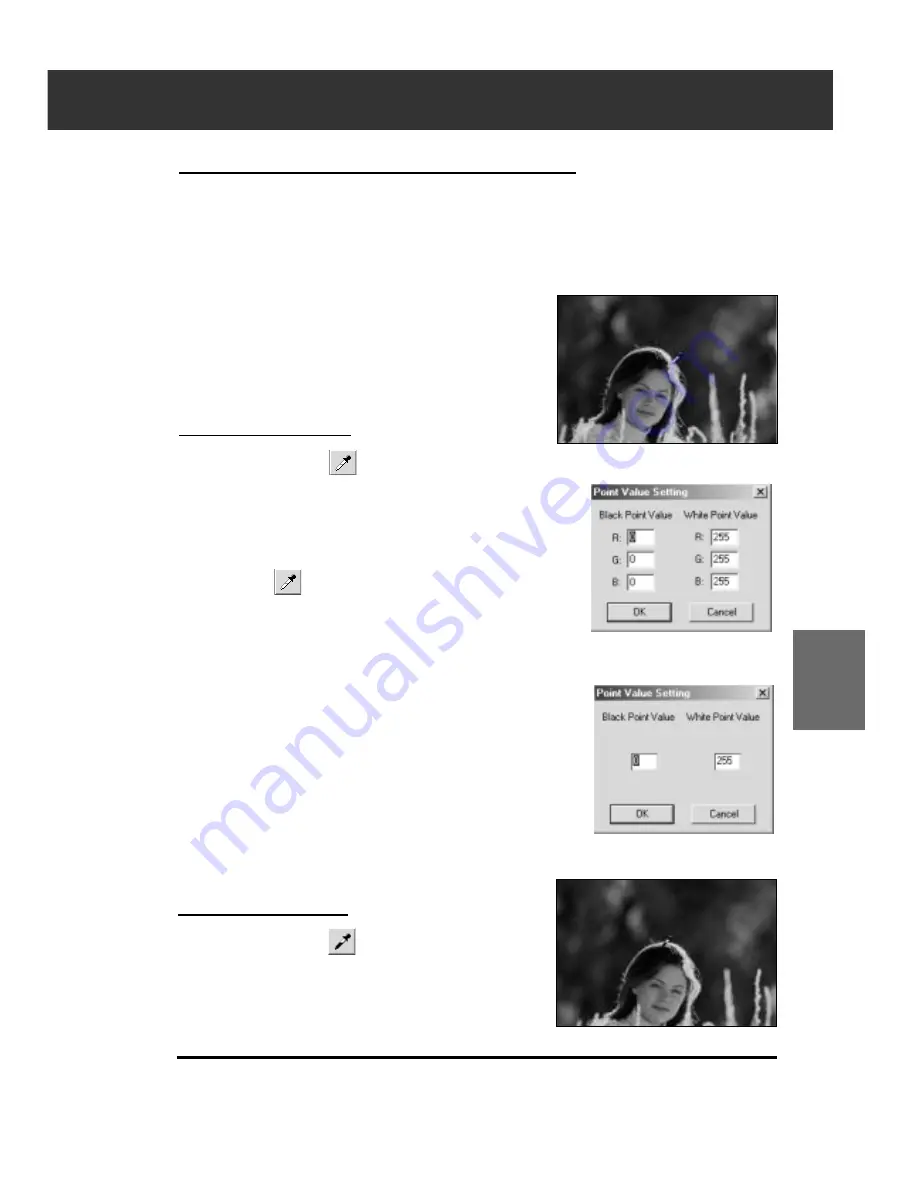
White point (highlight point) indicates the section you want to
lighten, Black point (shadow point) the section you want to
darken, and Gray the section you want to have a neutral tone.
An image with no highlight or shadow will not be clear and
appear somber. You can correct the image by adjusting the
White point/Black point/Gray point buttons to enhance the
highlight or shadow point so that the image will have a
contrast and not be all white or black. Also if the image
has too much contrast, you can correct it by weakening
the highlight or shadow point.
• Changes are automatically applied to the prescan
image.
Setting the White Point
1.
Double-click on
.
• The Point Value Setting dialog box is displayed.
• The initial value of the White point is 255 in each R, G
and B.
2.
Input the desired white point value.
3.
Click on
.
• The cursor changes to the white dropper shape.
4.
Click the desired highlight point of the image.
• The image is corrected so that the point you clicked is
highlight point. The color of the highlight point is the
white dropper value you input in step 2.
• The change will be reflected in the prescan image.
• You need to identify the true highlight points of the image, not
the pure white points that have no detail, such as reflection
points. White with no detail is called spectacular white (white
like a reflection), and ink will not be used in these parts when
printing.
• Normally, if you set each R, G, B color to 250 to 253, white
will have less brightness, you may loose the gleam of a white
cup.
Point Value Setting dialog box
• When the film type is set to the
color mode.
• When the film type is set to the
monochrome mode.
Setting the Black point
1.
Double-click on
.
• The Point Value Setting dialog box is displayed.
• The initial value of the Black point is 0 in each R, G
and B.
2.
Input the desired black point value.
Continued on the following page.
Summary of Contents for DiMAGE Scan Multi PRO AF-5000
Page 1: ...E INSTRUCTION MANUAL 9224 2887 11 H A107 ...
Page 130: ...130 NOTES ...


