Air Driven Gas Booster Compressor, 8” Drive AG Series • OM-12J
8
5.2.3.1
Reinstall hex plug with o-ring. Lubricate spool
seals including pilot piston seal. (Ref. 2.2.1) Insert
pilot piston into spool with bumper hanging loose on
pilot piston shaft. (Ref. Fig. 6.)
Guide in all parts by first inserting small end of spool
into interior of sleeve and seating bumper on end of
sleeve. Secure parts with retainer plate, (4) washers
and screws. Tighten screws to 30 inch pounds
torque. Retest for proper operation. If successful,
install new safety wire on cap screws.
5.2.4
If further disassembly is necessary, repeat prior
steps (5.2.1 thru 5.2.3) and then carefully remove
sleeve and second bumper.
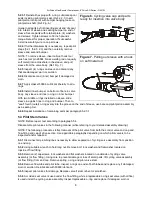
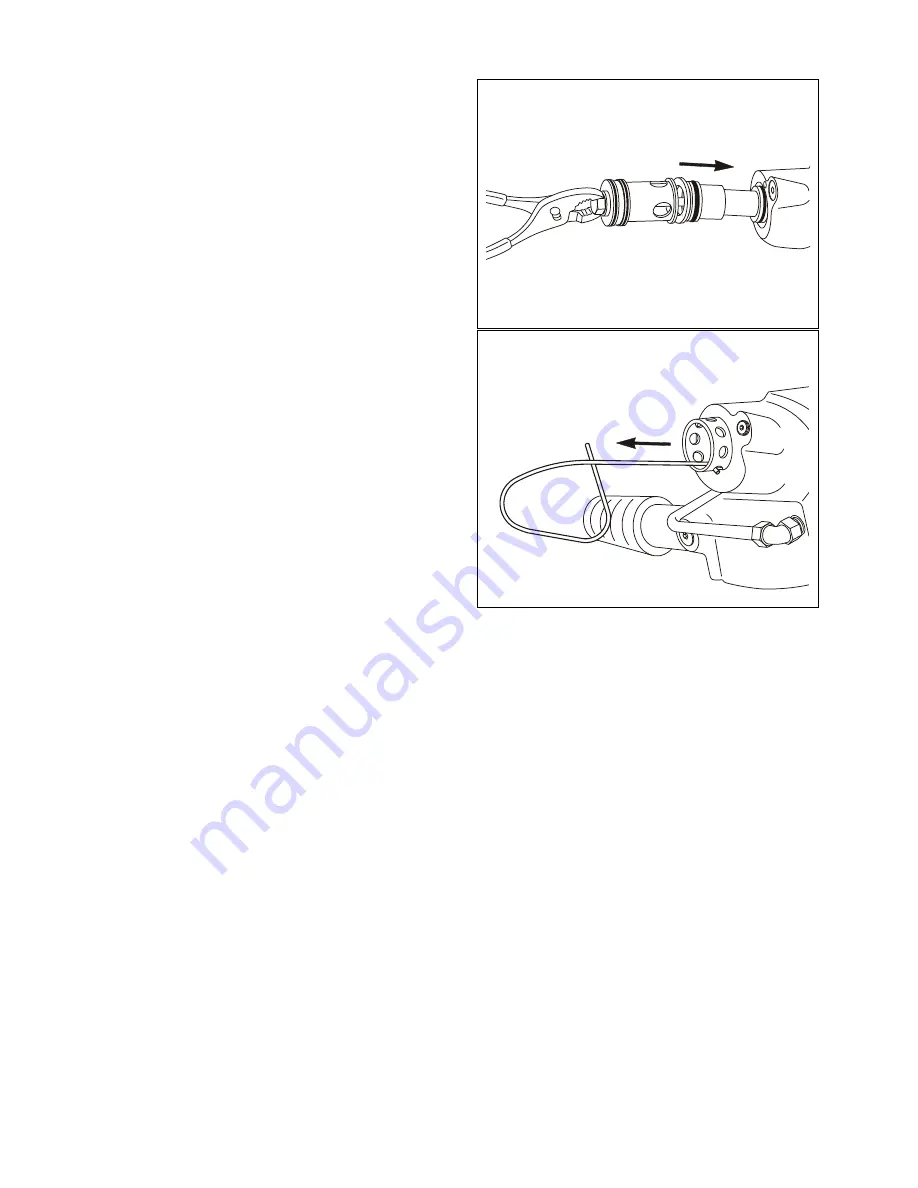
NOTE: To remove sleeve, insert a blunt hook tool
(such as tool p/n 28584, brass welding rod or equally
soft metal) into a crosshole in the sleeve, and pull
sleeve from the valve body. (Ref. Fig. 7.)
5.2.5
Inspect (4) o-rings on sleeve and discard any
that are damaged, worn or swollen.
5.2.6
Discard second (inner) bumper if damaged or
worn.
5.2.7
Apply Haskel 50866 Lubricant liberally to all o-
rings.
5.2.8
Install inner bumper on bottom of bore in valve
body. Lay sleeve end inner o-ring on inner bumper.
With two middle o-rings installed on sleeve, slide
sleeve in against inner o-ring and bumper. Then to
“seat” fourth (outer) o-ring evenly into the groove on the end of sleeve, use bare cap/pilot piston assembly
as a seating tool.
5.2.9
Repeat installation of remaining parts per paragraph 5.2.3.1
5.3 Pilot Stem Valves
NOTE: Before repair, test according to paragraph 5.4.
Disassemble pilot valves in the following manner (while referring to your detailed assembly drawing):
NOTE: The following procedures reflect removal of the pilot valve from both the control valve end cap and
flow fitting end cap of drive section. Use applicable paragraphs depending on which pilot valve is to be
inspected and/or repaired.
5.3.1
Disconnect all plumbing lines necessary to allow separation of cycling valve assembly from position
on end cap.
5.3.2
Using suitable wrench to hold long nut. Remove bolt, lock washer and flat washer located on
topside of flow fitting.
5.3.3
Remove (2) capscrews, lock washers and flat washers located on underside of cycling valve
assembly (or flow fitting). Using care to prevent damage or loss of small parts, lift cycling valve assembly
(or flow fitting) from end cap. Remove spring, o-ring and pilot valve stem.
5.3.4
Remove flow tube and pilot tube. Inspect o-rings on ends of both tubes and replace any if damaged,
worn or swollen. Relubricate with 50866 lubricant.
5.3.5
Inspect pilot valves for damage. Replace valve if stem is bent or scratched.
5.3.6
A molded seat valve is used under the flow fitting, while a replaceable o-ring seat valve (with orifice)
is used under the cycling valve assembly. Inspect replaceable o-ring and replace if damaged, worn or
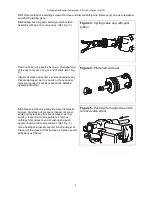
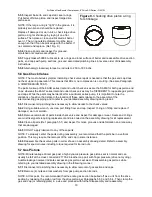
Figure 6.
Cycling valve cap and parts
ready for insertion into valve body
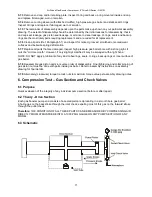
Figure 7.
Pulling out sleeve with a hook
on soft metal rod
Summary of Contents for Haskel 8AGD-1
Page 15: ...8 OM 12J 15 2 3 T 2 3 1 4 25 1 8AGT 8AGD 40 1 10 1 2 3 2 3 1 5 1 10 1 80 C...
Page 16: ...8 OM 12J 16 1 8AGD 8AGT 2 8AGT 25mm 145 C...
Page 18: ...8 OM 12J 18 3 5 1 2 2 3 4 4 1 1 bar 5 5 1 CV No 242 CV O...
Page 19: ...8 OM 12J 19 IPA 50 50 5 2 5 2 1 5 2 2 3 O O 4 5 2 3 5 3 4 5...
Page 24: ...8 OM 12J 24 O 5 7 8 5 7 9 6 6 1 6 2 70 bar 6 3...
Page 26: ...8 OM 12J 26 7 7 1 7 2 7 3 1 4 bar 5 2 O O O 9 5 5 5...
Page 29: ...8 AG OM 12J 29 8AGD 8AGT 8AGD 1 2 1 1 8AGD 8AGT 2 2 1 2 2 2 8AGT...
Page 31: ...8 AG OM 12J 31 3 5 1 2 2 3 4 4 1 15 psi 5 5 1 Loctite CV Blue 242 Loctite CV O...
Page 32: ...8 AG OM 12J 32 Stoddard 50 50 5 2 5 2 1 4 5 2 2 3 O O 4 3 4 Pilot shaft end seal...
Page 38: ...8 AG OM 12J 38 B 80 500 psi 7 7 1 7 2 7 3 20 psi 5 2 O O 9 5 5 6 O 6...
Page 41: ...8 AG OM 12J 41 1 8AGD 8AGT 2 2 8AGT 1 300 F...
Page 43: ...8 AG OM 12J 43 4 1 15 PSI 5 5 1 Loctite CV 242 Loctite CV O 50 50 5 2 5 2 1...
Page 44: ...8 AG OM 12J 44 5 2 2 3 O O 4 5 2 3 5 5 2 3 1 O 2 2 1 6 30 5 2 4 5 2 1 5 2 3 3 4 5 6...
Page 48: ...8 AG OM 12J 48 5 7 3 O 5 7 4 O O 5 7 5 O 5 7 6 5 1 5 7 7 O 5 7 8 5 7 9 6 6 1 6 2 1000 PSlG 6 3...
Page 50: ...8 AG OM 12J 50 7 7 1 7 2 7 3 20 psi 5 2 O O 9 5 5 5 O 6...


